
STEAM Discovery Kit Instructional Guide for Kids
You have the kit on the table, the kids are ready, and suddenly you are not sure where to start. That moment of uncertainty is exactly why a solid steam discovery kit instructional guide matters more than most people realize. Too many parents and educators open a box of fascinating materials, run one activity, and call it done. What gets missed is the connective tissue: the guided questions, the reflection prompts, and the intentional design that turns a hands-on project into a real learning experience. This guide gives you everything you need to make every session count.
Table of Contents
- Key Takeaways
- What your kit includes and how to prepare
- Step-by-step guide to leading discovery kit activities
- Troubleshooting common challenges
- What successful STEAM discovery looks like
- My honest take on STEAM facilitation
- Unlock hands-on STEAM learning with Teamgeniussquad
- FAQ
Key Takeaways
| Point | Details |
|---|---|
| Prepare before you play | Organize all kit materials and review activity cards before the session begins to reduce disruption. |
| Start with a focused question | Guided inquiry builds confidence before children tackle open-ended challenges independently. |
| Treat failure as data | Iterative prototyping teaches resilience and critical thinking when framed as part of the process. |
| Reflect after every activity | Structured reflection time deepens understanding and reinforces creative problem-solving skills. |
| Integration beats isolation | True STEAM learning connects subjects together rather than treating science, art, and math as separate tasks. |
What your kit includes and how to prepare
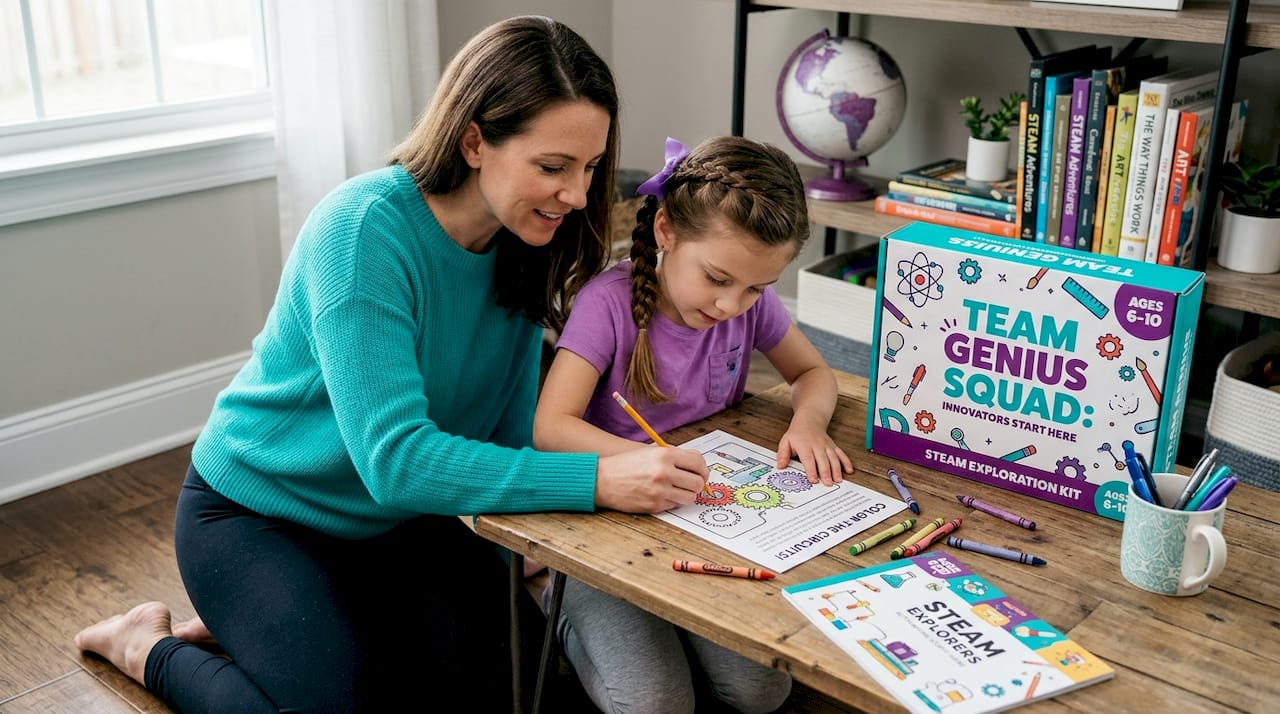
Before anyone touches a beaker or picks up a paintbrush, preparation makes the difference between a session that flows and one that stalls. Discovery kits for ages 5 to 13 typically contain physical artifacts, guided activity cards, and reflection prompts, with sessions lasting between 30 and 60 minutes depending on project complexity.
Most quality kits for this age range will include some combination of the following:
- Experiment materials: Consumables like baking soda, vinegar, wiring components, or craft supplies specific to the project theme
- Activity and challenge cards: Step-by-step instructions paired with guiding questions that push children to think, not just follow steps
- Reflection prompts: Short written or verbal cues that ask children what they noticed, what surprised them, and what they would change
- Identity props: Items like detective badges, lab coats, or completion certificates that help kids step into the role of a scientist or innovator
| Kit component | Purpose | Typical age suitability |
|---|---|---|
| Activity cards | Guide each experiment phase | Ages 5 to 13 |
| Reflection prompts | Deepen thinking after each activity | Ages 7 to 13 |
| Physical artifacts | Anchor abstract concepts to real objects | Ages 5 to 13 |
| Role-play props | Build identity and engagement | Ages 5 to 10 |
| Challenge extensions | Push advanced learners further | Ages 10 to 13 |
Setting up the physical space is just as critical as having the right materials. Clear a flat surface with enough room for each child to work without crowding. Sort consumable supplies into small trays or bowls before the session starts. Kids lose focus when adults are searching for materials mid-activity, so everything should be visible and within reach before you begin.
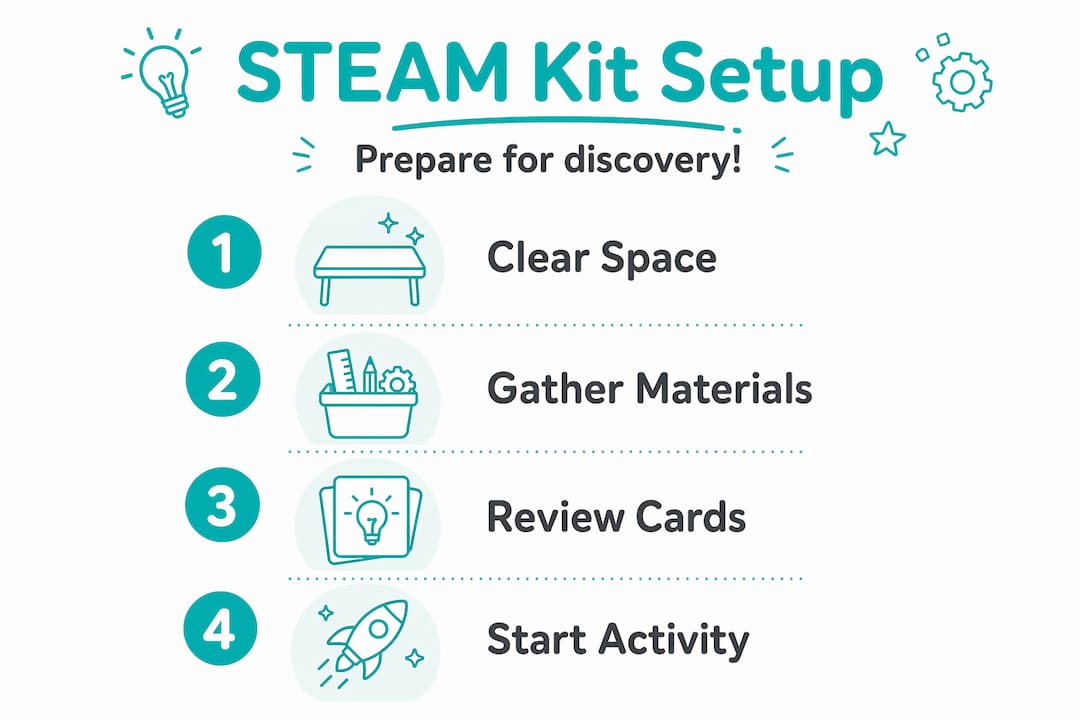
Pro Tip: Read through all activity cards yourself the night before the session. You will catch any material gaps early and feel confident guiding children through each phase without stopping to figure out the next step.
Step-by-step guide to leading discovery kit activities
This is where the real magic happens. Leading a STEAM discovery session well is less about giving answers and more about asking the right questions at the right time. STEAM discovery kits integrate science, technology, engineering, arts, and math into unified, transdisciplinary projects rather than isolated subjects, and your role as the facilitator is to hold that integration together.
Here is a structured process that works for children ages 5 to 13, whether you are a parent at the kitchen table or an educator leading a classroom:
-
Introduce the essential question. Every good STEAM session starts with a challenge or a problem to solve. Read the challenge card aloud and ask the children, “What do you already know about this?” Give them two minutes to think or share. This activates prior knowledge and sets purpose for everything that follows.
-
Do a materials walk-through together. Before diving in, let children touch and observe each item in the kit. Physical artifacts and manipulatives deepen learning by connecting abstract concepts to real objects. This sensory preview builds curiosity and reduces the chaos of grabbing materials mid-experiment.
-
Guide the inquiry phase. Follow the activity card instructions as a framework, not a script. Ask open-ended questions like “What do you think will happen if we add more?” or “Why do you think that worked?” Starting with guided inquiry and moving toward open inquiry as confidence builds helps novice learners thrive without feeling lost.
-
Encourage collaboration and role assignment. If working with multiple children, assign simple roles: a recorder, a builder, a materials manager. This mirrors real scientific teamwork and keeps everyone engaged. Older children in the 10 to 13 range often thrive when given the recorder role because it integrates writing naturally.
-
Introduce the design or build phase. Many kits include a challenge component where children create a prototype or design a solution. Let them make choices here, even imperfect ones. Iterative prototyping cycles and treating failure as information are cornerstones of design-based STEAM learning. When something does not work, say, “Interesting. What does that tell us?”
-
Run the reflection cycle. After the main activity, use the reflection prompts included in the kit or create your own. Ask children to share one thing they discovered, one thing that surprised them, and one thing they would try differently. Structured reflection time after each project phase is crucial for student growth and creative problem solving.
-
Celebrate the process, not just the outcome. Acknowledge effort, curiosity, and persistence. Certificates, badges, and verbal recognition reinforce a child’s identity as a capable innovator. This step is especially powerful for children who struggle in traditional learning settings.
Pro Tip: For younger children ages 5 to 7, shorten each phase to about five minutes and use more physical demonstration. For older children ages 10 to 13, extend the inquiry and reflection phases and ask them to document their observations in writing, even a single sentence per step builds strong scientific habits.
Troubleshooting common challenges
Even the best-prepared sessions hit a wall sometimes. Knowing what to expect, and how to respond, keeps the learning moving forward instead of falling apart.
- Short attention spans: Break longer activities into smaller, timed segments of about 10 minutes each. Younger children especially need frequent transitions between doing, observing, and discussing.
- A failed experiment: Resist the urge to fix it immediately. A prototype that collapses or a reaction that does not happen is not a failure. It is data. Reframe it by saying, “That is exactly how real scientists learn. What can we change?”
- The child who wants to take over: In group settings, redirect dominant children by giving them a specific role that channels their energy, like official data recorder or materials organizer, rather than shutting them down.
- Resource substitutions: Not every household has every material. Many kits allow for common substitutions. Vinegar can replace certain acids, cardboard can replace foam board, and dried beans can replace small weights. The goal is the concept, not the exact material.
- Safety considerations: Always read the age guidance on each kit component before starting. Some experiment kits for older children involve electricity or heat elements that require direct adult supervision. Never leave children unattended during active experiment phases.
“The arts serve as essential access points within STEAM to foster creativity and inquiry. When a child decorates their prototype or writes a story about their discovery, that is not extra credit. That is the learning itself.”
Pairing your discovery activities with project-based worksheets can also help you structure the session so children have a concrete record of their thinking at each step.
What successful STEAM discovery looks like
A lot of parents and educators worry they are doing it wrong because the session gets messy or loud or takes longer than expected. Here is what to look for instead. These are the real indicators that your educational kit instructions are working:
| Observable behavior | What it signals |
|---|---|
| Child asks “What if we tried…” | Active curiosity and design thinking in motion |
| Child repeats a step after a failure | Resilience and iterative problem-solving |
| Child explains their reasoning aloud | Metacognitive awareness and science communication |
| Child connects the activity to real life | Cross-disciplinary integration is happening |
| Child wants to continue after time is up | Deep engagement and intrinsic motivation |
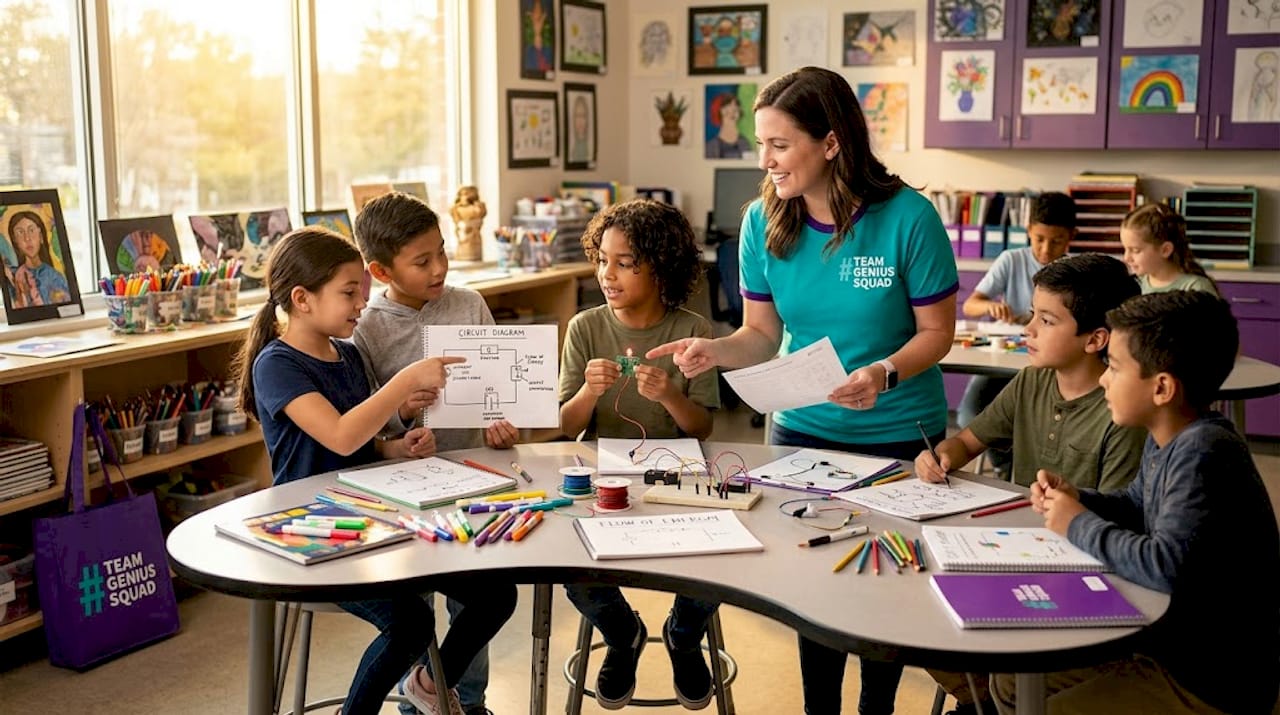
True STEAM requires weaving subjects into unified learning experiences so children create solutions rather than completing isolated activities. When a child builds a circuit and then draws a diagram of how it works and writes one sentence explaining the concept, that is all three happening at once: engineering, art, and literacy, connected.
The long-term skills that come from consistent, guided discovery kit activities include adaptive thinking, comfort with ambiguity, and the ability to approach new problems with confidence rather than anxiety. These are not just academic skills. They are life skills, and hands-on learning projects build them in ways that traditional instruction rarely can, especially for children who learn differently.
For children who are neurodivergent or who struggle in traditional settings, the combination of tactile materials, clear guided steps, and identity-building props creates a learning environment where success feels both possible and real.
My honest take on STEAM facilitation
I have seen what happens when adults treat STEAM as a craft session with a science name attached. Kids make something cute, parents take a photo, and the learning stops there. That is not STEAM. It is a missed opportunity.
What I have learned from watching children work through real discovery kit activities is that the most powerful moments happen when an adult resists the urge to rescue. A child who spends eight minutes trying to make a bridge hold a penny is doing more rigorous thinking than one who follows a perfect diagram to a perfect result. The struggle is the curriculum.
I have also come to believe that STEAM education misunderstood as separate subjects plus art is one of the most common and damaging mistakes in both homes and schools. The arts are not decoration. Music, visual art, storytelling, and design are the creative engine that makes scientific inquiry come alive for children who might otherwise feel disconnected from “hard” subjects.
The other thing I would push back on is the idea that you need to be a science expert to lead a great STEAM session. You do not. You need to be genuinely curious alongside the child. Ask real questions. Say “I do not know, let us find out” and mean it. That posture teaches children something no kit instruction card ever could: that curiosity is a skill worth practicing for life.
— Tita
Unlock hands-on STEAM learning with Teamgeniussquad
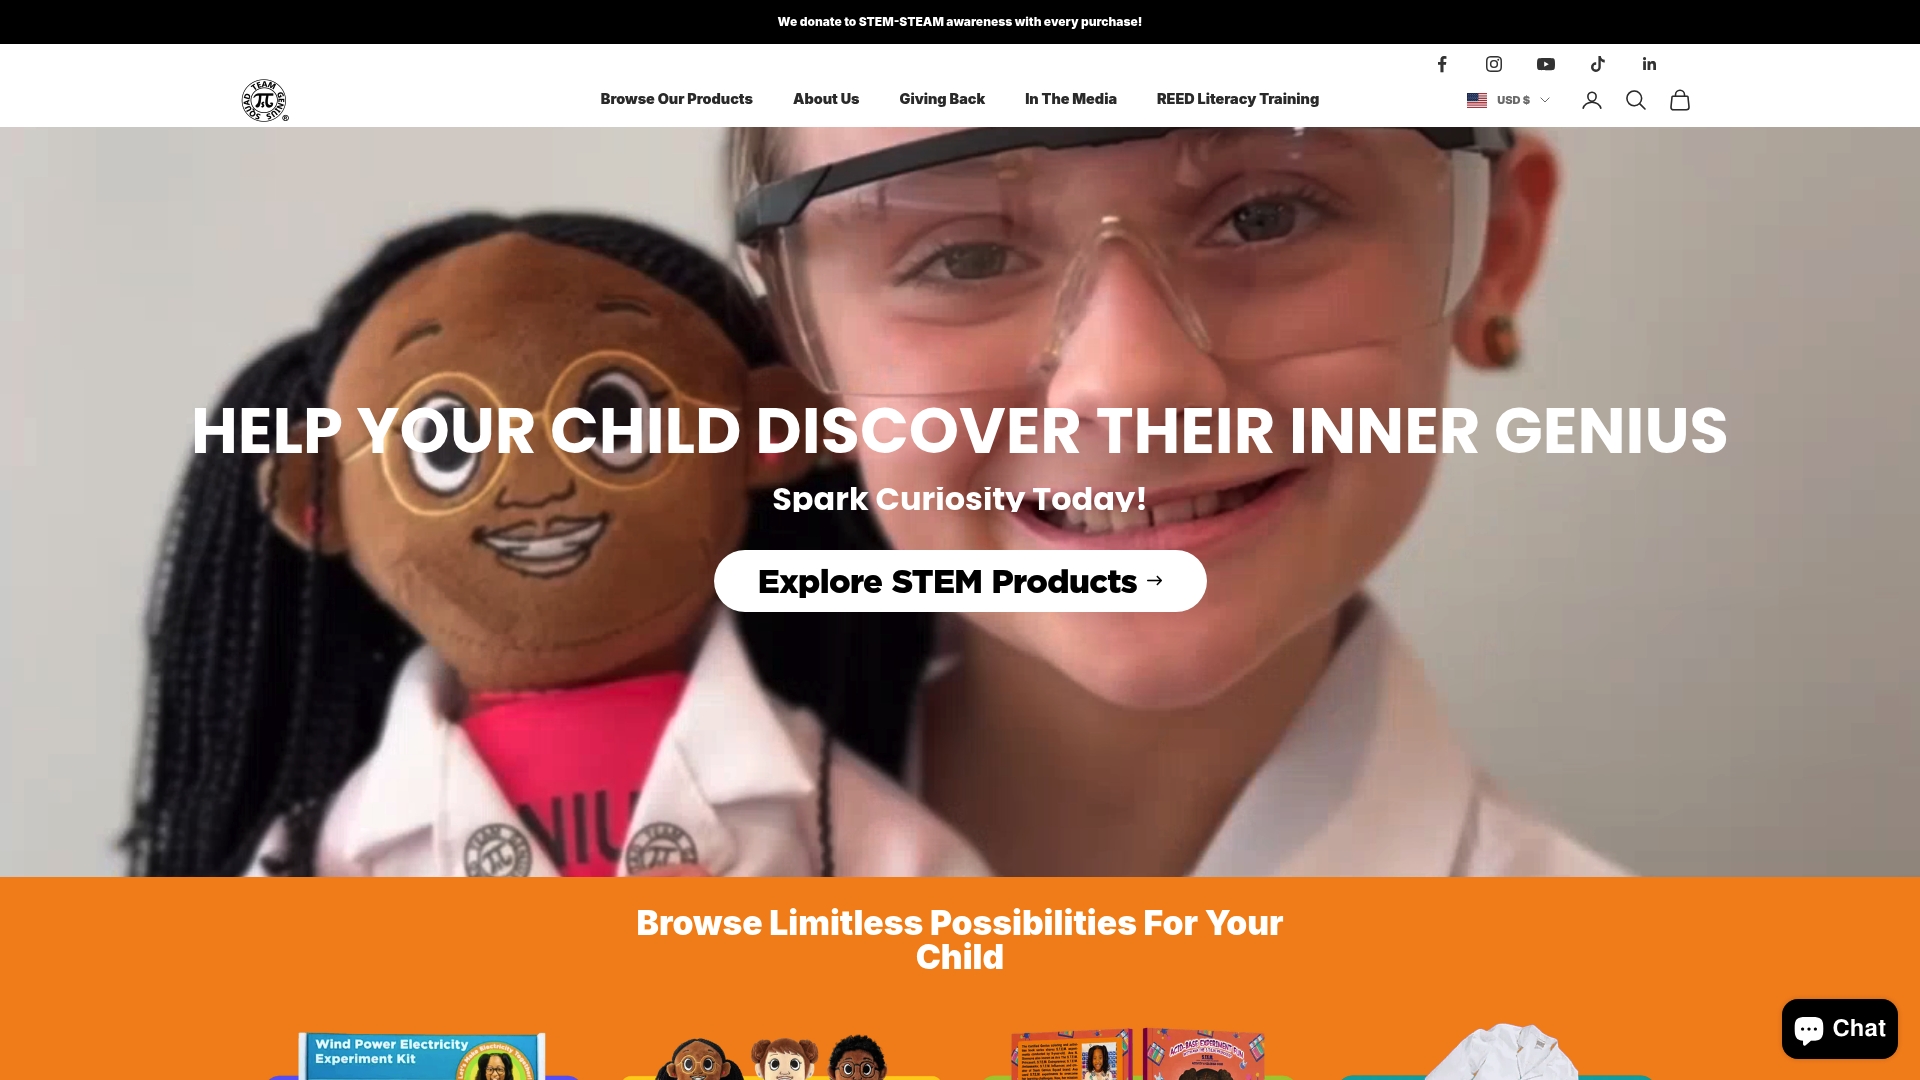
Teamgeniussquad was built around one powerful idea: every child deserves to experience the joy of discovery, especially those who have struggled to find their place in traditional learning environments. Powered by the trademarked E³ Method (Engage, Encourage, Empower), each Teamgeniussquad kit gives children ages 5 to 13 a guided path from curiosity to confidence through real experiments, role-play props, and reflection tools that make learning stick.
Whether you are looking for your first kit or building out a full STEAM learning library at home or in the classroom, the Electricity Lab Bundle is a standout place to start, especially for children ready to explore circuits and energy concepts through hands-on projects. You can also browse the full experiment kits collection to find the right fit for your child’s age and interests. Pair any kit with the STEM books and puzzles to reinforce concepts between sessions and keep the learning going all week long.
FAQ
What does a STEAM discovery kit instructional guide include?
A STEAM discovery kit instructional guide typically includes step-by-step activity instructions, guided inquiry questions, reflection prompts, and safety notes. The best guides also include tips for facilitating discussion and extending learning beyond the initial activity.
How long does a STEAM discovery kit session usually take?
Most discovery kit sessions for ages 5 to 13 run between 30 and 60 minutes depending on the complexity of the project. Breaking the session into phases such as introduction, exploration, building, and reflection helps keep children engaged throughout.
What if my child’s experiment fails?
A failed experiment is one of the most valuable moments in a STEAM session. Encourage your child to ask what the result tells them and what they could change, because treating failure as data builds resilience and real scientific thinking.
Do I need a science background to use a STEAM discovery kit?
No science background is needed. The best thing you can do is stay genuinely curious alongside your child, ask open questions, and let the kit’s activity cards guide the session. Your enthusiasm matters far more than your expertise.
How is STEAM different from STEM in these kits?
STEAM adds the arts to STEM subjects, and in quality kits that means integrating arts as access points for creativity and inquiry, not just decorating a finished project. This integration makes concepts more accessible and engaging for a wider range of learners.
Leave a comment
This site is protected by hCaptcha and the hCaptcha Privacy Policy and Terms of Service apply.