Mason Jar Crafts: Easy DIY Ideas for Home and Gifts
Mason jar crafts are defined as the creative reuse of glass canning jars to produce home decor, functional organizers, thoughtful gifts, and hands-on educational projects. These projects cost under $10–$20 per build, making them one of the most accessible craft categories available. The 2026 trends point to three clear directions: sustainable storage, seasonal lighting, and indoor greenery. Whether you are decorating a shelf, preparing a handmade gift, or teaching a child about plant biology, a mason jar is the right starting point.
What supplies do you need for mason jar crafts?
Every successful DIY mason jar project starts with a short, affordable supply list. Most materials are already in your home or cost very little at a craft store.
Core materials:
- Mason jars (wide-mouth pint or quart sizes work for most projects)
- Acrylic or chalk paint in your chosen palette
- Natural twine or jute cord for wrapping and hanging
- 18–20 gauge wire for handles and structural elements
- Pebbles or gravel for drainage in planter projects
- Potting soil and herb seedlings
- Battery-operated LED tea lights for lanterns
Basic tools:
- Flat and round paintbrushes
- Sea sponges for texture effects
- Wire cutters and needle-nose pliers
- Fine-grit sandpaper (220 grit works well)
- Painter’s tape for clean lines
The right wire gauge for handles is 18–20 gauge. Thinner wire bends too easily under weight, while thicker wire is hard to shape and secure around the jar rim.
Pro Tip: Check your kitchen junk drawer before buying anything. Rubber bands, old paintbrushes, and leftover gravel from a fish tank all work perfectly in mason jar projects.
| Material | Avg. Cost | Where to Find It | Best Use |
|---|---|---|---|
| Acrylic paint | $1–$3 per bottle | Craft stores, dollar stores | Painted vases, lanterns |
| Natural twine | $3–$5 per roll | Hardware stores, online | Wrapping, hanging |
| 18–20 gauge wire | $4–$6 per spool | Hardware stores | Handles, structural accents |
| Pebbles or gravel | $2–$4 per bag | Garden centers, pet stores | Drainage in planters |
| Battery LED tea lights | $5–$8 per pack | Dollar stores, online | Safe lighting in lanterns |
Sourcing materials from dollar stores and hardware stores keeps your total project cost well within the $10–$20 range. That low barrier is exactly why mason jar decorating has stayed popular across every skill level.
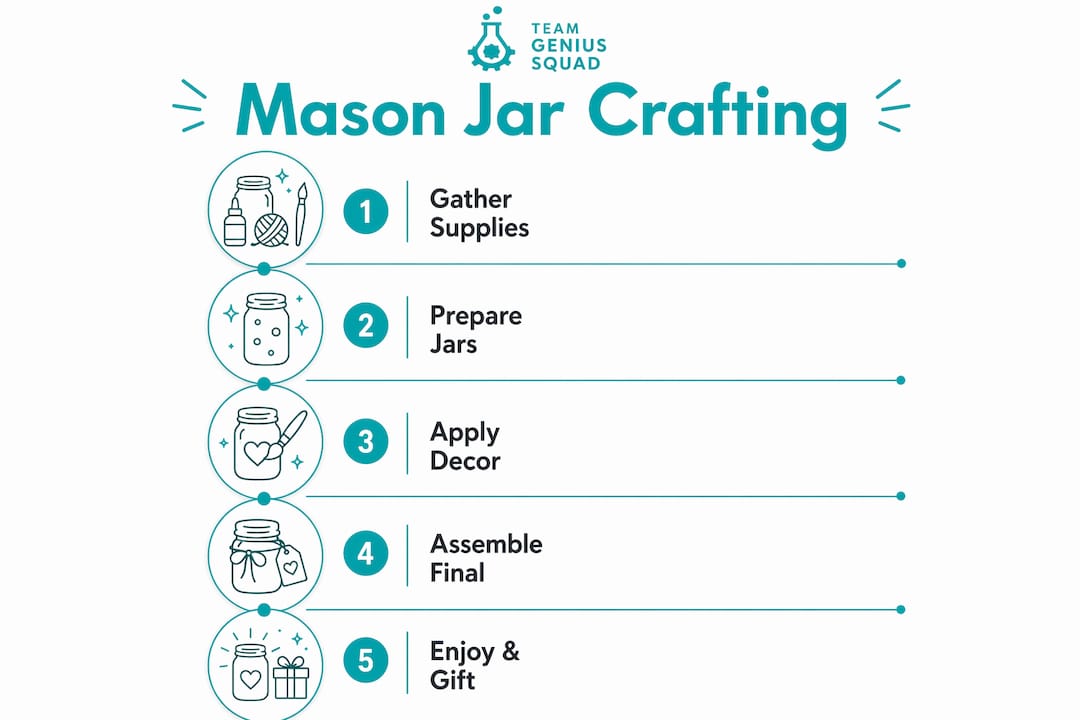
How do you make easy mason jar decor projects?
Most simple mason jar projects finish in 30–60 minutes of active work. Drying time for layered paints or decoupage can extend the total to 12–24 hours, so plan accordingly.
Painted chalk paint vases
- Clean and dry your jar completely. Any grease or residue will cause paint to peel.
- Apply a thin base coat of chalk paint using a flat brush. Work in one direction to avoid streaks.
- Let the first coat dry for at least one hour, then apply a second coat.
- Allow the jar to cure for 24 hours before the next step.
- Lightly sand the raised edges and rim with fine-grit sandpaper to create a distressed, vintage look.
- Seal with a matte spray sealant if the jar will be displayed outdoors or near moisture.
Acrylic paint works just as well as chalk paint and costs less per bottle. Layering two colors before distressing builds depth and gives the jar a professional finish without specialty supplies.
Alcohol ink lanterns with wire handles
- Pour two or three drops of alcohol ink onto the outside of a clean jar.
- Tilt and rotate the jar slowly so the ink spreads and blends naturally.
- Add a second color while the first is still wet for a marbled effect.
- Let the ink dry completely, which takes about 15 minutes.
- Cut a 24-inch length of 18–20 gauge wire. Wrap the center around the jar neck twice, then twist to secure.
- Bend both wire ends upward and join them at the top to form a handle loop.
- Place a battery-operated LED tea light inside.
Alcohol ink dries fast, blends easily, and its transparency lets light pass through beautifully. Mistakes are easy to fix because additional layers simply cover earlier errors. This makes alcohol ink the best technique for beginners who want high visual impact on their first try.
Pro Tip: Pair warm ink colors like amber and coral with a warm white LED for a candlelit glow. Cool blues and greens pair better with a cool white LED.
Herb planters for kitchen counters
- Add a 1–2 inch layer of pebbles to the bottom of the jar. This drainage layer prevents root rot in jars that have no drainage holes.
- Fill the jar two-thirds full with potting soil.
- Plant one herb seedling per jar. Basil, mint, and chives grow well in small containers.
- Water lightly and place on a sunny windowsill.
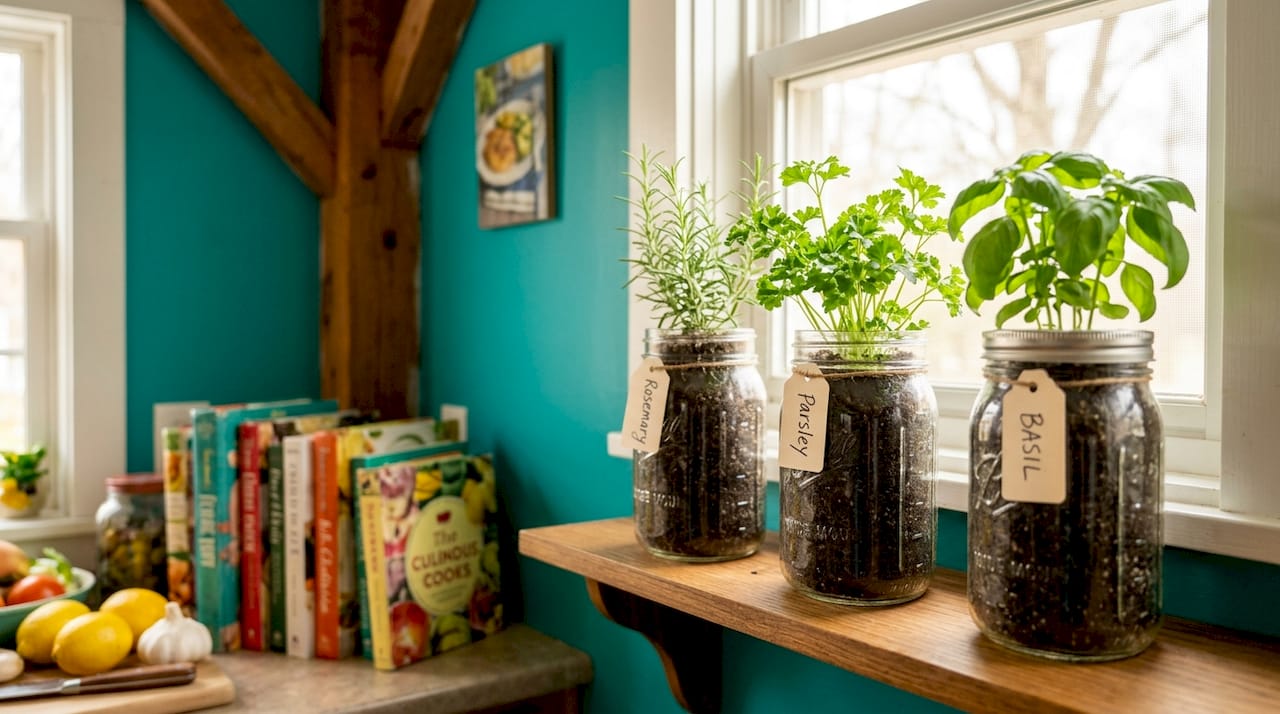
Herb planters in mason jars add greenery to small kitchens without bulky pots. A set of three labeled jars makes a practical and beautiful handmade gift.
Can mason jar crafts support STEM learning?
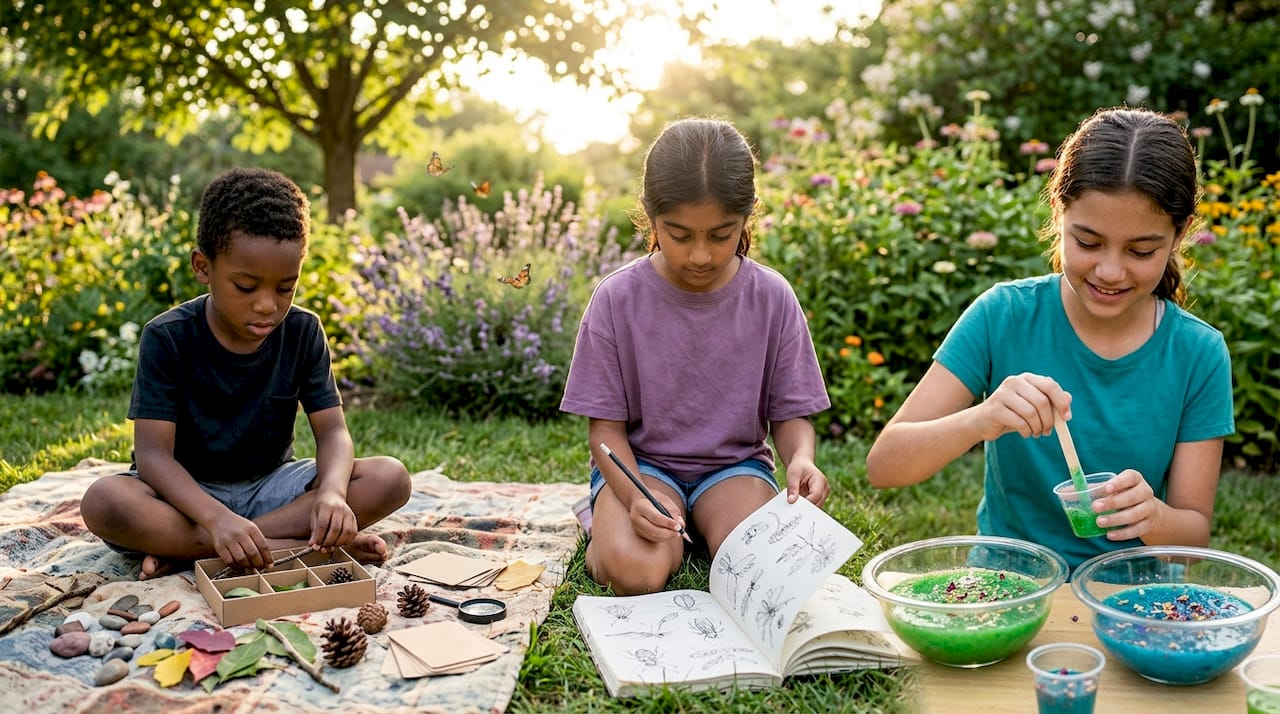
Mason jars are a natural fit for hands-on science and STEM activities. They support experiments like sensory bottles, plant biology observations, and solar-powered lighting projects, all of which connect physical making with scientific thinking.
STEM project ideas using mason jars:
- Sensory bottles: Fill a jar with water, glitter glue, and small objects. Seal the lid tightly. Children observe how objects move at different speeds, introducing concepts of density and viscosity.
- Plant science: Grow bean sprouts against the glass wall of a jar so children can observe root development in real time. Label each growth stage with a marker on the glass.
- Solar lighting: Pair a mason jar lantern with a solar energy kit to teach children how solar panels convert light into electricity. The jar becomes the housing for the light output.
- Water cycle model: Add a small amount of warm water to a jar, seal it, and place it in sunlight. Condensation forms on the inside walls, demonstrating evaporation and condensation in a closed system.
Teamgeniussquad builds hands-on, screen-free STEAM discovery kits designed specifically for children ages 5–13. Their STEM sensory bottles pair directly with mason jar observation activities, giving children a structured framework for scientific exploration. The E³ Method (Engage, Encourage, Empower) that guides every Teamgeniussquad kit maps perfectly onto the mason jar craft process: children engage with the material, get encouraged through early success, and feel empowered to experiment further.
Pro Tip: Label each STEM jar project with the date and the child’s hypothesis. Revisiting predictions after a week builds scientific thinking and reading skills at the same time.
Pairing jar crafts with STEM books and puzzles extends the learning beyond the activity itself. Children who read about the science behind their project retain the concepts longer and ask better questions.
What safety and maintenance tips keep mason jar crafts lasting?
Glass and heat are the two biggest safety concerns in mason jar crafts. Addressing both protects your work and the people around it.
Never place a real candle inside a painted or decorated mason jar. The heat from an open flame can crack the glass and ignite paint or twine. Battery-operated LED tea lights produce no heat and eliminate this risk entirely. For outdoor lanterns, use only sealed, weatherproof LED units rated for exterior use.
Maintenance tips for long-lasting crafts:
- Seal all painted outdoor jars with a UV-resistant spray sealant. Paint fades and peels within one season without protection.
- Check wire handles every few weeks. Tighten any loose wraps around the jar neck using needle-nose pliers before the handle becomes unstable.
- For herb planters, empty and rinse the jar every two months to prevent mineral buildup from tap water.
- Store seasonal lanterns wrapped in tissue paper inside a box. Bare glass stored against other glass chips easily.
Fixing paint imperfections is straightforward. Sand the affected area lightly with 220-grit sandpaper, wipe away dust with a damp cloth, and apply a fresh coat of paint once the surface is dry. The distressing technique actually makes minor imperfections look intentional, which is one reason it suits beginners so well.
Key Takeaways
Mason jar crafts deliver the most value when you combine the right materials, a clear technique, and basic safety practices from the start.
| Point | Details |
|---|---|
| Low cost entry | Most projects cost under $20 using materials from dollar stores and hardware stores. |
| Technique matters | Alcohol ink and chalk paint give beginners high-impact results with minimal skill required. |
| Drainage is non-negotiable | A 1–2 inch pebble layer prevents root rot in any planter jar without drainage holes. |
| Safety first with lighting | Use only battery-operated LED tea lights inside decorated jars to prevent heat damage. |
| STEM connection | Mason jar projects teach density, plant biology, and solar energy when paired with structured kits. |
Why simplicity is the real secret in jar crafting
I have made hundreds of mason jar projects over the years, and the ones I am most proud of are never the most complicated. The painted chalk vase with two colors and a light sanding took me 45 minutes. It still sits on my shelf three years later. The elaborate decoupage project with five layers and specialty medium? I redid it twice and eventually threw it out.
The crafters who get the most out of this medium are the ones who resist the urge to add more. One strong color, one texture element, one functional purpose. That restraint is what separates a jar that looks handmade in the best sense from one that looks cluttered. Simplicity also makes these projects repeatable, which matters when you are making gifts or teaching children.
What I find most meaningful about mason jar crafting is its connection to sustainability. You are taking something that would otherwise be recycled or discarded and giving it a second life with purpose and beauty. That is not a small thing. Every jar on your shelf is a reminder that creativity does not require buying something new.
If you are just starting out, make three of the same project before you move to the next one. Repetition builds muscle memory and confidence faster than variety does. By the third jar, you will know exactly what you would do differently, and that knowledge is worth more than any tutorial.
— Tita
Teamgeniussquad kits that pair with your next jar project
Mason jar crafts and hands-on STEM learning share the same core value: children and adults learn best by doing. Teamgeniussquad builds screen-free STEAM kits that extend the curiosity sparked by a sensory bottle or a solar lantern into a full discovery experience.

The Whole Foods Launch collection features kits designed for creative, purposeful play that complements exactly the kind of making you do with mason jars. Whether you are a parent looking to turn a craft afternoon into a science lesson or an educator building a hands-on classroom station, Teamgeniussquad has a kit built for that moment. Each one follows the E³ Method, so children move from curiosity to confidence with every activity they complete.
FAQ
What paint works best for mason jar crafts?
Acrylic paint and chalk paint both work well on glass mason jars. Acrylic is more affordable, while chalk paint creates a matte, vintage finish that distresses beautifully after 24 hours of drying.
How long do mason jar craft projects take to complete?
Most projects take 30–60 minutes of active work. Layered paint or decoupage finishes require an additional 12–24 hours of drying time before the jar is ready to display or gift.
Are mason jar lanterns safe to use indoors?
Mason jar lanterns are safe indoors when you use battery-operated LED tea lights. Real candles generate heat that can crack glass and ignite decorative materials like paint, twine, or ribbon.
How do you keep herb planters from killing the plants?
Place a 1–2 inch layer of pebbles at the bottom of the jar before adding soil. This drainage layer prevents water from pooling around the roots and causing rot in jars without drainage holes.
Can mason jar crafts be used for STEM education?
Mason jars support STEM learning through sensory bottle experiments, plant biology observations, and solar lighting projects. Pairing them with structured kits, like those from Teamgeniussquad, adds scientific context and builds deeper understanding.


Leave a comment
This site is protected by hCaptcha and the hCaptcha Privacy Policy and Terms of Service apply.