How to Make Learning Fun for Kids: A Play-First Guide
The single most effective way to make learning fun for kids is to frame every lesson as play and discovery, with one tiny, clear goal and a quick moment of celebration when they reach it. Try this right now: give your child a 3-minute “counting quest” where they race to find five blue objects in the house and count them aloud. That one small loop, a clear goal, a physical search, and a proud finish, is the engine behind Universal Design for Learning (UDL) and active-learning research. Both frameworks confirm that children retain far more when they are doing something with the material rather than watching or listening passively.
Key Takeaways
Framing every lesson as play and discovery, with a clear tiny goal and immediate feedback, is the most reliable way to make learning genuinely fun for children ages 3–10.
| Point | Details |
|---|---|
| Play first, instruction second | Frame every activity as a quest or experiment; children engage longer and retain more when learning feels like discovery. |
| Active learning beats passive | Think-pair-share, peer teaching, and hands-on projects outperform listening and worksheets for retention across all ages. |
| Differentiate by entry point | Offer drawing, building, or writing as format choices so every learner, including neurodivergent kids, can access the same objective. |
| Celebrate effort specifically | Name the exact effort (“You tried a new strategy”) rather than the result to build a growth mindset that sustains motivation. |
| Teamgeniussquad kits reduce prep | Screen-free STEAM kits with the E³ Method (Engage, Encourage, Empower) give parents and educators ready-to-run, confidence-building activities for ages 5–13. |
Table of Contents
- 10 quick ways to make learning fun (at a glance)
- How to turn any lesson into a game kids actually want to play
- Hands-on STEAM and arts projects that make concepts stick
- Movement, outdoor learning, and experiential activities
- Social learning and child-led projects that build real engagement
- When apps help and when to go screen-free
- Change the learning environment and break up lessons
- How to choose the right activity for your child or class
- Three ready-to-run, screen-free STEAM activities from Teamgeniussquad
- Fast activity bank: 12 ideas organized by age
- Why hands-on discovery builds more than knowledge
- Ready-made STEAM kits for parents and educators short on prep time
- Sources
10 quick ways to make learning fun (at a glance)
Use this list as a weekly menu. Pick two or three tactics that match your child’s mood and your available time, then rotate.
- Gamify the lesson — Turn any drill into a points-and-badge game; gamification elements like quests and levels boost motivation when paired with effort-based rewards. (All ages)
- Hands-on STEAM projects — Build, mix, or construct something real; tactile work deepens retention and metacognition. (Ages 5–10)
- Outdoor exploration — Take the lesson outside; nature observation sharpens vocabulary and science skills simultaneously. (Ages 3–10)
- Storytelling and role-play — Cast the child as the hero of the lesson; playful learning in early grades shows that narrative framing increases engagement across subjects. (Ages 3–8)
- Peer teaching — Ask the child to explain what they just learned to a sibling, stuffed animal, or parent; explaining deepens understanding. (Ages 5–10)
- Child-led choice — Offer two or three activity options; autonomy reduces resistance and lifts intrinsic motivation. (All ages)
- Short lessons plus movement — Cap focused instruction at 7 minutes, then add a 2-minute movement break tied to the concept. (All ages)
- Station rotation — Set up three small activity corners (reading nook, experiment table, art station) and rotate every 10–15 minutes. (Ages 4–10)
- Intentional tech tools — Use game-based apps that require active input and give instant feedback; limit passive video. (Ages 5–10)
- Celebrate effort, not just results — Name the specific effort (“You kept trying even when the tower fell!”) to build a growth mindset. (All ages)
Play-based activities from UNICEF confirm that this kind of structured play builds foundational skills in counting, shapes, and vocabulary across the full 3–10 age range.
How to turn any lesson into a game kids actually want to play
Gamification does not require a screen or a complicated point system. Four elements are all you need: a clear goal the child can see, immediate feedback when they make a move, a sense of progression (level 1 to level 2), and optional friendly competition that stays effort-focused.
Three copy-ready game templates:
1. The Scavenger Quest (ages 3–7) Setup: Write or draw three clues on index cards. Each clue leads to a spot in the house or classroom where the next card waits, along with a small task (count the books on the shelf, spell the color of the pillow). Script: “You are Explorer [child’s name]. Your mission is to find the three clues and solve the final puzzle. Ready? Go!” Materials: Three index cards, a pencil, 5 minutes. Age tweak for 3–4: Use picture clues instead of words.
2. Mystery Mission (ages 5–9) Setup: Write a “case file” on a folded piece of paper. Inside, list three math problems or vocabulary words. Solving all three “unlocks” a secret code (a simple number or word you reveal at the end). Script: “Agent [name], a mystery has arrived. Solve the clues to crack the code before time runs out!” Materials: Paper, pencil, a kitchen timer.
3. Boss-Battle Review (ages 7–10) Setup: Write 10 review questions on sticky notes and stick them to a “boss” drawing on the wall. Each correct answer removes one sticky note. The child “defeats the boss” when all notes are gone. Materials: Sticky notes, marker, 10 minutes. Age tweak for older kids: Let them write their own boss questions for a sibling or classmate.
Pro Tip: Keep competition positive by using team scoring or anonymous IDs on any leaderboard. Effort-based points (“You tried a new strategy — +2 points!”) outperform pure accuracy scoring for sustaining motivation across multiple sessions.
Hands-on STEAM and arts projects that make concepts stick
Psychology research links play and active learning to stronger memory encoding compared with passive instruction. When children build, mix, or create something, they also practice metacognition: describing their thinking, noticing what went wrong, and adjusting. Asking a child “What did you try first, and why?” after any project deepens that learning more than task completion alone.
Three low-prep projects:
-
Science: Sink or Float Lab (Ages 4–8) Objective: Predict and test buoyancy; practice the scientific method. Time: 15 minutes. Materials: A bowl of water, 10 household objects (coin, sponge, crayon, apple). Substitution: No bowl? Use a clean pot or a large plastic container. UDL note: Let children draw their predictions before testing; this supports visual learners and reduces writing pressure for neurodivergent kids.
-
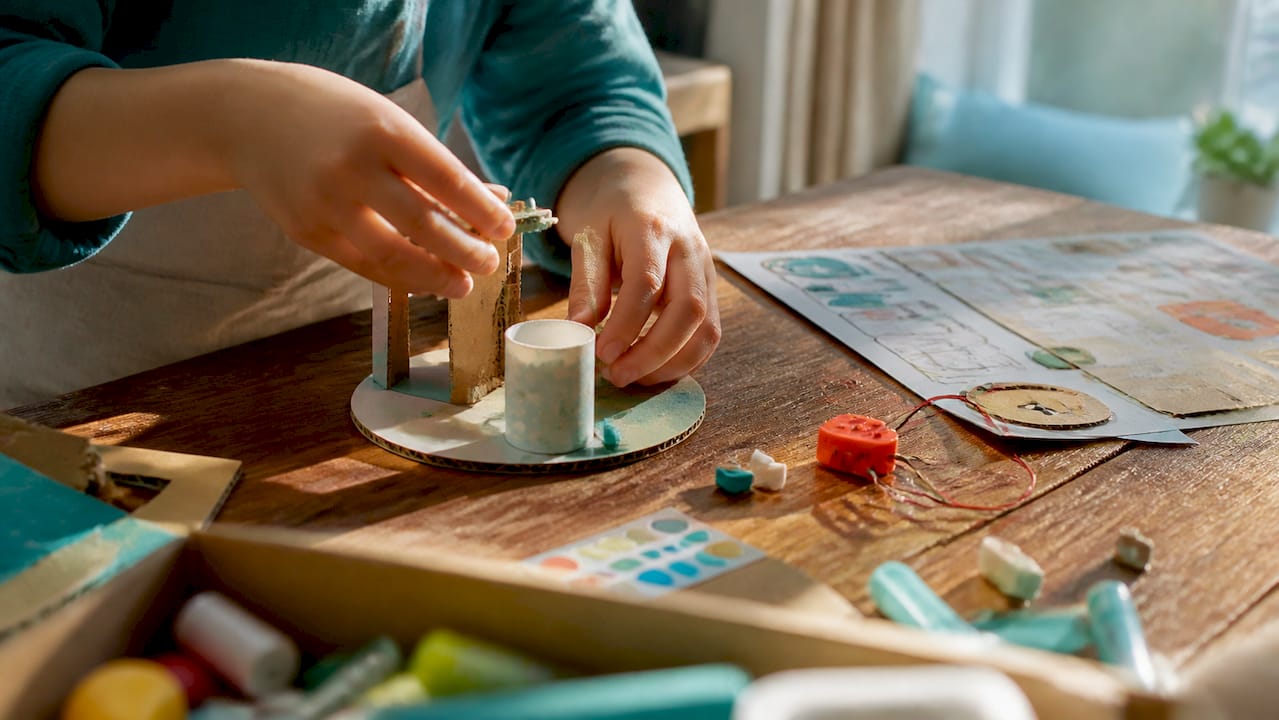
Engineering: Marshmallow Tower (Ages 5–10) Objective: Apply basic structural thinking; practice iterative design. Time: 20 minutes. Materials: 20 mini marshmallows, 15 toothpicks. Substitution: Use rolled paper squares and tape if marshmallows are unavailable. UDL note: Pair a verbal child with a builder; let each contribute in their strength.
-
Art: Nature Collage Map (Ages 3–8) Objective: Develop fine motor skills, creativity, and observation; art activities in early childhood support cross-subject connections. Time: 20 minutes. Materials: Leaves, sticks, or petals collected outside; glue stick; paper. Substitution: Use magazine cutouts or fabric scraps indoors. UDL note: Offer pre-cut shapes for children with fine motor challenges.
For more hands-on STEAM kit ideas, the Teamgeniussquad blog explains how structured kits scaffold these exact skills.
Movement, outdoor learning, and experiential activities
Physical movement is not a break from learning. It is learning, especially for children ages 3–8 whose bodies and brains are wired to process information through motion.
Five activity ideas with learning goals:
- Hop-to-Answer Math Line — Tape a number line on the floor with painter’s tape; call out addition problems and have the child hop to the answer. Goal: number sense and addition fluency. (Ages 5–8)
- Nature Observation Walk — Give children a simple recording sheet with three prompts: “I see,” “I hear,” “I wonder.” Goal: scientific observation and vocabulary. (Ages 4–9) Teaching money concepts through everyday activities like a pretend grocery run outside extends this format to financial literacy.
- Alphabet Sidewalk Chalk — Write letters on the driveway; call a letter and have the child run to it. Goal: letter recognition and phonics. (Ages 3–5)
- Measurement Scavenger Hunt — Give children a ruler and a list of things to measure (a leaf, a stick, a shoe). Goal: measurement and estimation. (Ages 6–10)
- Story Walk — Print pages of a short story and tape them to trees or fence posts; children walk and read. Goal: reading fluency and comprehension. (Ages 5–8)
Urban and tight-schedule adaptations: Run the hop-to-answer line in a hallway. Do the nature walk on a balcony or near a single tree. Tape the story walk to a wall inside. Most of these activities take 10–15 minutes and require no special equipment.
Safety note: For outdoor activities, keep children within sight, check surfaces for hazards before taping or chalking, and use washable chalk on public sidewalks.
Social learning and child-led projects that build real engagement
Children learn more when they explain ideas to each other than when they simply receive instruction. Active-learning techniques like think-pair-share and peer explanation increase engagement and help learners articulate their reasoning, which is one of the strongest predictors of retention.
Group activity template (works at home with siblings or in a classroom):
Assign three roles: Explainer (shares what they know), Questioner (asks one “why” or “how” question), and Recorder (draws or writes the answer). Rotate roles every 8–10 minutes. End with one shared question: “What is one thing we still wonder about?”
Choice framework for child-led learning:
- Option A: Choose the format (draw it, build it, or write it).
- Option B: Choose the topic within a subject (which animal to research, which math game to play).
- Option C: Choose the order of tasks (start with the experiment or start with the reading).
Offering even one of these choices meaningfully reduces resistance and increases time-on-task. The key is keeping all options aligned to the same learning objective so choice feels real without losing direction.
Watch for these red flags:
- One partner dominates: assign specific timed turns and use a visual timer.
- A child disengages: switch their role or offer a solo version of the same task.
- Group noise escalates: use a “whisper rule” and give each group a signal card to raise when they need help.
Role-play learning advantages for educators offers practical classroom templates that extend these social formats into full lesson structures.
When apps help and when to go screen-free
The American Academy of Pediatrics has long emphasized that intentional, interactive tech use is far more effective than passive screen time, and that adults co-viewing and following up with reflection activities makes the biggest difference in outcomes for young children.
Selection criteria for a genuinely useful app:
- Requires active input (tapping, building, answering) rather than watching.
- Gives immediate, specific feedback (“That’s the wrong letter — try again” beats a buzzer).
- Aligns to a curriculum goal you can name.
- Adapts difficulty based on the child’s responses.
- Limits passive video segments to under 20% of session time.
Useful tool types and when to prefer them:
- Game-based math platforms (constructivist math games): best when a child needs repeated low-stakes practice with number facts. Constructivist, build-to-learn math approaches show why active problem-solving beats drill-and-kill for long-term fluency.
- Interactive story builders: best for reluctant writers who respond to visual prompts and character creation.
- AR science demos: best as a 5-minute “hook” before a hands-on experiment, not as a replacement for it.
Screen-free alternatives for the same goals:
- Math facts: card games, dice games, everyday household sorting and counting.
- Writing practice: story dice, comic strip templates, or the Mystery Mission game above.
- Science concepts: the Sink or Float Lab or any Teamgeniussquad screen-free STEAM kit.
Pro Tip: Cap app sessions at 15–20 minutes, sit with the child for at least the first few minutes, and always close with one question: “What was the hardest part?” That single reflection converts screen time into a learning conversation.
Change the learning environment and break up lessons
A new physical setup signals to a child’s brain that something different and interesting is happening. You do not need a redesigned classroom. Three distinct spots in a room are enough.
Station layout examples:
- Reading Nook — A corner with a pillow, two or three books, and a simple question card (“What surprised you?”).
- Experiment Station — A table with materials for one hands-on task (magnifying glass, leaves, paper).
- Maker Table — Art supplies, building blocks, or a puzzle that connects to the day’s theme.
Rotate children through stations every 10–15 minutes. Use a visual timer so transitions feel predictable, not abrupt.
Mini-lesson template (total: 10–15 minutes):
- Teach one concept for 3–7 minutes (use a prop, a drawing, or a short story).
- Give one practice task (30–60 seconds, solo or paired).
- Ask one reflective question: “How did you figure that out?”
Brain breaks that reinforce learning:
- “Freeze and spell” — freeze on a signal, spell a vocabulary word before moving again.
- “Jump and count” — jump while counting by twos or fives.
- “Act it out” — mime the life cycle of a butterfly or the water cycle.
- “Balance and recall” — stand on one foot and name three things from the last lesson.
Sensory considerations: Some children are distracted by visual clutter or background noise. Keep one station quieter and less visually busy. Offer noise-reducing earmuffs or a fidget tool at the reading nook. These low-cost supports help neurodivergent learners stay regulated and focused without singling them out.
How to choose the right activity for your child or class
Before picking any activity, run through this quick checklist:
- Objective: What skill or concept will the child practice?
- Age fit: Is the task achievable with a small stretch?
- Materials: Do you have them, or a workable substitute?
- Time: Do you have 5, 15, or 30 minutes?
- Differentiation: How will you simplify or extend for different learners?
- Exit ticket: How will you know learning happened? (One question, one drawing, one sentence.)
Scaling by time and group size:
| Activity format | Engagement level | Prep time | Supervision needed |
|---|---|---|---|
| Solo activities | Moderate, self-paced | Low | Minimal check-ins |
| Paired tasks | High, social | Low to moderate | Occasional facilitation |
| Small-group projects | Very high, collaborative | Moderate | Active facilitation |
Sample timing grid:
- Morning routine (5 minutes): One vocabulary word introduced through a quick drawing or gesture.
- Focused block (15–20 minutes): Mini-lesson plus one station activity plus exit ticket.
- Reflection (5 minutes): Child explains one thing they learned to a parent, sibling, or stuffed animal.
Pro Tip: When time is short, a paired task almost always outperforms a solo worksheet. The social pressure of a partner keeps children on task, and the conversation doubles the number of times each child processes the material.
For ready-made timing grids and station templates, the Teamgeniussquad lesson plans page offers structured units you can run the same day.
Three ready-to-run, screen-free STEAM activities from Teamgeniussquad
Teamgeniussquad’s E³ Method (Engage, Encourage, Empower) guides every activity below. Each step moves a child from curiosity to confidence: Engage sparks the question, Encourage supports the attempt, and Empower celebrates the discovery. Role-play elements like a printed badge or a “lab coat” (any old button-up shirt works) help children step into the identity of a scientist or engineer, which sustains motivation well past the activity itself.
Activity 1: Solar Power Investigator
Ages: 5–10 | Time: 20–25 minutes | Learning objective: Understand that sunlight is a source of energy.
Materials: A small mirror or reflective surface, dark paper, a sunny window or outdoor spot, a pencil, and a recording sheet.
Steps:
- Tell the child: “You are a Solar Energy Scientist. Your mission is to find out how sunlight moves.”
- Hold the mirror in sunlight and reflect a beam onto the dark paper. Ask: “Where does the light go?”
- Move the mirror to three different angles. Each time, the child draws where the beam lands.
- Ask: “What would happen if there were no sun?” Record the child’s answer.
- Award a “Solar Investigator” badge (draw a sun on a sticky note).
Differentiation: Ages 3–4: skip the recording sheet; just move the mirror and name colors. Ages 8–10: add a question about solar panels and ask the child to sketch a simple solar-powered house. The Teamgeniussquad Science Solar Energy Kit extends this activity with a mirror disk and structured experiment guide.
Assessment: Ask “What did the mirror do to the light?” A child who can answer in their own words has grasped the core concept.
Activity 2: Electricity Detectives
Ages: 7–10 | Time: 25–30 minutes | Learning objective: Identify conductors and insulators; understand a basic circuit concept.
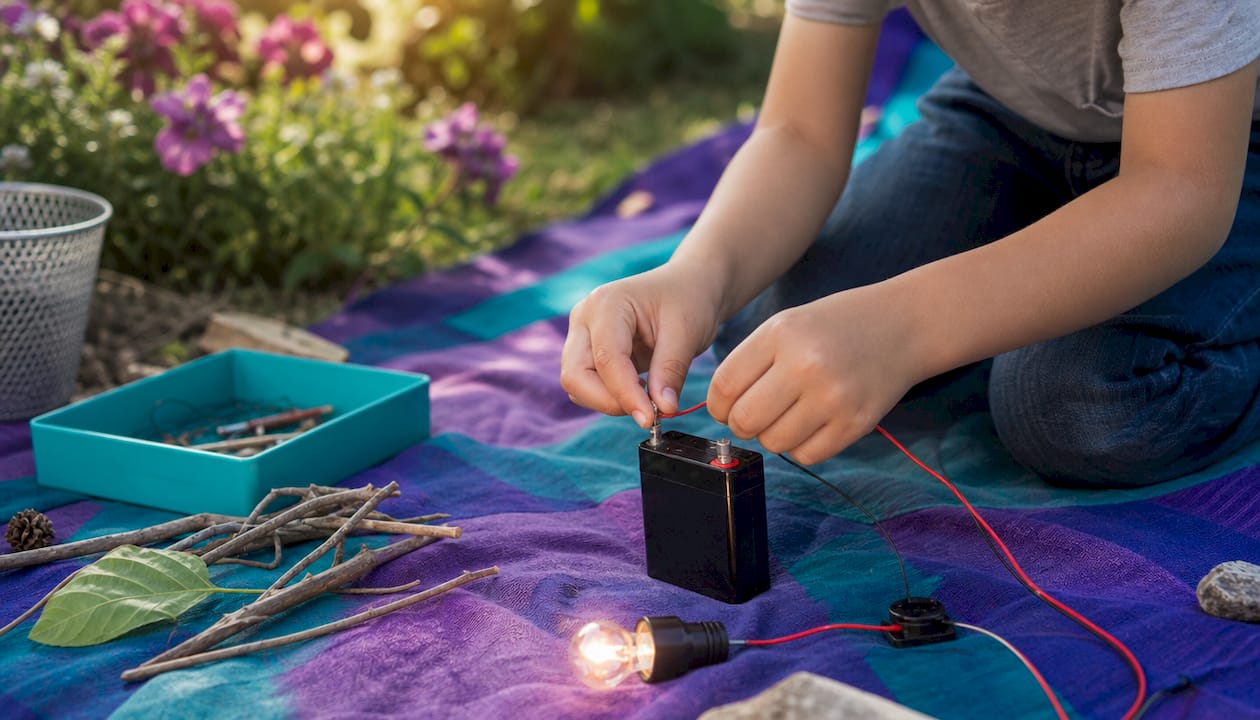
Materials: A battery (AA), two short wires with alligator clips, a small LED bulb, and five household objects to test (coin, rubber band, pencil, aluminum foil, plastic spoon).
Steps:
- Frame it: “You are an Electricity Detective. Your job is to find out which objects let electricity pass through.”
- Build a simple open circuit: battery, two wires, LED. Show the child that the LED lights when the circuit is closed.
- One by one, clip each object into the circuit. The child predicts first (“Will it light up?”), then tests.
- Record results in two columns: “Conductor” and “Insulator.”
- Ask: “What do all the conductors have in common?”
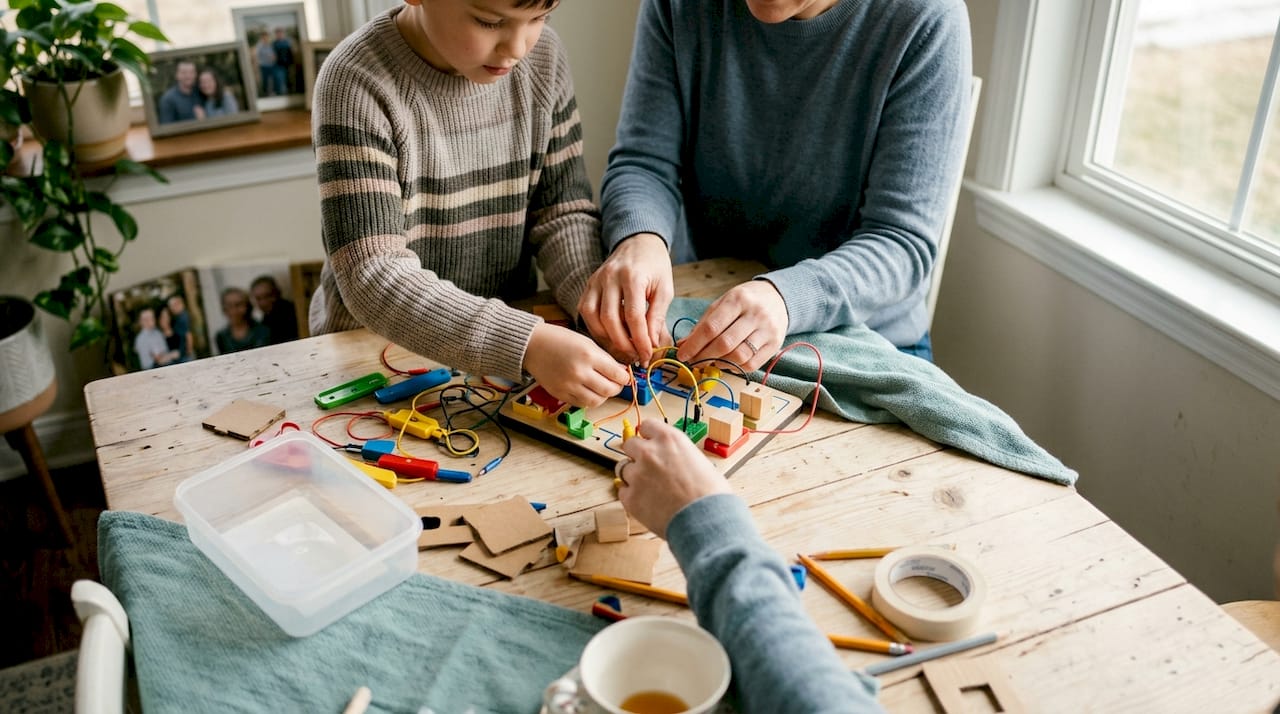
Differentiation: Ages 5–7: pre-build the circuit and let the child only test objects. Ages 8–10: challenge them to design a “conductor hunt” for a younger sibling. The STEM-STEAM Electricity Lab Experience Bundle from Teamgeniussquad includes pre-measured wires, a guide, and a badge set for this exact experiment.
Assessment: The child can sort three new objects into conductor or insulator without help.
Activity 3: Color-Mixing Art Lab
Ages: 3–8 | Time: 15–20 minutes | Learning objective: Explore color theory; practice prediction and observation.
Materials: Red, yellow, and blue washable paint; three small cups; white paper; a paintbrush.
Steps:
- Frame it: “You are a Color Scientist. Your mission is to create a color that does not exist in your paint set.”
- Ask: “What do you think happens when red and yellow meet?” Let the child predict.
- Mix red and yellow. Name the result together.
- Repeat with blue and yellow, then red and blue.
- The child paints a “discovery map” showing all three new colors with their names.
Differentiation: Ages 3–4: use two colors only; focus on naming. Ages 7–8: introduce the color wheel and ask the child to predict complementary pairs. For a creative clothespin craft extension, children can paint and decorate clothespins in their new mixed colors.
Assessment: Ask “If I gave you purple paint and white paint, what color would you make?” A child who answers “light purple” or “lavender” is applying the concept independently.
Fast activity bank: 12 ideas organized by age
| Age 3–4 | Age 5–7 | Age 8–10 |
|---|---|---|
| Shape Sort — Sort blocks by shape into cups. Goal: geometry. 5 min, blocks or household objects. | Hop-to-Answer Math Line — Tape number line on floor; hop to answers. Goal: addition. 10 min, tape. | Measurement Hunt — Measure 10 objects with a ruler; rank by size. Goal: measurement. 15 min, ruler, list. |
| Color Mixing Lab — Mix two paint colors; name the result. Goal: observation. 15 min, paint, cups. | Mystery Mission — Solve three clues to crack a code. Goal: reading + logic. 15 min, paper, pencil. | Boss-Battle Review — Remove sticky notes by answering questions. Goal: subject review. 10 min, sticky notes. |
| Story Walk — Walk to pages of a picture book taped to walls. Goal: listening. 10 min, printed pages, tape. | Nature Collage Map — Glue leaves and petals into a scene. Goal: fine motor + science. 20 min, glue, paper. | Electricity Detectives — Test conductors with a simple circuit. Goal: science concepts. 25 min, battery, wires, LED. |
| Counting Quest — Find five objects of one color. Goal: counting. 5 min, no materials. | Pretend Grocery Run — Use play money to “buy” items; make change. Goal: early math and money skills. 15 min, play money, items. | Solar Power Investigator — Reflect sunlight with a mirror; record beam angles. Goal: energy science. 25 min, mirror, paper. |
For more age-matched ideas, the Teamgeniussquad curiosity-boosting activities list covers ages 5–13 with prompts you can use the same day.
Why hands-on discovery builds more than knowledge
There is a pattern worth naming honestly: the activities that look the least like “school” are often the ones children remember longest. A child who mixes paint colors and names the result is not just learning color theory. They are practicing prediction, tolerating uncertainty, and experiencing the specific satisfaction of being right about something they figured out themselves. That feeling is confidence, and it compounds.
The children who struggle most in traditional learning environments, those who find sitting still difficult, who process information differently, or who have been told in subtle ways that they are “not academic,” often thrive the moment learning becomes physical and exploratory. Teamgeniussquad was built from exactly that insight, inspired by a real family journey with dyslexia and dysgraphia, and the recognition that different minds do not need fixing. They need a different entry point.
What parents and educators can expect when they shift to hands-on, discovery-based learning is not just higher engagement in the moment. Over time, children begin to see themselves as capable. They start saying “I want to try” instead of “I can’t do this.” That identity shift, from passive receiver to active investigator, is the real outcome worth measuring. For more activities and ideas rooted in this approach, the Teamgeniussquad blog is a good next stop.
Ready-made STEAM kits for parents and educators short on prep time
When you want the learning to happen today without spending an hour gathering materials, Teamgeniussquad’s screen-free STEAM discovery kits are built for exactly that situation. Each kit includes pre-measured materials, a step-by-step experiment guide, role-play elements (badges, certificates, and a lab coat option), and reflection prompts that follow the E³ Method. The Science Solar Energy Kit is a strong starting point for ages 5–9, and the STEM-STEAM Electricity Lab Experience Bundle is designed for ages 8–10 and works well as a classroom station.
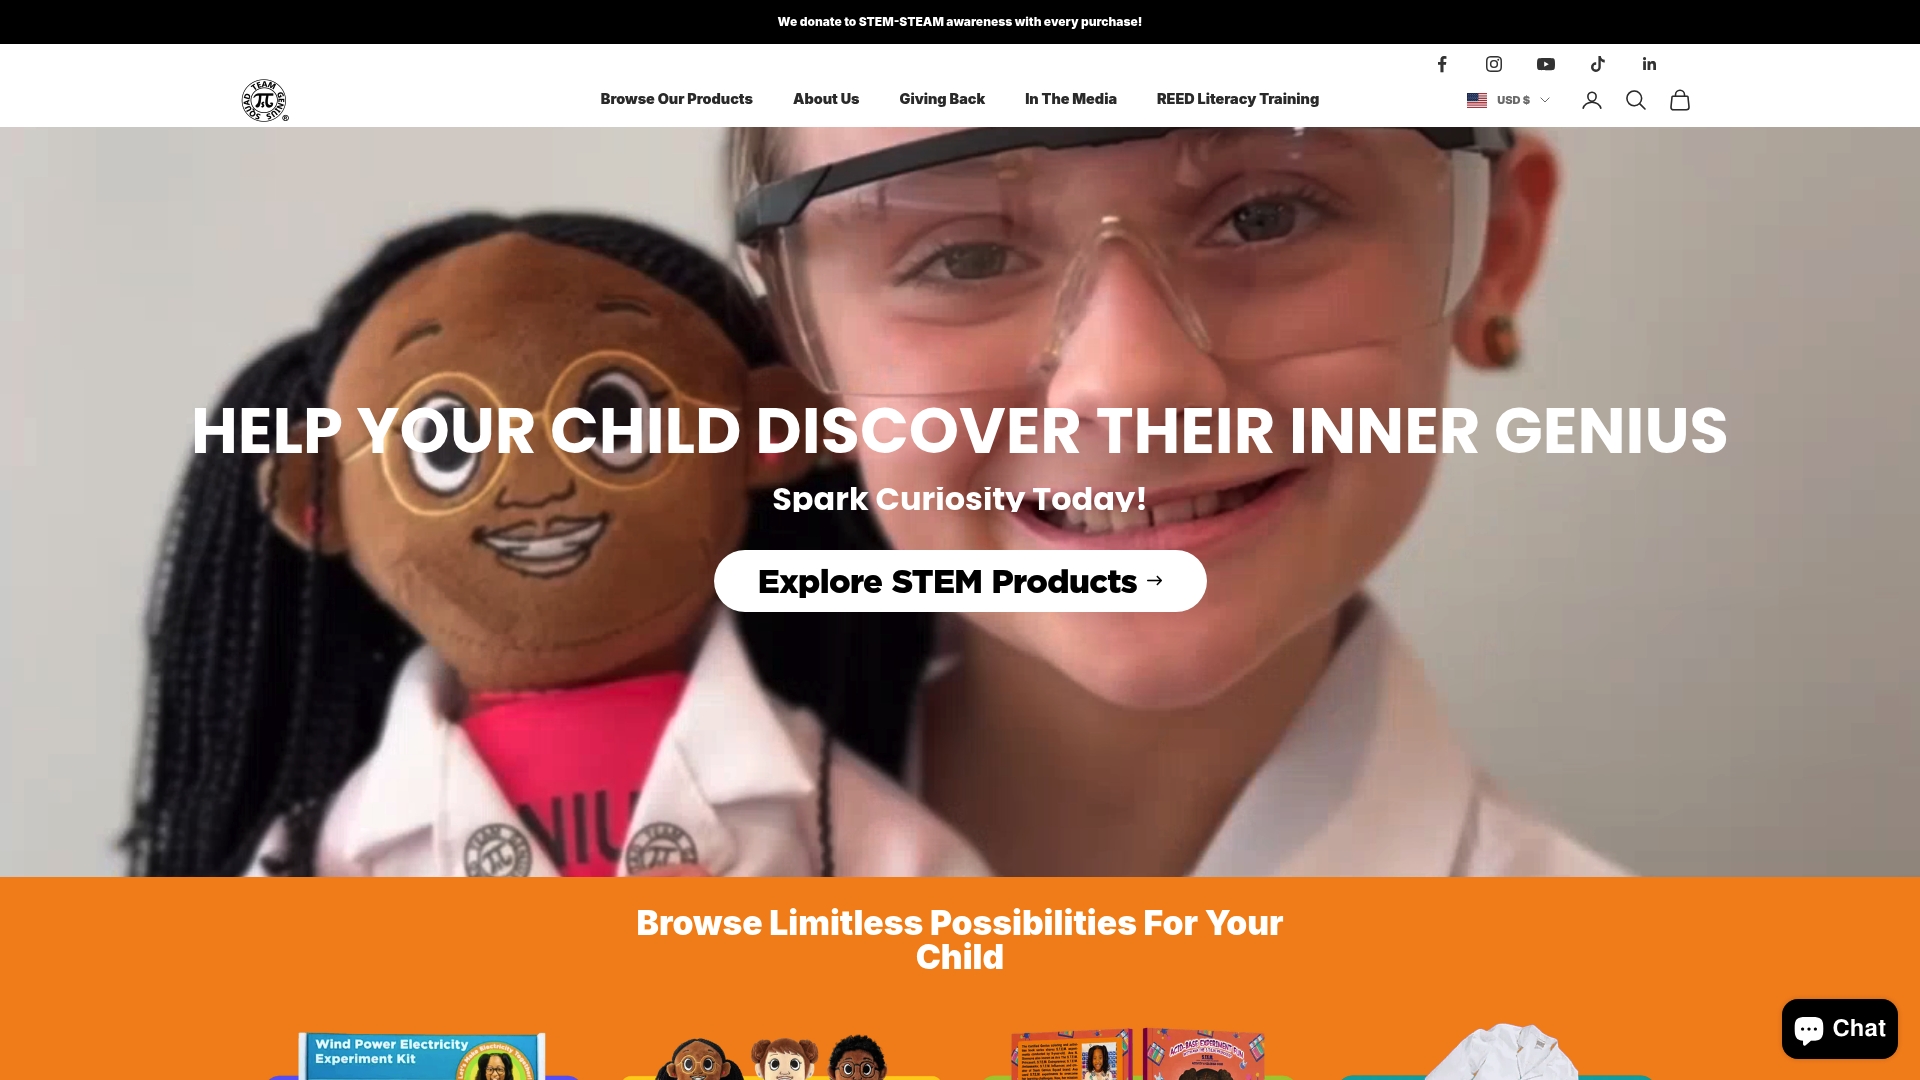
These kits are most useful for parents who want structured, confidence-building activities without the prep, and for educators setting up independent stations. That said, every DIY activity in this article is genuinely effective, and free resources like UNICEF’s play-based learning guides are worth bookmarking alongside any kit. The kits simply remove the friction so the learning can start sooner. Browse the full collection and find the right fit for your child’s age and curiosity at the Teamgeniussquad shop.
Sources
- Increasing Student Engagement | Teaching Commons
- Play based learning activities for children aged 3 to 10 | UNICEF
- Playful learning in early grades | Edutopia

Leave a comment
This site is protected by hCaptcha and the hCaptcha Privacy Policy and Terms of Service apply.