
Fashion Craft Projects for Kids: Top 10 Ideas
Every parent and educator knows that finding the right fashion craft for children is trickier than it looks. You want something that holds attention, builds real skills, and keeps little hands safe, all at the same time. The good news is that textile arts, the recognized field that encompasses sewing, weaving, knotting, and fabric design, offers an incredible range of entry points for children ages 5 to 13. Whether your child is a cautious beginner or a confident creator, the ten projects below are chosen for developmental fit, material safety, and genuine creative payoff.
Table of Contents
- Key takeaways
- 1. Fashion craft basics: felt sewing for beginners
- 2. No-sew pioneer rag dolls and costume pieces
- 3. Printable mitten sewing projects
- 4. Beginner pinafore apron sewing patterns
- 5. Upcycled T-shirt boho curtains
- 6. Textile texture exploration crafts
- 7. Trendy accessories: duct tape bracelets and wearable crafts
- 8. Safety best practices for children’s fashion crafts
- My perspective on fashion crafts and kids
- Bring it all together with Teamgeniussquad
- FAQ
Key takeaways
| Point | Details |
|---|---|
| Felt is the best beginner fabric | It does not fray, cuts cleanly, and works with plastic safety needles for ages 5 and up. |
| No-sew projects build real skills | Knotting and wrapping develop fine motor control without the risks of needles and scissors. |
| Printable patterns scale difficulty | One pattern can challenge a 5-year-old and a 10-year-old differently, making them ideal for mixed-age groups. |
| Upcycling teaches sustainability | Repurposing old T-shirts and fabric scraps connects kids to modern fashion design values early. |
| Supervision outranks tools | Adult presence matters more than having the perfect supply kit when it comes to safe crafting. |
1. Fashion craft basics: felt sewing for beginners
Felt is the gold standard for kids just starting out, and for good reason. It does not fray at the edges, it holds its shape when cut, and it requires no ironing or special treatment before use. For children ages 5 to 8, this means fewer frustrations and more time actually creating.
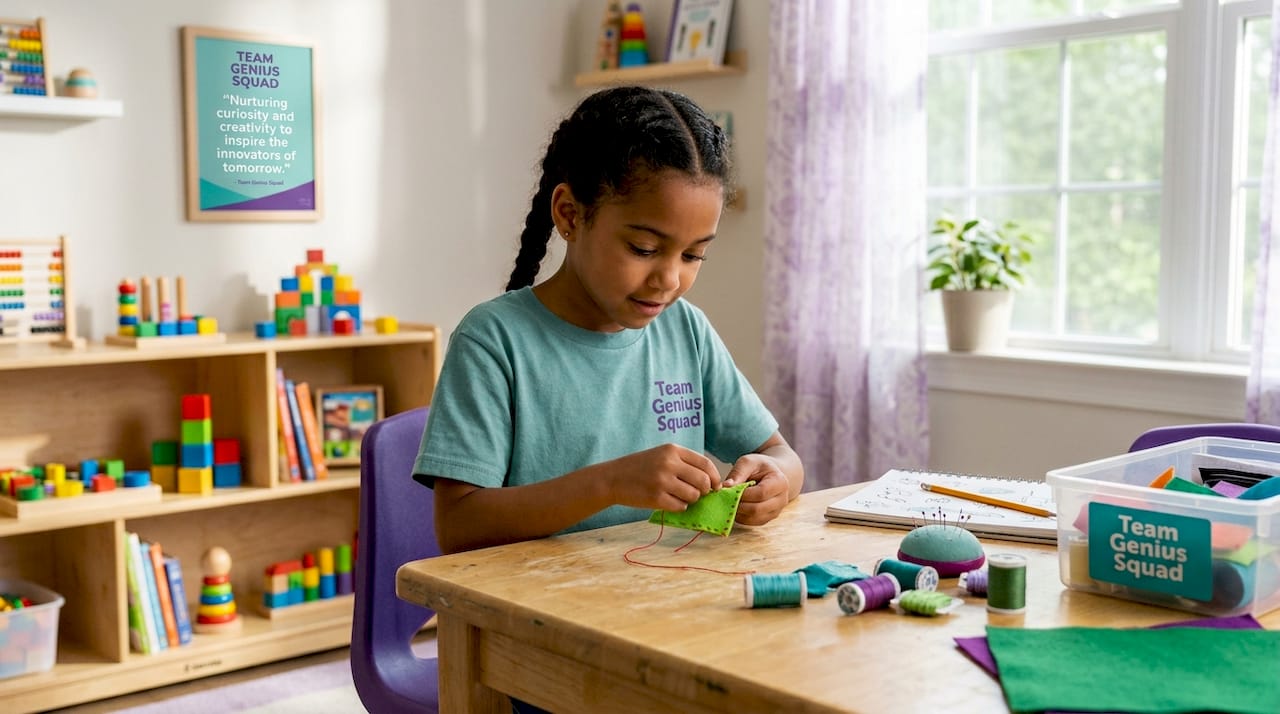
Pair felt with plastic safety needles or blunt yarn needles to keep tiny fingers protected. Thread length matters more than most guides admit. Shorter thread lengths reduce tangles and keep young sewers focused on the stitch rather than the knot. A good rule: cut thread no longer than the child’s arm span.
Simple starter projects include felt animal coin pouches, small book covers, and decorative badges. These projects teach the running stitch without overwhelming a beginner with complex shapes.
- Use pre-punched felt shapes to eliminate the hole-poking step and get kids stitching immediately
- Choose thread in high-contrast colors so children can clearly see each stitch
- Keep sessions to 20 minutes for ages 5 to 7, expanding to 40 minutes as focus grows
- Store all needles in a labeled tin and count them at the end of every session
Pro Tip: Pre-punched felt kits cut setup time dramatically and reduce the frustration spike that happens when a needle misses its mark. Your child stays in the creative flow longer.
2. No-sew pioneer rag dolls and costume pieces
No-sew projects are a brilliant gateway for younger children or any child who is not yet ready for needle work. The no-sew pioneer rag doll is one of the most beloved examples: it uses only muslin, baker’s twine, fabric scraps, and cotton balls. The entire construction relies on tying and wrapping, making it genuinely accessible for ages 5 and up with light adult guidance.
Here is a simple process for building one together:
- Cut a 12x12 inch square of muslin and stuff the center with a small cotton ball to form the head
- Tie baker’s twine tightly below the cotton ball to define the neck
- Roll a second piece of muslin horizontally for the arms and slide it beneath the neck knot
- Tie fabric scraps around the body to create a dress or apron, using knots rather than stitches
- Add yarn for hair by looping it over the head and securing with a small knot
No-sew costume pieces follow the same logic. A felt strawberry costume, for example, can be assembled entirely with Velcro tabs and fabric glue. The knotting and manipulation of materials build the same fine motor pathways as sewing, just without the sharp tools. You can explore handcrafted doll projects like corn husk dolls for a complementary activity that reinforces these skills.
Pro Tip: Use baker’s twine in two contrasting colors so kids can see the knot structure clearly. It turns the tying step into a visual puzzle they genuinely want to solve.
3. Printable mitten sewing projects
Printable sewing templates are one of the most underused tools in classroom and home craft settings. The mitten sewing printable is a perfect example of how one project can serve a wide age range. The easier version uses a single mitten shape with pre-punched holes; the harder version introduces two mitten shapes that must be joined at the edges.
For a preschooler, threading yarn through the holes and pulling it through feels like real sewing. It is real sewing. For a 9-year-old, the challenge becomes keeping stitches even and finishing with a clean knot.
The materials list is minimal and affordable:
- Cardstock or printed template paper
- A hole punch (adult handles this step)
- Blunt plastic yarn needle
- Bulky yarn in two or three colors
- Tape to stiffen the yarn end for easier threading
The mitten project works exceptionally well as a winter classroom activity because it connects to seasonal themes while delivering measurable fine motor practice. Parents who try it at home often report that children ask to make a second one immediately.
| Age group | Recommended version | Key skill developed |
|---|---|---|
| Ages 4 to 6 | Single mitten, large holes | Basic threading and yarn control |
| Ages 7 to 9 | Double mitten, smaller holes | Edge joining and stitch consistency |
| Ages 10 to 13 | Double mitten with decorative pattern | Creative design and motor precision |
4. Beginner pinafore apron sewing patterns
The beginner pinafore apron pattern is one of the most practical and rewarding handmade clothing ideas in this entire list. Sized from 2T to 10 years, it gives children an actual wearable garment at the end of the project, which is a powerful motivator. The materials are straightforward: approximately two yards of cotton woven fabric, a matching lining fabric, and basic sewing notions.
What makes this project special for older children, ages 8 to 13, is that it introduces real fashion design concepts. Kids learn to read a cutting layout, follow construction steps in sequence, and press seams. These are the same fundamentals taught in fashion design tutorials at the middle and high school level.
For classroom use, educators can pre-cut the fabric pieces to focus session time on the sewing steps themselves. At home, the cutting process is a valuable lesson in measuring and following diagrams.
Pro Tip: Cut out all pattern pieces the evening before a classroom session. When kids sit down and see their fabric pieces ready to go, momentum builds immediately and the first 15 minutes stay on task.
Pair this project with kids’ apparel collections to spark ideas about garment design and inspire children to think about clothing as something they can actually make.
5. Upcycled T-shirt boho curtains
Upcycled fashion crafts teach kids something no traditional sewing lesson can: that materials already have a second life waiting inside them. The upcycled T-shirt curtain project requires donated or outgrown shirts, scissors, and a curtain rod. That is the entire supply list.
Children cut T-shirts into horizontal strips, which are then looped and knotted onto the rod in a pattern of their choosing. Wider strips create a looser, airier look; narrower strips give more density and privacy. Adjusting strip width to change the final result is a genuine design decision, and kids respond to that creative control with enthusiasm.
This project connects naturally to modern fashion principles. Fashion x Craft approaches practiced in contemporary textile education emphasize reinterpretation of existing materials rather than always starting from scratch. That idea lands meaningfully with children when they see their old shirts transformed into something new and beautiful.
For a structured companion activity, project-based worksheets for teachers can help educators build a full lesson around the upcycling concept, adding reflection and vocabulary components alongside the hands-on making.
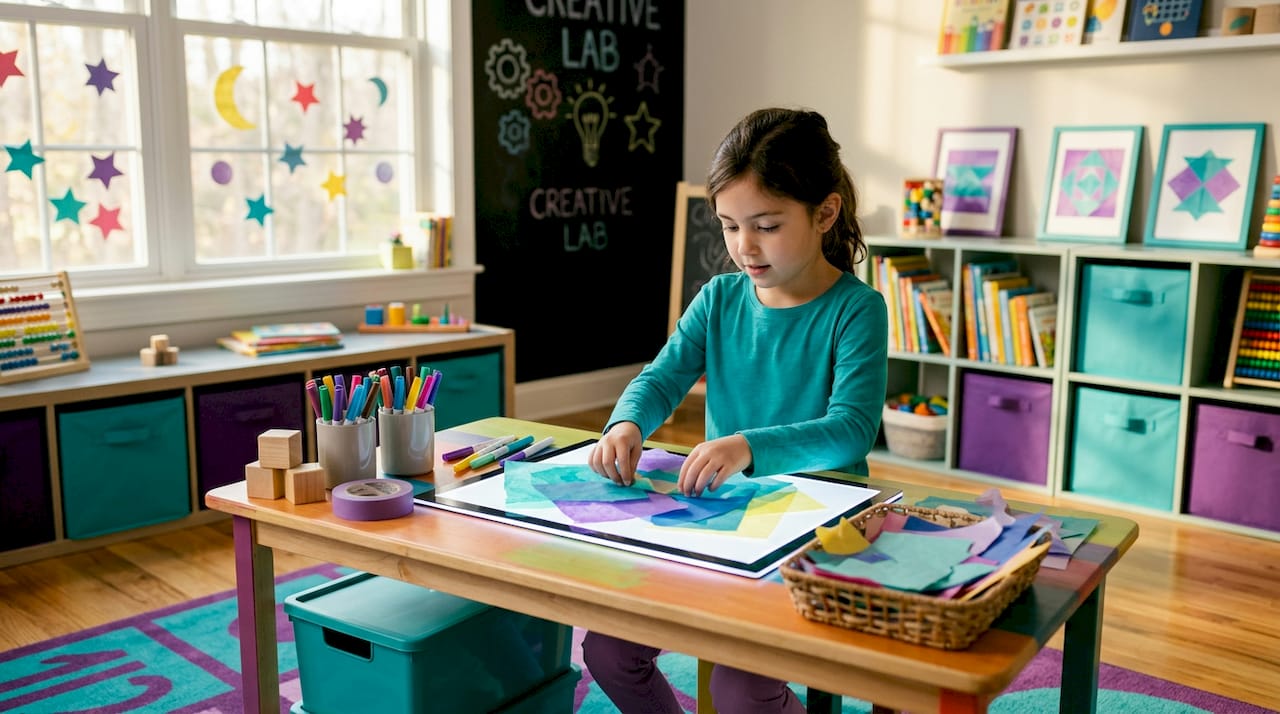
6. Textile texture exploration crafts
One of the most overlooked concepts in crafting with fabric is texture, and teaching it intentionally changes how children approach every project afterward. Tactile texture in fabric work refers to what you can physically feel: the roughness of burlap, the softness of fleece, the smoothness of satin. Implied texture, by contrast, is a visual effect created through color, pattern, or stitching. Both matter in fashion design.
Art educators teaching grade 5 students introduce texture through hands-on textile artwork using fabric scraps, yarn, and cotton balls. Children create collages that demonstrate both texture types, which develops intentional material choices rather than just grabbing whatever is nearby.
The yarn butterfly craft is one of the most engaging texture projects available for this age group. Kids wrap yarn around paper plate wings, attach pom-poms for the body, and add pipe cleaner antennae. Every finished butterfly looks completely different from its neighbor because yarn wrapping patterns are inherently personal. That distinctiveness is a quiet but powerful confidence builder.
You can find more creative fabric activities that pair well with textile texture exploration in the Teamgeniussquad resource library.
7. Trendy accessories: duct tape bracelets and wearable crafts
Trendy accessories making is often the entry point that gets reluctant crafters excited. Duct tape bracelets are endlessly customizable, require no needles or heat tools, and can be completed in under 30 minutes. Children fold strips of duct tape lengthwise to create clean-edged bands, then layer patterns, add stickers, or weave two colors together.
The project teaches measurement, symmetry, and sequential steps without ever feeling like a lesson. For kids ages 7 and up, adding a simple closure using Velcro or a snap creates an opportunity to problem-solve independently. Discover bracelet making ideas that your child can start today with minimal prep.
What makes wearable crafts so effective is the audience. A bracelet worn to school becomes a conversation starter and a source of visible pride.
8. Safety best practices for children’s fashion crafts
Safety is not a checklist you complete before crafting. It is a mindset that shapes every decision from material selection to workspace setup. Adult supervision is the single most important factor in keeping children safe during craft activities. No supply upgrade replaces the presence and awareness of a responsible adult.
Here is how to create a consistently safe crafting environment:
- Introduce scissors around age 3 with spring-assisted safety scissors, and graduate to pointed scissors only when fine motor control is solid
- Store beads, pins, and small decorative pieces out of reach for children under 4
- Select non-toxic, washable paints and adhesives for every project regardless of age
- Count all needles at the start and end of each session, every time
- Have children wash hands before and after crafting to prevent dye or adhesive transfer
- Set up on a flat, stable surface with good lighting to reduce eye strain and accidental cuts
“Supervision outranks tool quality alone in ensuring safe and positive kids’ craft experiences.” — Arts and Crafts Safety for Young Children
Keep safety glasses on hand for any project involving cutting under tension or working with wire. Teamgeniussquad’s protective safety glasses are adjustable and sized for children, making them comfortable enough that kids will actually wear them.
Small parts on finished accessories deserve particular attention. Applying toy safety principles to fashion craft accessories, securing small parts firmly rather than relying on light glue, eliminates choking hazards in items young siblings might handle.
My perspective on fashion crafts and kids
I have watched children of very different skill levels sit down at a craft table, and what I have noticed over and over is that the projects that work best are not always the most elaborate ones. They are the ones that give kids a visible win within the first ten minutes.
The biggest mistake I see is adults over-preparing for perfection. When a child’s felt pouch comes out lopsided, that is not a failed project. That is the moment to say, “Look what you made.” That shift, from correcting to celebrating, changes everything about how a child relates to creative work.
What I believe most strongly is that fashion craft is not a soft skill. Threading a needle, tying a knot, measuring fabric, and choosing colors are forms of spatial reasoning and design thinking. They belong in every child’s development, whether that child loves art or loves science. The two are not separate.
My advice to every parent and educator is to start smaller than you think necessary. One felt shape, one color of yarn, one pair of safety scissors. Let the child’s curiosity pull the project forward rather than your plan.
— Tita
Bring it all together with Teamgeniussquad
Ready to take the next step beyond this list? Teamgeniussquad brings the same hands-on discovery philosophy behind every fashion craft idea here into curated, ready-to-use kits designed for children ages 5 to 13.

Every kit aligns with the E³ Method, Engage, Encourage, Empower, so children move from curious beginner to confident creator in a single session. Kits include pre-selected, age-appropriate materials that make it easy for parents and educators to start immediately, without a supply run or a Pinterest spiral. Explore the latest curated kits and craft-friendly collections at the Teamgeniussquad launch page and find the right starting point for your child today.
FAQ
What is the best fabric for kids’ first sewing project?
Felt is the best choice because it does not fray, cuts cleanly, and holds up to repeated handling by beginners. Pair it with a blunt yarn needle for children ages 5 to 8.
How do I choose between sewing and no-sew fashion projects?
Use a child’s age and comfort with tools as your guide. No-sew projects like rag dolls are ideal for ages 5 to 7, while simple sewing projects with blunt needles work well starting around age 6 with adult supervision.
Can fashion crafts count as STEM or STEAM learning?
Yes. Crafting with fabric develops spatial reasoning, measurement skills, and design thinking, all of which are core STEAM competencies. Projects like the mitten sewing craft explicitly build fine motor skills and sequencing.
What materials do I need for a basic kids’ fashion craft kit?
A starter kit should include felt sheets, a blunt yarn needle, bulky yarn, fabric scissors, pre-punched templates, and non-toxic fabric glue. All items should be non-toxic and age-appropriate.
How do I keep upcycled fashion crafts safe for younger kids?
Supervise all cutting steps, use safety scissors sized for small hands, and secure any small decorative elements with strong adhesive rather than light glue to prevent them from becoming a choking hazard.

Leave a comment
This site is protected by hCaptcha and the hCaptcha Privacy Policy and Terms of Service apply.