Plate Decorating: DIY Techniques for Every Skill Level
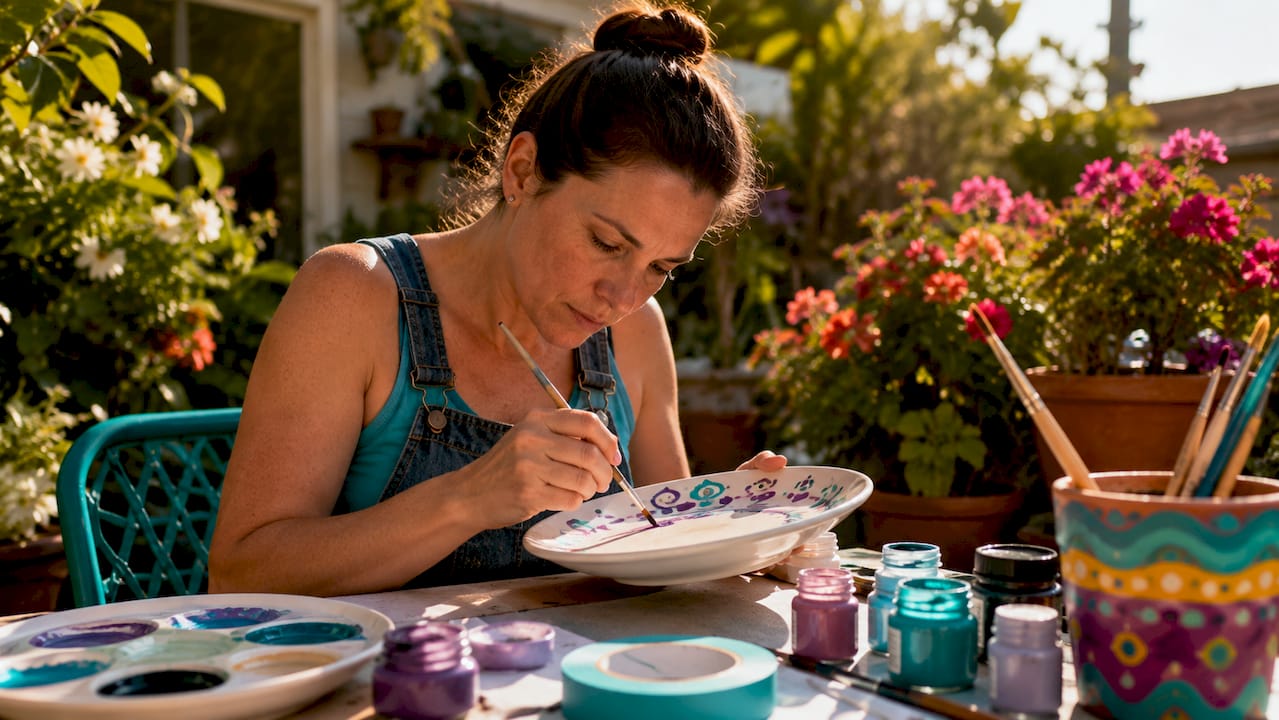
Plate decorating is the artistic process of customizing plates using paints, markers, decoupage, and other creative methods to craft personalized pieces for display or everyday use. Whether you want to create a one-of-a-kind decorative plate set for your home or design custom tableware as a family activity, the right materials and techniques make all the difference. This guide covers ceramic plate art, glass decoupage, design principles, and care tips so you can create beautiful, lasting results from your very first project.
What is plate decorating and where do you start?
Plate decorating, also called ceramic plate art or custom plate painting, spans a wide range of methods. The three most common approaches are permanent marker designs, acrylic or porcelain paint application, and decoupage with paper or lace. Each method produces a different finish and suits a different purpose, from wall art to charger plates for special events.
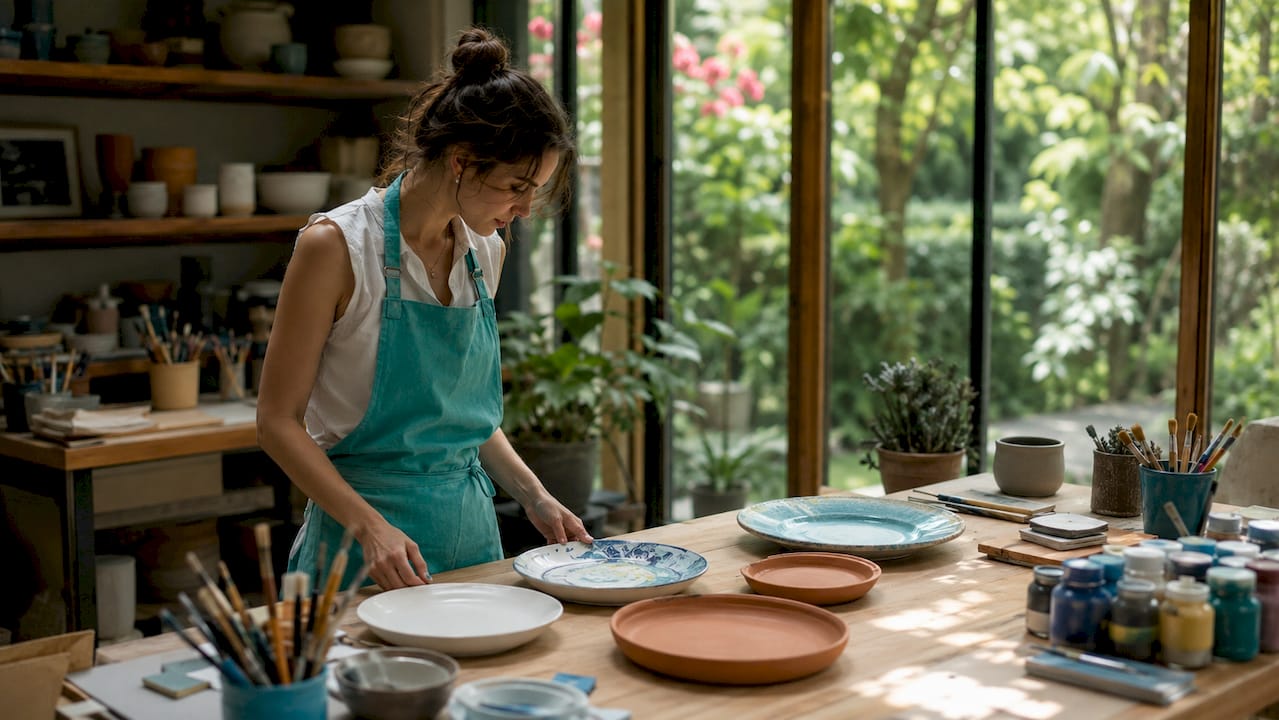
The starting point for any project is choosing your plate material. Ceramic and porcelain plates work best with paint and markers. Glass plates are ideal for decoupage because the smooth, non-porous surface holds adhesive cleanly. Thrift stores are a great source for inexpensive plates to practice on before committing to a full decorative plate set.
Your end goal also shapes your material choices. Plates intended purely for display can use any technique. Plates you plan to eat from require food-safe, kiln-fired glazes or careful placement of designs away from food contact areas.
What tools and materials do you need?
The right supplies determine how professional your finished plate looks. Here is a breakdown of the core materials by technique, durability, and food safety.
| Material | Best For | Durability | Food Safe? |
|---|---|---|---|
| Porcelain paint markers | Ceramic and porcelain plates | High with heat setting | No (decorative only) |
| Acrylic ceramic paint | Detailed painted designs | Medium to high | No unless kiln-fired |
| Dishwasher-safe Mod Podge | Glass decoupage projects | Medium | Limited dining use |
| Permanent markers (Sharpie) | Quick, freehand designs | Low to medium | No |
| Underglaze | Professional ceramic work | Very high after firing | Yes after kiln firing |
Beyond paint and adhesive, you need a few supporting tools:
- Isopropyl alcohol (70% or higher) to clean and degrease plate surfaces before painting
- Painter’s tape for crisp geometric lines and stripe patterns
- Flat and detail brushes in multiple sizes for paint application
- Stencils for repeatable patterns like botanicals and geometric shapes
- 220-grit sandpaper to lightly rough up glass surfaces before decoupage
- A household oven for heat-setting marker and paint designs
Pro Tip: Buy two or three inexpensive white ceramic plates from a dollar store before starting your main project. Practice your design, test your paint colors, and confirm your heat-setting results on the practice plates first.
How do you decorate ceramic plates with markers and paint?
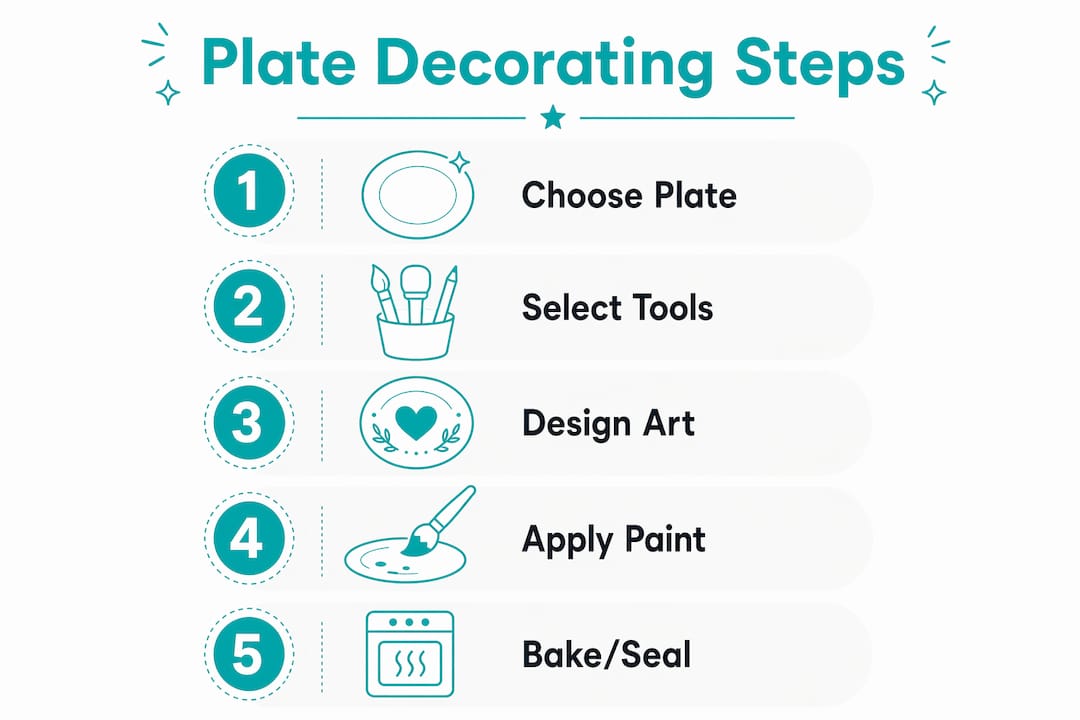
Decorating ceramic plates with markers or paint follows a clear sequence. Skipping steps, especially surface prep and heat setting, is the most common reason designs fade or smear.
- Clean the plate thoroughly. Wipe the entire surface with isopropyl alcohol and let it dry completely. Oils from handling cause paint and markers to bead up or peel.
- Plan your design before touching the plate. Sketch it on paper first. Decide whether you are working freehand, using stencils, or applying painter’s tape for clean geometric patterns.
- Apply your design. Work from the center outward if painting, or from the rim inward if using markers. Use light, confident strokes. Let each color dry before adding the next.
- Apply thin layers of paint gradually. Layering thin coats prevents muddy, uneven color and gives you a finish that looks intentional rather than rushed.
- Heat-set the design. Place the finished plate in a cold oven, set it to 350°F, and bake for 30 minutes. Turn the oven off and let the plate cool inside. Removing it while hot causes cracking.
- Inspect and touch up. Once cool, check for gaps or thin spots and add a second pass if needed before a final bake.
“Permanent marker decorations are not truly permanent. Dishwasher exposure significantly reduces marker longevity on plates, so hand washing is the only way to extend their lifespan.”
This matters because many first-time decorators assume baking makes the design permanent. It sets the ink, but it does not make it dishwasher-proof or food-safe. Treat marker-decorated plates as decorative pieces or use them only for dry foods like bread and cookies.
Pro Tip: If your marker lines smudge while you work, let the ink dry for at least 10 minutes before adding adjacent colors. A hair dryer on low heat speeds up drying without disturbing the design.
How do you create decoupage plate designs on glass?
Decoupage is the technique of layering paper, fabric, or lace onto a surface using adhesive, then sealing it for a finished look. On glass plates, it creates a beautiful, vintage-inspired effect perfect for wall decor, charger plates, and layered table settings.
- Select your plate and materials. Choose a clear or lightly tinted glass plate. Gather lace, tissue paper, or decorative napkins, plus dishwasher-safe Mod Podge as your adhesive and sealer.
- Clean and sand the back surface. Wipe the plate with isopropyl alcohol. Lightly sand the back with 220-grit sandpaper to give the adhesive something to grip.
- Apply glue by dabbing, not brushing. Dab the Mod Podge onto the glass surface in small sections. Brushing causes streaks and air bubbles. Dabbing creates an even, wrinkle-free base.
- Lay your lace or paper carefully. Press it gently from the center outward to avoid bubbles. Smooth with your fingertips rather than a brush.
- Apply two to three sealing coats. Let each coat dry fully before adding the next. The final coat locks in the design and adds durability.
- Allow 24 hours of curing time before handling or displaying the plate.
Creative uses for finished decoupage plates include:
- Wall art groupings using three to five plates in coordinating patterns
- Charger plates for holiday or wedding table settings
- Layered table displays where the decoupage plate sits beneath a clear glass dinner plate
Pro Tip: Apply decoupage to the back of a clear glass plate rather than the front. The glass itself protects the design, and the front surface stays smooth and wipeable for light use.
What design principles make plate art look professional?
Strong design choices separate a polished plate from a cluttered one. The principles below apply whether you are working with paint, markers, or decoupage.
Limit your color palette. Using two or three colors keeps designs from looking busy and gives the finished piece a sophisticated, intentional feel. Negative space is not wasted space. It gives the eye a place to rest.
Place designs strategically. Rim details and exterior patterns are more versatile and durable than heavy center designs. This is especially true for plates you plan to use at the table. Raised or textured decoration on the eating surface traps food and degrades quickly.
Choose patterns that suit your skill level. Simple patterns work beautifully and hold up over time. Strong options include:
- Dots and polka patterns using the eraser end of a pencil dipped in paint
- Botanical motifs like leaves and simple flowers using flat brushes
- Geometric shapes using painter’s tape as a guide for clean lines
- Stripe patterns created by running tape across the plate at even intervals
Pick a theme before you start. Choosing a theme gives your design direction and prevents creative overwhelm mid-project. A coastal theme might use blues, whites, and shell shapes. A botanical theme might use greens and soft pinks with leaf stencils.
| Design Style | Best Technique | Skill Level | Best Use |
|---|---|---|---|
| Geometric stripes | Painter’s tape + paint | Beginner | Functional dinnerware |
| Botanical motifs | Brushwork or stencils | Beginner to intermediate | Display or charger plates |
| Vintage lace | Decoupage | Beginner | Wall art or event settings |
| Abstract color wash | Wet-on-wet acrylic | Intermediate | Display pieces |
| Detailed hand-painted scenes | Fine brush + underglaze | Advanced | Collector or gift pieces |
Pro Tip: Before committing to a full design, cut a paper circle the same size as your plate and sketch your pattern on it. Hold it over the plate to preview placement and spacing before touching paint to ceramic.
How do you care for decorated plates to make them last?
Proper care extends the life of any plate decoration significantly. The method you used to decorate the plate determines how you should clean and store it.
- Hand wash all marker-decorated plates. Dishwasher exposure fades marker ink even after heat setting. Use warm water, mild dish soap, and a soft cloth.
- Hand wash decoupage plates as well. Dishwasher-safe Mod Podge tolerates limited moisture, but repeated dishwasher cycles degrade the adhesive over time.
- Stack plates with felt pads between them. Stacking without protection scratches painted surfaces and chips raised designs.
- Store display plates upright in a plate rack rather than flat in a cabinet. Flat stacking puts pressure on the design surface.
- Inspect designs seasonally. Fading, peeling edges, or lifting decoupage are signs that a plate should move from functional use to display-only status.
- Touch up small areas with the original paint or marker before the damage spreads. A small brush and matching color can restore a rim detail in minutes.
Pro Tip: For decoupage plates used as charger plates at events, apply a final coat of Mod Podge the day before the event. This refreshes the sheen and adds a layer of protection for the occasion.
Key takeaways
Plate decorating produces lasting, professional results when you match your technique to your materials, apply designs in the right placement zones, and follow proper curing and care steps.
| Point | Details |
|---|---|
| Match technique to purpose | Use decoupage for display pieces and heat-set paint for semi-functional plates. |
| Prep surfaces before decorating | Clean with isopropyl alcohol and sand glass surfaces for better adhesion. |
| Heat-set marker and paint designs | Bake at 350°F for 30 minutes, then cool inside the oven to set the design. |
| Keep designs near the rim | Rim and exterior patterns last longer and suit functional plates better than center-heavy designs. |
| Hand wash to preserve designs | Dishwasher use fades marker and decoupage finishes; hand washing extends their lifespan. |
Why patience is the real secret to beautiful plate art
I have watched so many people rush through their first plate project and then feel disappointed by the result. The design looks crowded, the colors bleed together, or the paint chips after the first wash. The problem is almost never the materials. Rushing is the most common beginner mistake, and it shows up in the finished piece every time.
What I have found actually works is treating each plate like a small canvas with a clear intention behind it. Pick one theme. Choose two colors. Leave space. Step back every few minutes and look at the plate from arm’s length. That distance reveals imbalances you cannot see when you are hovering over the work.
The other thing I want you to know is that the process itself is the reward. Plate decorating connects you to something tactile and real in a way that screen-based creativity simply does not. When you hold a finished plate you made by hand, whether it is a simple stripe pattern or an intricate botanical design, that feeling of “I made this” is worth every careful, patient brushstroke.
For families doing this together, especially with kids who learn differently or who thrive with hands-on projects, plate decorating builds more than art skills. It builds the confidence that comes from finishing something beautiful. That is a lesson worth far more than a perfect plate. You can explore how art and STEAM connect for deeper learning ideas that grow alongside creative projects like this one.
— Tita
Bring more creativity into your home with Teamgeniussquad
Plate decorating is one of the most satisfying ways to bring hands-on creativity into your home, and it pairs beautifully with a broader culture of making, experimenting, and discovering together as a family.

Teamgeniussquad builds that culture through screen-free, hands-on discovery kits designed for children ages 5–13. Each kit uses the proprietary E³ Method (Engage, Encourage, Empower) to turn curiosity into confidence. If your family loves creative projects like custom plate painting, you will love exploring the full range of hands-on experiment kits that bring science and art together in one experience. Check out the Teamgeniussquad collection and find the kit that sparks your child’s next big idea.
FAQ
What paint works best for decorating ceramic plates?
Porcelain paint markers and acrylic ceramic paints are the top choices for ceramic plate art. Both require heat setting at 350°F for 30 minutes to improve durability, though neither is fully food-safe without kiln firing.
Are sharpie-decorated plates safe to eat from?
Sharpie-decorated plates are not food-safe. The ink is not food safe and fades with dishwasher use, so marker-decorated plates are best used for dry foods or display only.
How do you keep decoupage from wrinkling on glass plates?
Apply dishwasher-safe Mod Podge by dabbing rather than brushing. Dabbing the adhesive prevents air bubbles and wrinkles, and working in small sections gives you better control over placement.
Where should you place designs on plates used for dining?
Place designs near the rim or on the exterior of the plate. Rim and exterior patterns are more durable and avoid contact with food, making them the best choice for plates that will actually be used at the table.
Can kids do plate decorating projects at home?
Yes, plate decorating is an excellent family activity. Beginners of all ages can start with painter’s tape stripe patterns or simple dot designs using porcelain paint markers, which are low-mess and easy to control. Pair it with inclusive STEAM activities for a fuller creative learning experience.


Leave a comment
This site is protected by hCaptcha and the hCaptcha Privacy Policy and Terms of Service apply.