
DIY Gifts That Impress on Any Budget
Making something with your own hands sends a message no store-bought item ever can. Whether you’re searching for creative gift ideas for a parent’s birthday, a teacher appreciation gesture, or a holiday surprise, diy gifts let you pour real thought into something tangible and personal. The challenge most crafters and gift-givers face isn’t a lack of creativity. It’s knowing where to start, how much time it really takes, and whether their skill level is up to the task. This guide answers all of that, walking you through projects from beginner to advanced so you can find exactly what fits your occasion, your timeline, and your hands.
Table of Contents
- Key Takeaways
- Getting ready to make DIY gifts
- Easy DIY gift ideas for beginners
- Intermediate DIY gifts with a personalized touch
- Advanced DIY gifts for experienced crafters
- Finishing touches and common mistakes
- My take on what makes DIY gifts truly work
- Give the gift of hands-on discovery with Teamgeniussquad
- FAQ
Key Takeaways
| Point | Details |
|---|---|
| Match skill to project | Choose projects at your current level to avoid frustration and produce gifts you’re proud of. |
| Personalization matters most | The emotional value of homemade presents comes from personalization, not complexity or cost. |
| Plan for dry and cure time | Building in drying and sealing time is as critical as the crafting steps themselves. |
| Budget-friendly materials work | Dollar stores, rattan baskets, and chalk paint can yield boutique-quality results. |
| Presentation seals the deal | Thoughtful wrapping and packaging double the impact of any handmade gift. |
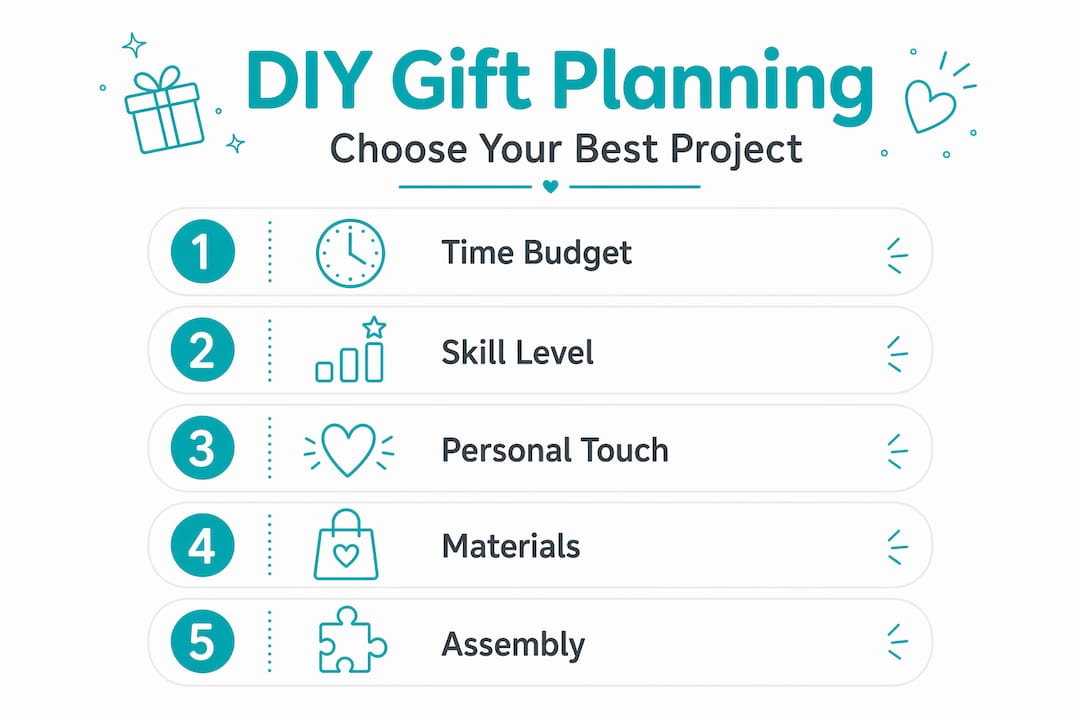
Getting ready to make DIY gifts
Before you pick up a paintbrush or cut a single piece of paper, a few minutes of planning will save you hours of frustration. Knowing what tools you have, what materials fit your budget, and which projects suit your skill level makes the whole process feel exciting rather than overwhelming. Matching project complexity to your skill level is the single biggest factor in whether your gift turns out great or ends up abandoned on the craft table.
Here’s a quick look at tools and materials organized by project type:
| Project type | Tools needed | Materials | Approximate cost |
|---|---|---|---|
| Paper crafts | Scoring tool, ruler, bone folder | Cardstock, markers, adhesive | Under $5 |
| No-sew fabric | Iron, cutting mat | Felt, interfacing, key fob hardware | $5–$10 |
| Painted/stenciled | Brushes, tape, stencil | Chalk paint, rattan or wood, sealant | $10–$20 |
| Woodworking | Saw, sandpaper, clamps | Scrap wood, beeswax, paint | $10–$25 |
| Polymer clay jewelry | Clay tools, oven | Polymer clay, glaze, wire | $10–$20 |
For gathering supplies, check your local dollar store first. Items like picture frames, glass jars, and cardboard bases are available for well under $2 each. Thrift stores often carry rattan baskets, wooden boxes, and fabric scraps that are perfect for unique gift projects. Online craft suppliers usually offer chalk paint and stencil blanks in small quantities that won’t break the bank.
When choosing a project, think honestly about your time. A beautifully personalized gift completed at 80% of your potential beats an overly ambitious one you never finish. Consider the recipient’s personality too. A minimalist friend might love a sleek monogrammed basket, while a kid at heart will treasure a whimsical decorated jar filled with treats.
Pro Tip: Buy chalk paint in the smallest available size when testing a new project. A 2-ounce sample bottle is usually enough for a basket or small wood piece, and you won’t be stuck with a large jar of a color you’ll never use again.
Easy DIY gift ideas for beginners
You don’t need a Cricut machine or years of craft experience to make budget-friendly gifts that genuinely move people. Some of the most memorable homemade presents come from the simplest projects, especially when a child’s fingerprints or personal handwriting are part of the design. Here are four beginner-friendly ideas you can pull off in an afternoon.
-
Pop-up gift card holder. This paper craft feels impressive but requires only cardstock, a ruler, and a scoring tool. Precise measurements and score points are what make the card stand up and function correctly, so take an extra minute to measure twice before cutting. Add a handwritten message inside for a personal touch that costs nothing extra. Total time: under 30 minutes. Total cost: under $2.
-
Lip balm keychain holder. This no-sew project takes about 10 minutes and teaches basic sewing concepts without a needle. You’ll use a small piece of fabric with iron-on interfacing, folded and secured with key fob hardware. Press seams carefully to keep edges clean, and choose a fabric pattern that reflects the recipient’s style. Practical, personal, and polished.
-
Decorated mason jar. Fill a clean jar with the recipient’s favorite candy, tea bags, or hot cocoa mix. Wrap the lid with twine, attach a handwritten tag, and you have a gift that took 15 minutes and costs about $4. For kids, painted cork coasters decorated with acrylic paint or decoupage make colorful, practical gifts that feel genuinely handmade.
-
Fill-in-the-blank sentiment card. Kids can create themed fill-in cards for parents, grandparents, or teachers that are funny, heartfelt, and completely unique. Print a template or draw lines on cardstock, then let the child fill in the blanks with their own words. The imperfect handwriting is the entire point.
Pro Tip: When working on paper crafts with kids, use a foam-backed ruler to prevent slipping during cuts. It costs about $3 and eliminates the jagged edges that make handmade cards look unfinished.
Pairing these projects with clothespin craft activities is a great way to introduce younger crafters to fine motor skills before they graduate to more complex tools and techniques.
Intermediate DIY gifts with a personalized touch
Once you’re comfortable with basic crafting, personalized gifts become genuinely exciting to make, and the results can look boutique-quality without the boutique price tag. These projects take between one and three hours, require a bit more planning, and reward attention to detail.
Monogrammed picnic basket
This project runs about 20 minutes of active work and delivers a gift that looks like it came from a specialty shop.
- Purchase a rattan basket and a Cricut-cut cardstock stencil of the recipient’s initial.
- Secure the stencil with painter’s tape, then use double-sided tape under all interior cut sections to prevent paint from bleeding under the edges.
- Apply chalk paint with a stiff-bristled brush using a stippling motion rather than strokes.
- Lift the stencil carefully while the paint is still slightly wet to avoid peeling.
- Let it dry fully before adding any ribbon or filler.
Chalk paint on rattan grips better than regular acrylic and dries to a clean matte finish without primer. That technical detail alone separates a crisp monogram from a smudged mess.
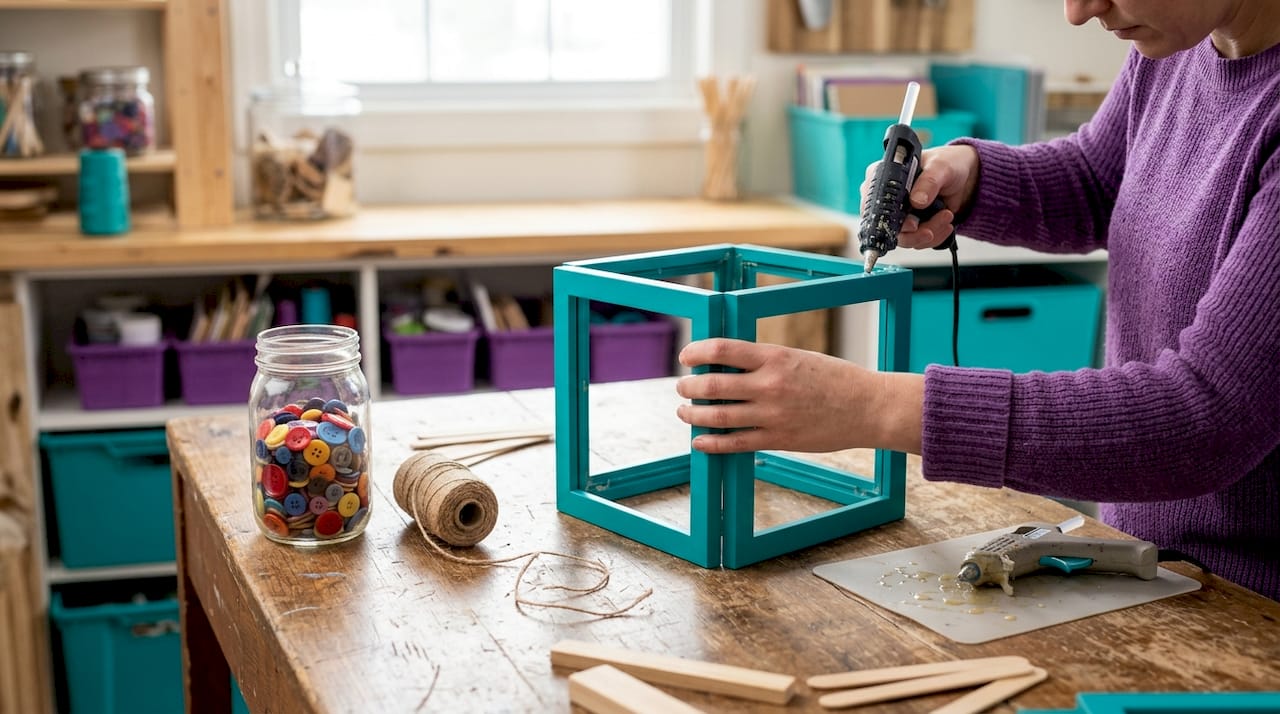
Dollar Tree photo frame centerpiece
This gift costs under $10 and takes about one hour to assemble. You’ll need four picture frames at $1.25 each, a glass jar, a small cardboard or wood base, and artificial or dried flowers.
Glue the four frames together at their edges to form a square box structure, then mount the jar inside as a vase. Decorate the base and add a printed or handwritten photo on one panel. The key to staying within your time budget is to start gluing early so the frames are fully set before you add the decorative elements.
Wooden door hanger
This small woodworking project takes 20 to 30 minutes of build time plus overnight drying. The steps are straightforward: two cuts, sanding, painting a design or name, and sealing with beeswax. Breaking the project into phases like cutting, sanding, painting, and sealing keeps errors minimal and the process confidence-building rather than stressful.
Pro Tip: Apply beeswax sealant with a lint-free cloth in circular motions, then buff immediately. Waiting even five minutes makes the wax harder to work in and leaves a streaky finish.
Advanced DIY gifts for experienced crafters
Seasoned makers often hit a point where basic projects no longer scratch the creative itch. These advanced ideas combine multiple techniques and reward the kind of patience that turns a craft into a keepsake.
-
Layered floral wreath. Start with a grapevine or foam base and build outward in concentric rings using dried botanicals, ribbon, and fabric flowers in coordinated colors. The secret is working from largest to smallest elements so nothing gets buried. This project can take two to four hours but produces a gift that feels gallery-worthy and connects deeply to holiday family traditions.
-
Decoupaged memory jar. Choose a large glass jar and arrange printed photos, vintage maps, or meaningful paper scraps across its surface using decoupage medium. Apply three sealing coats, letting each dry fully between applications. The layered depth of a well-made decoupage jar is something a store simply cannot replicate.
-
Polymer clay jewelry. Shape earrings, pendants, or rings from polymer clay using cutters and hand-carving tools, then bake according to package directions and finish with a glossy glaze. The variation in texture and color mixing is what makes these pieces look artisan-made. Plan at least 90 minutes for shaping, baking, and finishing.
-
Detailed portrait painting. A small painted portrait of the recipient’s home, pet, or favorite landscape on a 5x7 canvas makes a uniquely personal gift. Use photo reference, sketch lightly in pencil first, and build up color in thin layers. This is a gift that becomes more meaningful every year it sits on a shelf.
Pro Tip: For polymer clay, condition the clay by kneading it for at least two minutes before shaping. Cold or unconditioned clay cracks during baking, ruining hours of careful work.
Finishing touches and common mistakes
Even the most beautiful handmade gift can fall flat with rushed finishing. These are the mistakes most crafters make and the fixes that keep your work looking polished.
- Smudged stenciling. This almost always comes from lifting the stencil too slowly or at the wrong angle. Always peel stencils back at a sharp 180-degree angle, pulling parallel to the surface.
- Wobbly assembly on frame projects. Rushing glue dry time causes frames to shift. Set them face-down with a heavy book on top for at least 20 minutes per join.
- Paint bleeding under tape. Apply a thin clear coat of Mod Podge over your stencil edge before painting. It seals the gap so the actual paint color stays crisp.
- Uneven paint on wood. Sand between coats with 220-grit paper for a smooth build, especially on soft woods like pine.
For packaging, kraft paper with a sprig of dried rosemary tucked under twine looks intentional and costs almost nothing. A handwritten tag tied with cotton string elevates any gift box. Presentation matters because it frames the recipient’s first impression before they even see what’s inside.
“The wrap is the first gift. Make it feel like something special is waiting inside.”
Pro Tip: Planning dry and assembly times before you begin is as important as any crafting step. Write out a simple timeline on a sticky note so you’re not rushing the parts that need patience.
Use this quick verification checklist before you call a project done:
- Paint or glue is fully cured, not just dry to the touch
- All stencil or transfer lines are crisp and clean
- Any hardware (key fobs, hinges, hooks) is firmly attached
- Gift is wrapped or packaged with a personal note included
My take on what makes DIY gifts truly work
I’ve watched people pour real effort into homemade presents only to feel deflated when the recipient’s reaction was politely underwhelmed. Almost every time, the disconnect came from one of two places. Either the project was too ambitious for the time and skill available, or the personalization was generic rather than specific to that one person.
In my experience, a simple gift with a deeply personal detail lands harder than a complex one with no clear connection to the recipient. A jar of homemade bath salts with a label that references an inside joke beats an elaborate decoupage project any day, if the decoupage has nothing to do with the person receiving it.
What I’ve also learned is that the process matters as much as the product. When you match difficulty to your current skill level, you actually enjoy making the gift. That enjoyment comes through in the finished piece in ways that are hard to describe but easy to feel. Recipients can sense when something was made with joy versus stress.
My honest advice: start one skill level below where you think you are. Nail the execution. Let the personalization carry the emotional weight. And share what you make. Every time you post a finished project or bring it to a gathering, you’re quietly inspiring someone else to try.
— Tita
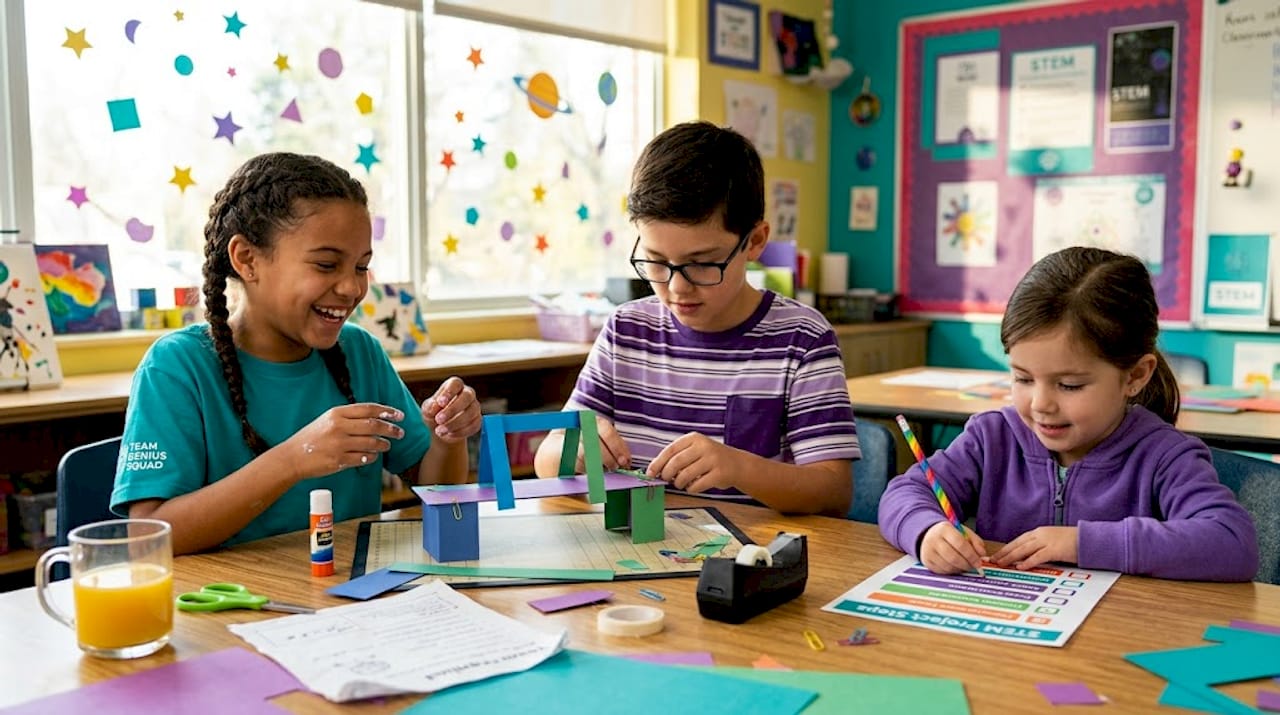
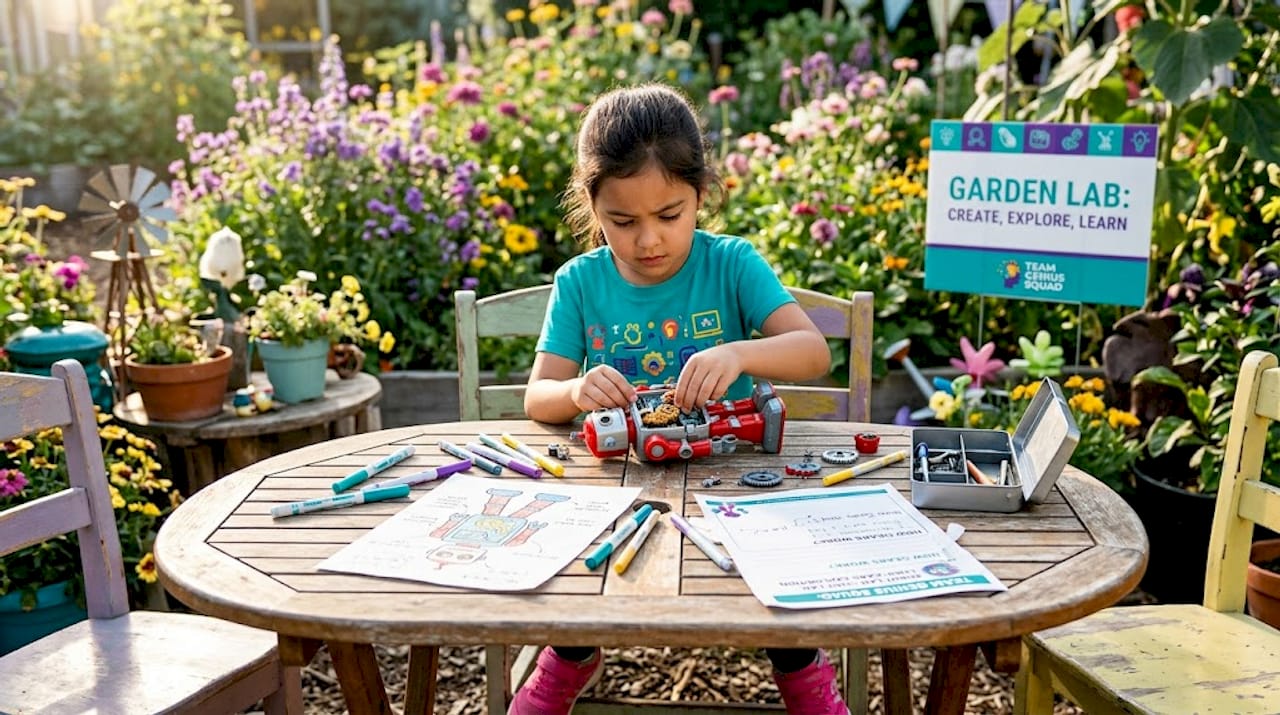
Give the gift of hands-on discovery with Teamgeniussquad

If you’re looking for creative gift ideas that go beyond traditional crafts and spark genuine curiosity, Teamgeniussquad has something worth exploring. Their hands-on, screen-free STEAM kits are designed for children ages 5 to 13, blending real experiments with identity-building play so kids see themselves as scientists and creators. The STEM-STEAM Electricity Lab Bundle is a standout gift for young learners, combining science and craft in one experience they won’t forget. For younger kids or those just starting out, the experiment kits collection offers affordable options across multiple STEAM themes. When you give a Teamgeniussquad kit, you’re not just handing over a project. You’re giving a child the feeling of being a capable, creative thinker.
FAQ
What are the easiest DIY gifts for beginners?
Paper crafts like pop-up gift card holders and decorated mason jars are great starting points, requiring minimal tools and under $5 in materials. Lip balm keychain holders are another beginner-friendly option that takes about 10 minutes to complete.
How do I personalize a DIY gift without advanced skills?
Add the recipient’s initial, a meaningful color, or a handwritten note referencing a shared memory. Personalization drives emotional value far more than the complexity of the technique or cost of materials.
How much do homemade presents typically cost to make?
Most beginner to intermediate DIY gifts cost between $2 and $20 depending on materials. Dollar store frames, chalk paint, and rattan baskets keep costs low while still producing impressive results.
What is the biggest mistake crafters make with DIY gifts?
Rushing glue and paint dry times is the most common error that ruins otherwise great projects. Building a realistic timeline before starting, including overnight drying when needed, prevents most finishing mistakes.
Are DIY gifts appropriate for all occasions?
Yes. From birthdays and holidays to teacher appreciation and Father’s Day, kid-friendly crafts and adult projects alike translate well across nearly every gifting occasion when matched to the recipient’s personality and the relationship you share.
Leave a comment
This site is protected by hCaptcha and the hCaptcha Privacy Policy and Terms of Service apply.