DIY Boxes for Kids: STEAM Experiment Kits That Build Confidence
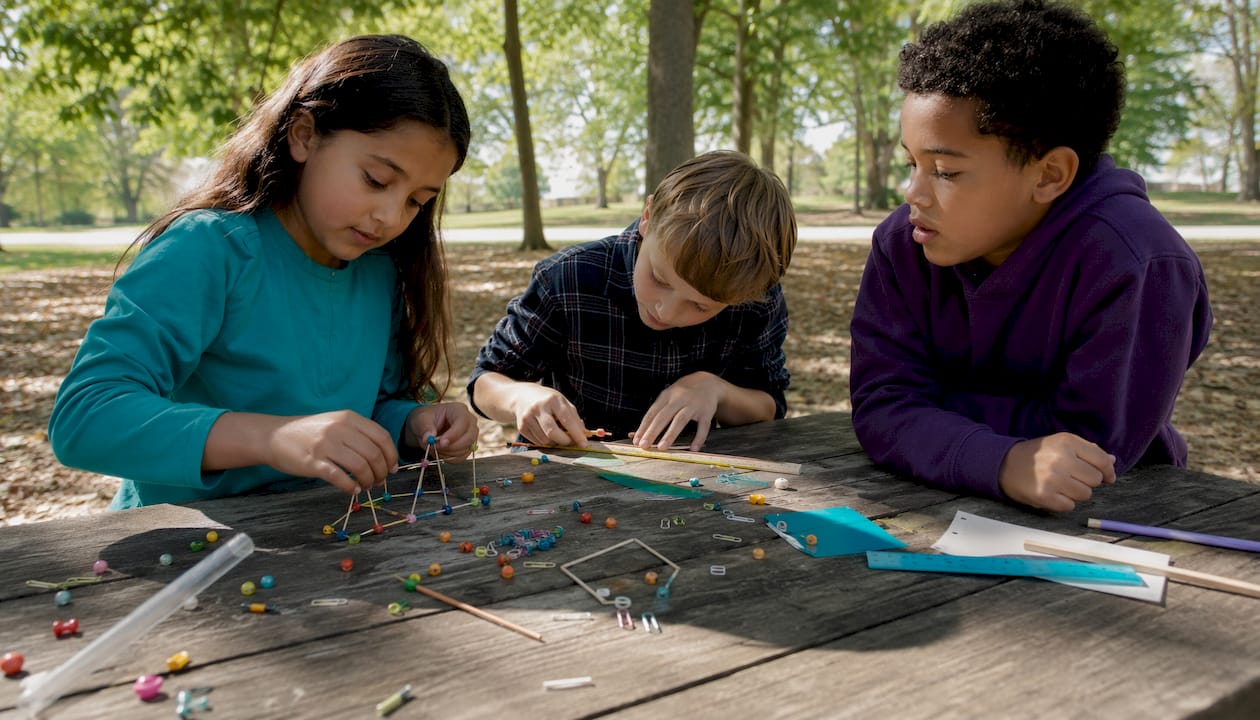
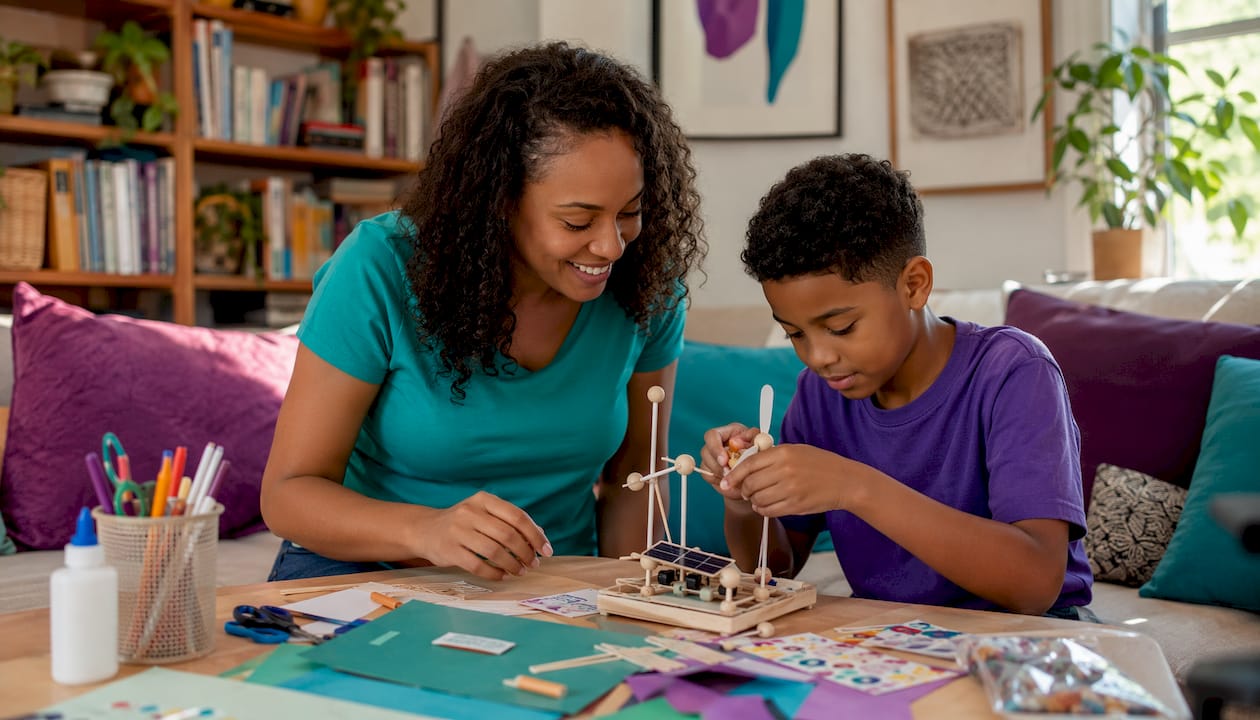
The most effective DIY boxes for children are compact, age-tuned experiment kits: one hands-on STEAM activity, all safe pre-measured materials, a one-page learning goal and simple packaging with safety notes. That is the whole formula. Pick one age band below (5–7, 8–10, or 11–13), choose one experiment, and you can have a working prototype ready this week.
Here is what a ready-to-run box includes:
- One focused activity with a clear, single-sentence learning goal printed on a step card
- Pre-measured materials in labeled resealable bags so children can start immediately
- Icon-based step card (pictures + words) for accessibility and neurodivergent learners
- One small role-play item such as a printed badge or certificate to spark identity and ownership
- Safety note on the outside of the box listing any allergy or supervision requirements
The design philosophy behind Teamgeniussquad’s kits, built on the proprietary E³ Method (Engage, Encourage, Empower) and inspired by founder Ava N. Simmons’s real family experience with dyslexia and dysgraphia, proves that these five elements are enough to turn a cardboard box into a confidence-building discovery experience.
Pro Tip: Run your first prototype with just one child before scaling. Thirty minutes of observation will tell you more about timing and difficulty than any planning document.
Table of Contents
- What age-appropriate DIY box ideas work best for each group?
- What materials and packaging do you need for a sturdy, attractive box?
- How do you build a complete Balloon Rocket experiment box?
- How do you keep experiment boxes safe and accessible for all learners?
- What does a DIY experiment box actually cost, and how long does prep take?
- How do you scale DIY boxes for a classroom or after-school group?
- Smart storage and reuse ideas for experiment box components
- Key Takeaways
- Why identity-driven kits matter more than most educators realize
- Teamgeniussquad kits: the ready-made path to the same outcome
- Sources and further reading
What age-appropriate DIY box ideas work best for each group?
Ages 5–7: sensory and cause-and-effect (10–20 minutes)
- Sink or Float Lab: Fill a small tub, test five household objects, record results with stickers. Learning goal: objects have properties that determine buoyancy. Variation: swap objects for heavier items to increase challenge.
- Color Mixing Watercolors: Three primary-color paint pods, watercolor paper, a brush. Learning goal: primary colors combine to make secondary colors. Variation: add a color wheel worksheet for early literacy integration.
- Magnet Hunt: A small magnet wand, a bag of mixed objects (paper clips, buttons, coins, foam pieces). Learning goal: magnets attract certain metals. Variation: sort objects into a two-column chart for math integration.
- Seed Observation Jar: Clear plastic cup, damp paper towel, bean seed taped to the inside. Learning goal: seeds need water and light to germinate. Variation: compare two jars, one in sunlight and one in a dark drawer.
Ages 8–10: engineering and simple reactions (20–40 minutes)
- Balloon Rocket: String, straw, balloon, tape, measuring tape. Learning goal: thrust and motion follow Newton’s third law. Variation: change balloon size and measure distance traveled.
- Baking Soda Volcano: Baking soda, citric acid, food coloring, small container. Learning goal: acid-base reactions release carbon dioxide gas. Variation: vary the ratio of acid to base and record observations.
- Paper Bridge Challenge: Index cards, tape, pennies as weights. Learning goal: structural design affects load-bearing capacity. Variation: introduce a budget of materials to simulate engineering constraints.
- LED Circuit Card: Copper tape, a 3V coin battery, one LED, cardstock. Learning goal: electricity flows through a complete circuit. Variation: add a second LED in series to explore circuit behavior.
Ages 11–13: design challenges and data collection (40–60+ minutes)
- Egg Drop Engineering: Straws, rubber bands, cardstock, tape, one raw egg. Learning goal: engineers use iterative design to protect fragile objects. Variation: add a weight limit for materials to increase constraint.
- Water Filtration System: Plastic bottle, gravel, sand, cotton balls, dirty water sample. Learning goal: filtration removes particulates through layered media. Variation: test filtered water with a simple pH strip.
- Solar Oven: Cardboard box, aluminum foil, plastic wrap, black paper, thermometer. Learning goal: reflective surfaces concentrate solar energy. Variation: measure temperature at five-minute intervals and graph results.
- Catapult Build: Craft sticks, rubber bands, a plastic spoon, small marshmallows. Learning goal: stored elastic energy converts to kinetic energy. Variation: adjust launch angle and record projectile distance for a data table.
What materials and packaging do you need for a sturdy, attractive box?
A well-built experiment box does not require a craft store run. Most staple materials are already in a classroom supply closet or available in bulk online.
Core materials list:
- Safe adhesives (white school glue, glue sticks, double-sided tape)
- Elastic bands, straws, balloons, small craft wood sticks
- Copper tape, 3V coin batteries, LEDs (for circuit activities)
- Cardstock, index cards, and kraft paper for step cards and labels
- Resealable zip bags for pre-measured consumables
- Acetate or clear plastic sheets for window panels
Basic tools (teacher/parent prep only):
- Scissors and a craft knife (adult use only)
- A bone folder for scoring cardstock; crisp creases from a bone folder dramatically improve paper-box durability
- A ruler and marker for measuring and labeling
- A small screwdriver for any battery compartments
For packaging, a two-part base and lid design is the most practical structure: it simplifies customization and reduces fit issues across different material thicknesses. When using thick corrugated cardboard, make the lid sufficiently larger than the base to account for wrapping and thickness. Adding a clear acetate window lets children see the contents before opening, which builds anticipation and works beautifully for decorative storage boxes and classroom gift projects alike.
For templates, skip designing structural die lines from scratch. Ready-to-print box templates let you focus on content and customization while preserving structural integrity.
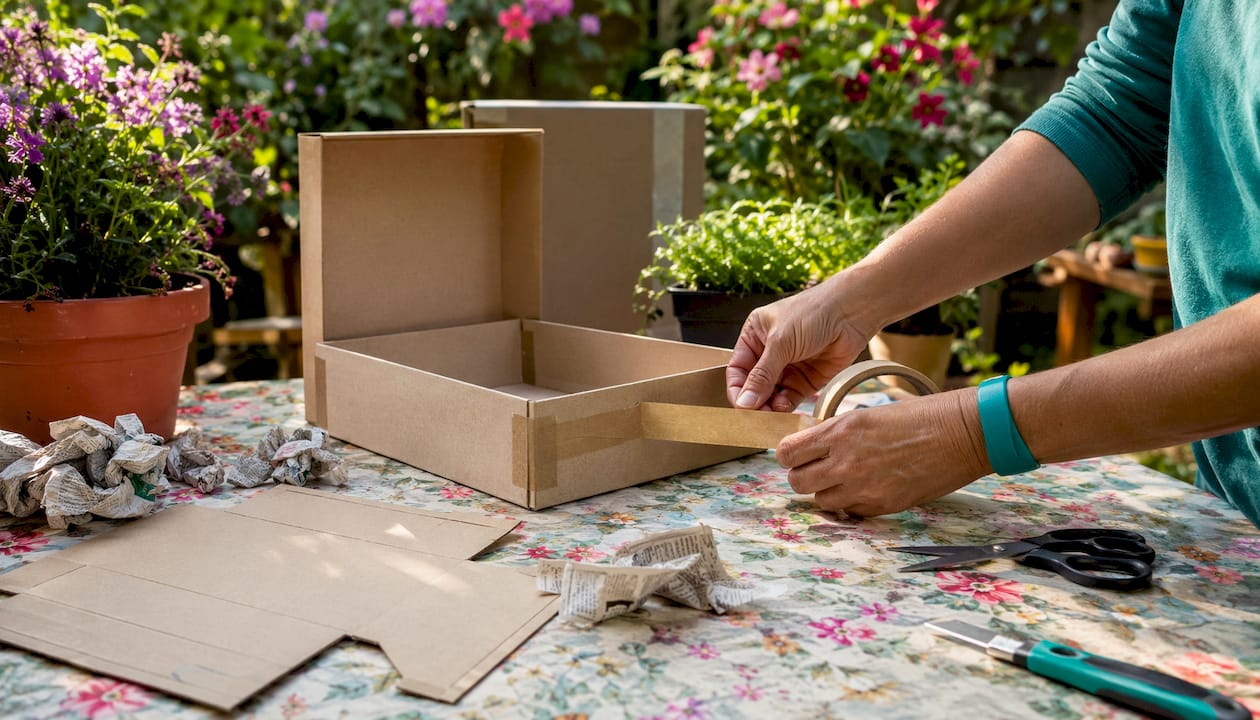
Eco-friendly swaps: cereal boxes for chipboard, newspaper padding instead of bubble wrap, kraft paper tape instead of plastic tape. Dollar Tree, ULINE, and Amazon’s bulk school-supply sections are reliable low-cost sources for classrooms.
Pro Tip: Pre-cut and pre-measure all consumables before class. Bagging materials the night before cuts student setup time from ten minutes to under two, which protects the activity window.
How do you build a complete Balloon Rocket experiment box?
Learning goal: Children observe that air escaping a balloon in one direction propels it in the opposite direction, demonstrating Newton’s third law of motion.
Prep checklist (per box):
- Cut one 10-foot length of string and thread it through a straw.
- Bag: one balloon, two 6-inch strips of masking tape, one straw (already threaded).
- Print one step card with icon-based instructions and a measurement prompt.
- Include a simple data table: three launch columns (balloon size, estimated distance, measured distance).
Student procedure:
- Tie the string between two chairs or anchor points at the same height.
- Blow up the balloon and pinch it closed without tying.
- Tape the balloon to the straw while a partner holds the string taut.
- Release the balloon and watch it travel. Measure the distance with a ruler or tape measure.
- Record results in the data table. Repeat with a larger or smaller balloon.
- Answer the wrap-up prompt: “What would happen if you used two balloons taped together?”
Time estimate: 5 minutes prep, 20 minutes activity, 5 minutes cleanup. Safety notes: supervise children under 7 with balloons (choking risk); offer mylar balloons as a latex-free substitute for children with latex sensitivity. Variations: (1) change string angle to introduce the concept of inclined planes; (2) add a weight (paper clip) to the balloon and measure how distance changes, creating a simple data-collection extension.
Pro Tip: Laminate the step card so it survives repeated use. One laminated card can run through a full classroom rotation without tearing.
How do you keep experiment boxes safe and accessible for all learners?
Safety and accessibility are not afterthoughts. They are design decisions that determine whether a child can actually engage with the box independently.
Universal safety checklist:
- Label every box with age-appropriateness, supervision level, and allergy notes (latex, citric acid, food dyes)
- Store small parts (LEDs, coin batteries, beads) in sealed bags inside a locked or high-shelf cabinet
- Pre-cut any sharp materials before distributing boxes to children under 10
- Include a “Stop and Ask” card for any step that requires adult assistance
Neurodivergent-friendly design adjustments:
- Use icon-based step cards with one instruction per panel, no dense paragraphs
- Add tactile cues: a textured sticker marks the “start here” step
- Build in a predictable sequence: every box follows the same open, read, gather, do, record, reflect order
- Include a one-minute fidget pause between major steps for children who need sensory regulation
- Use a visual timer (printed clock graphic or a physical sand timer) to reduce transition anxiety
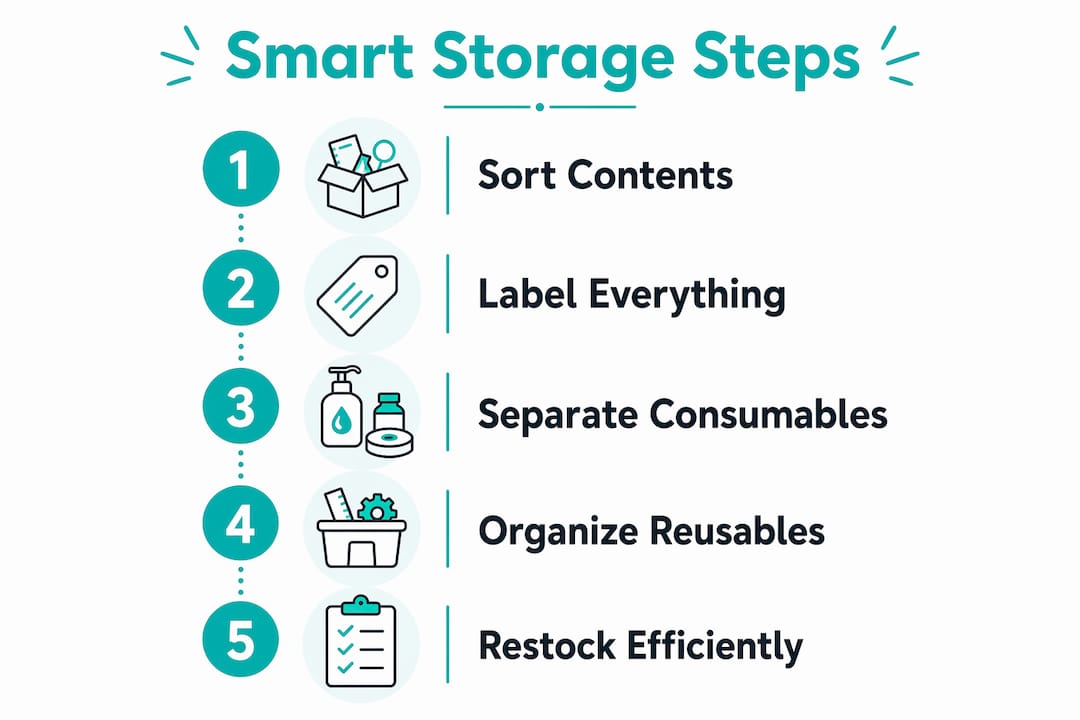
Storage and reuse: Label every component with a color-coded dot system. Reusable items (magnets, measuring tapes, bone folders) go in a permanent “tools” bin; consumables go in dated resealable bags. Durable foam inserts protect fragile items like LEDs and glass vials between uses.
Pro Tip: Replace latex balloons with mylar alternatives and swap citric acid for white vinegar in acid-base experiments. Both substitutions eliminate the two most common classroom allergy triggers with zero loss of learning value.
What does a DIY experiment box actually cost, and how long does prep take?
| Cost Tier | Per-Box Range | Example Line Items | Prep Time |
|---|---|---|---|
| Low | $2–$5 | Recycled cardboard, household consumables, printed step card | 10–20 minutes |
| Moderate | $6–$10 | Kraft box, copper tape, LED, coin battery, cardstock inserts | 20–40 minutes |
| Premium | $13–$20 | Chipboard box with acetate window, small motor, craft wood, laminated cards | 40–60+ minutes |
Prep time above reflects one box. For a class of 20, batching cuts per-box time by roughly a third once materials are pre-sorted. Budget an extra 10 minutes per session for transitions and cleanup, especially with ages 5–10.
Cost-reduction strategies:
- Buy consumables (balloons, straws, zip bags) in bulk packs of 100+ to cut per-unit cost significantly
- Reuse structural components (box shells, foam inserts, measuring tapes) across multiple sessions
- Ask families to donate clean cardboard boxes, toilet paper rolls, and egg cartons for recycled material boxes
- Share a community tool kit (bone folders, craft knives, rulers) across grade levels rather than buying per classroom
How do you scale DIY boxes for a classroom or after-school group?
Scaling from one prototype to 20+ student boxes is a logistics problem, not a creativity problem. Solve it with batching, clear roles, and a simple station rotation.
- Batch prep in two sessions: Session one: cut, measure, and bag all consumables. Session two: assemble boxes and print step cards. Two adults can prep 25 boxes in under two hours using this split.
- Assign student roles at each station: Materials Manager, Recorder, Builder, and Reporter. Rotating roles across sessions builds collaborative skills and mirrors real lab environments. Team-building experiments work especially well when roles are clearly defined.
- Use a simple lesson plan template: Learning objective (one sentence), materials per station (bulleted list), a quick-check question for assessment, and one extension option for early finishers.
- Rotate complexity across grade levels: Label boxes by difficulty (one star, two stars, three stars) so a mixed-age group or multi-grade classroom can self-select appropriate challenge levels without teacher intervention at every station.
- Bulk sourcing: Partner with a school’s PTA or parent group to fund one bulk consumables order per semester. Group learning environments consistently show that shared resources and collaborative structures improve outcomes for children across ability levels.
Smart storage and reuse ideas for experiment box components
The biggest hidden cost in any DIY kit program is not materials. It is replacing things that could have been saved.
Divide every box’s contents into two categories before the first use: consumables (balloons, baking soda, paper, zip bags) and reusables (magnets, measuring tapes, LEDs, straw lengths, foam inserts). Consumables go into a dated resealable bag with a quantity count written on the outside. Reusables go into a labeled bin that lives in the classroom permanently.
Color-coded dot labels on bins and bags make restocking fast, even for student helpers. A simple inventory sheet taped inside the storage cabinet door tells any adult at a glance what needs replenishing before the next session. Foam inserts cut from pool noodles or craft foam sheets protect fragile components like LEDs and small mirrors between uses and cost almost nothing. For handmade storage solutions that hold up over a full school year, double-wall corrugated cardboard boxes outperform single-wall alternatives for the outer shell.
Key Takeaways
Building a great DIY experiment box comes down to one focused activity, pre-measured materials, icon-based instructions, and a small role-play element that makes children feel like real scientists.
| Point | Details |
|---|---|
| Start with one age band | Pick 5–7, 8–10, or 11–13 and prototype a single experiment before scaling to a full set. |
| Use a two-part base and lid | Separate base and lid designs simplify customization and prevent fit issues across material thicknesses. |
| Pre-bag all consumables | Labeling and pre-measuring materials before class cuts student setup time and protects the activity window. |
| Build in accessibility from the start | Icon-based step cards, tactile cues, and predictable sequencing make boxes work for neurodivergent learners without extra adaptation. |
| Teamgeniussquad as a ready-made option | When time or staffing limits DIY prep, Teamgeniussquad’s E³ Method kits deliver the same hands-on, screen-free experience with no assembly required. |
Why identity-driven kits matter more than most educators realize
Most STEAM activity guides focus on the experiment. The badge, the lab coat, the certificate — those get treated as decoration. That framing misses something important.
Teamgeniussquad’s E³ Method grew directly from a family’s lived experience with dyslexia and dysgraphia. Founder Ava N. Simmons understood early that children who struggle in traditional learning environments do not lack curiosity or capability. They lack a context in which their kind of thinking is celebrated rather than corrected. The role-play elements in Teamgeniussquad’s kits — the lab coat, the printed badge, the completion certificate — are not rewards for finishing. They are the frame that tells a child, before the experiment even begins, that they belong in this space.
That identity signal matters because confidence is not a byproduct of success. For many children, especially neurodivergent learners, confidence is a prerequisite for even attempting something new. The E³ Method (Engage, Encourage, Empower) sequences the experience so that every child encounters a moment of genuine discovery before they are asked to reflect or record. Screen-free, tactile, and tested with children ages 5–13, the design is deliberate: when a child’s hands are busy and the steps are clear, the internal voice that says “I can’t do this” goes quiet long enough for curiosity to take over.
The DIY box designs in this article follow the same logic. The badge and certificate are not optional extras. They are the difference between a child who completes an activity and a child who walks away believing they are a scientist.
Teamgeniussquad kits: the ready-made path to the same outcome
When prep time is short, class sizes are large, or staffing makes DIY assembly impractical, Teamgeniussquad offers a direct alternative. Every kit is built on the E³ Method, includes real experiments alongside role-play elements (lab coat, badges, certificates), and is designed for screen-free, hands-on discovery with children ages 5–13.
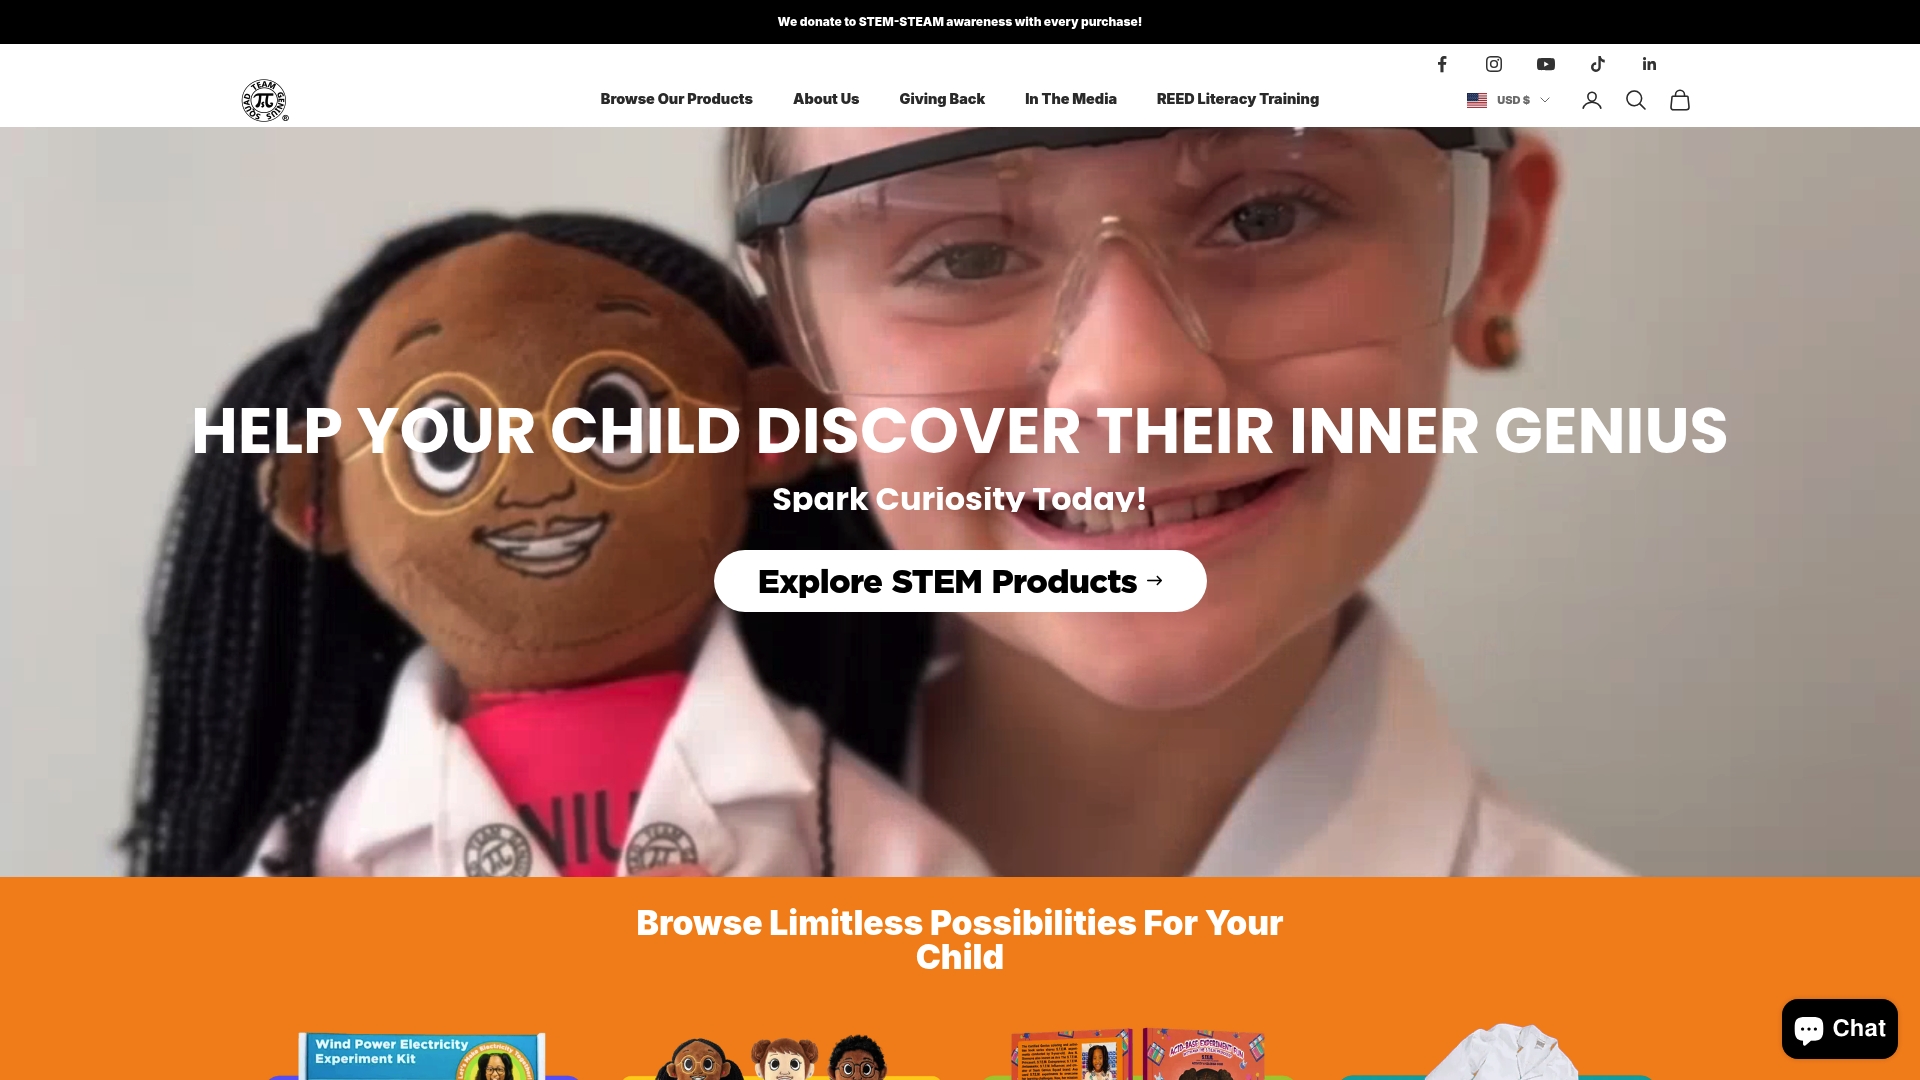
The Science Solar Energy Kit with Mirror Disk is one of the most classroom-ready options available: it arrives fully assembled, covers solar energy concepts aligned with STEAM learning goals, and requires no teacher prep beyond reading the included guide. For educators who want to explore the full range of ready-made kits, the Team Genius Squad store carries science kits, puzzle kits, and role-play accessories that ship directly to your classroom or home.
Buy vs. build: prototype your own box when you have time, a small group, and want to customize materials for a specific unit. Choose a Teamgeniussquad kit when you need 20+ consistent, confidence-building experiences delivered fast, with no assembly overhead.
Visit the store and find the kit that fits your group’s next session.
Sources and further reading
These resources support the packaging, template, and assembly guidance throughout this article:
- Paper box templates and custom design: Pacdora’s custom gift box builder is the strongest starting point for printable templates. Best for paper and cardstock boxes; free foundational tools with premium download options.
- Acetate windows and chipboard reinforcement: JenniferMaker’s DIY gift box guide covers presentation upgrades that translate directly to classroom project boxes and parent-made kits.
- Corrugated cardboard lid sizing: AppleGreenCottage’s storage box tutorial explains the one-inch clearance rule for thick corrugated lids, essential for larger kit boxes.
- Bone folder technique for paper boxes: WarmGifting’s no-template box guide demonstrates scoring and creasing methods that improve durability for repeated classroom use.
- Wooden box basics: The Spruce’s wooden box tutorial covers 45° miter joints and scaling, useful if you want to upgrade a maker station or build a durable reusable shell.
- Two-part base and lid design: Packlane’s custom gift box resource explains why separate base and lid construction outperforms single-fold designs for custom sizing.
- Light-based experiment ideas for classrooms: Light box art projects for kids ages 5–13 from Teamgeniussquad pairs well with the circuit and solar activities in this guide.

Leave a comment
This site is protected by hCaptcha and the hCaptcha Privacy Policy and Terms of Service apply.