Corn Husk Dolls: A Guide for Crafters and Educators
Corn husk dolls are one of the oldest handmade toys in North America, crafted by Native American peoples long before European settlers arrived. Made from the dried outer leaves of corn, these simple figures carry centuries of cultural meaning and agricultural tradition. Whether you are a parent looking for a screen-free weekend project, a teacher planning a social studies unit, or a crafter drawn to natural materials, this guide gives you everything you need — the history behind the craft, step-by-step instructions, and honest troubleshooting tips to help your doll come together beautifully.
Table of Contents
- Key Takeaways
- Materials and preparation for corn husk dolls
- Step-by-step instructions for making a traditional corn husk doll
- Common challenges and how to fix them
- Cultural history and significance of corn husk dolls
- My perspective on teaching this craft
- Bring hands-on creativity into every learning moment
- FAQ
Key Takeaways
| Point | Details |
|---|---|
| Soak husks correctly | Soaking corn husks for 5 to 10 minutes is the sweet spot for a pliable, workable material. |
| History adds meaning | Corn husk dolls connect to Native American agricultural tradition and the “Three Sisters” farming practice. |
| Imperfections are welcome | Handmade irregularities are part of the charm and reflect the craft’s folk art roots. |
| Standing dolls need a dense base | Flattening the bottom hem after drying is what keeps your doll upright. |
| Traditional dolls have no faces | This reflects a Native American legend about humility, making the craft a rich teaching tool. |
Materials and preparation for corn husk dolls
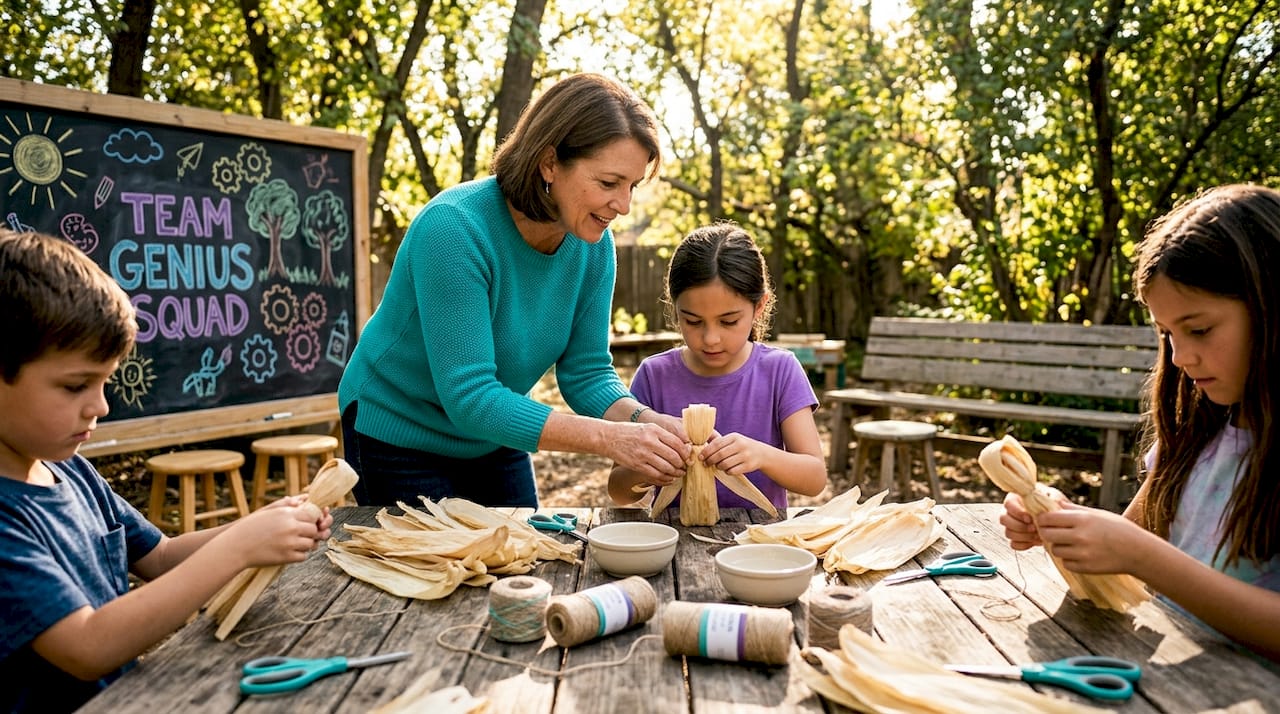
You do not need a craft store full of supplies to get started. A basic corn husk doll requires remarkably little, and that simplicity is part of what makes this craft so accessible for classrooms and kitchens alike.
What you will need:
- Corn husks (fresh from the cob or dried husks from a grocery store or craft shop)
- Natural twine, yarn, or string in a neutral color
- A bowl of warm water
- Scissors
- A towel or drying rack
- Optional: acrylic paint, fabric scraps, or wool for decoration
Fresh husks pulled straight from a corn cob are ideal in late summer, but dried husks sold for tamale-making work just as well and are available year-round. The key difference is preparation time. Fresh husks need only a brief rinse, while dried husks require a proper soak.
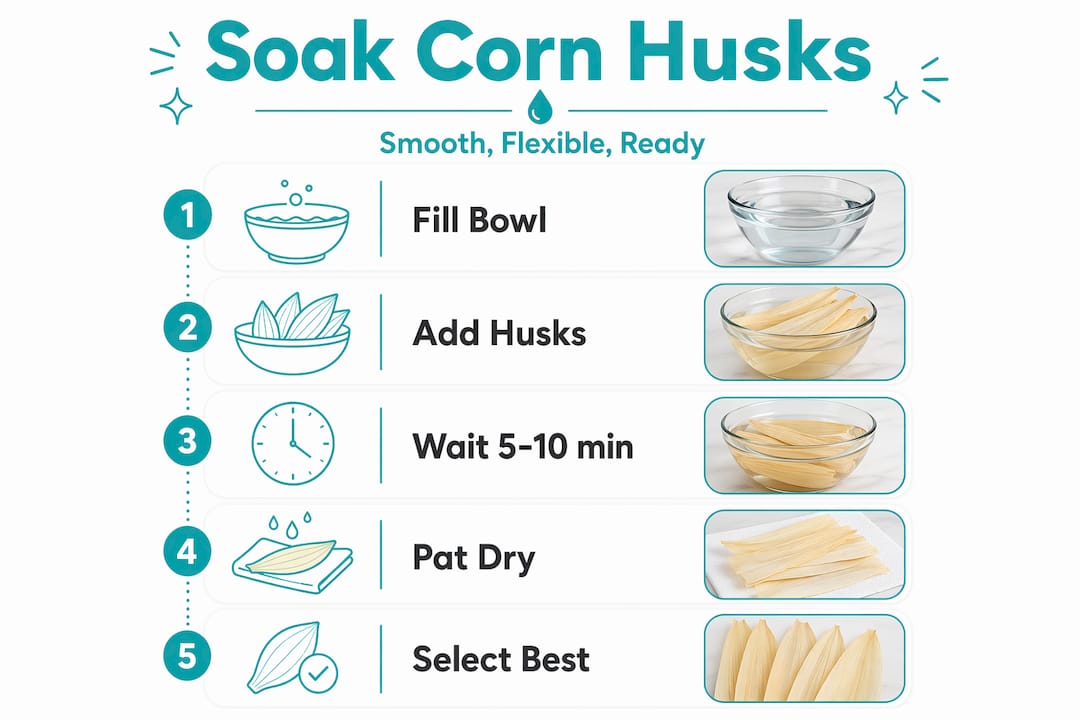
Soaking time matters more than most beginners expect. Husks soaked for fewer than 5 minutes remain brittle and crack when you bend or fold them. Husks soaked beyond 10 to 15 minutes become mushy and lose the structural integrity you need for shaping. The sweet spot is 5 to 10 minutes in warm water, which leaves the husks soft, flexible, and strong enough to hold a knot.
| Material | Purpose | Preparation needed |
|---|---|---|
| Corn husks (4 to 7 per doll) | Body, arms, and skirt | Soak 5 to 10 minutes in warm water |
| Twine or yarn | Binding head, neck, waist | Cut into 6-inch lengths before starting |
| Scissors | Trimming and shaping | None |
| Bowl of warm water | Keeping husks pliable | Refill as needed during crafting |
| Towel | Drying finished doll | Lay flat or hang to dry overnight |
Once your husks are soaked, pat them lightly with a towel. You want them damp, not dripping. Select wider, smoother husks for the body and save the narrower or more irregular ones for rolling into arms.

Pro Tip: Keep a small bowl of water nearby while you work. Corn husks dry out quickly once removed from the soak, and rewetting a section with your fingertip can save a piece that starts to stiffen mid-project.
Step-by-step instructions for making a traditional corn husk doll
A basic corn husk doll uses 4 to 7 husks and comes together in under an hour once your materials are ready. Follow these steps in order and do not rush the tying stages. A secure knot at each stage makes all the difference.
-
Stack the husks for the head. Take 3 to 4 wide husks and stack them on top of each other, aligning the tapered ends at the top. These will form the head and body.
-
Fold the husks downward. Hold the husks together and fold them down over themselves so the smooth sides face outward. The fold at the top will become the head.
-
Tie the neck. About 1 inch below the fold, wrap your twine tightly around the husks two or three times and tie a firm knot. This creates the head shape above the tie.
-
Make the arms. Take 1 to 2 narrower husks and roll them tightly lengthwise into a cylinder roughly 6 inches long. Tie both ends with small pieces of twine to secure the roll. This is your arm piece.
-
Insert the arms. Separate the hanging husks below the neck into two sections, slide the arm piece horizontally between them, and push it up against the neck tie.
-
Tie the waist. Bring the two sections of hanging husks back together around the arm piece and tie snugly about 1 inch below the arms. This defines the waist and holds the arms in place.
-
Form the skirt. Pull the remaining husks downward and spread them out evenly to create a full skirt shape. You can add extra husks at this stage by tucking them under the waist tie for more volume.
-
Flatten and trim the base. Once the doll is shaped, trim the bottom of the skirt evenly so the hem is flat. Set the doll upright on a towel and allow it to dry overnight. A dense, flat base is what allows the finished doll to stand on its own.
| Style option | How to achieve it | Best for |
|---|---|---|
| Skirt | Spread husks evenly below waist | Traditional look, display pieces |
| Pants | Split husks into two sections below waist, tie each leg | Interactive play, movement-themed displays |
| Wrapped dress | Add a single husk wrapped around the waist as a sash | Decorative or ceremonial styling |
Pro Tip: Wrap a thin torn strip of husk around the neck tie before the doll dries. It conceals the twine completely and gives the finished doll a much cleaner, more polished look.
Common challenges and how to fix them
Even experienced crafters run into hiccups with traditional corn husk crafts. Most problems trace back to preparation rather than technique, which means they are easy to prevent once you know what to watch for.
Frequent issues and their solutions:
- Brittle husks that crack. This almost always means the husks were not soaked long enough. If a husk cracks mid-project, soak it again for 2 to 3 additional minutes before continuing.
- Mushy husks that will not hold shape. Over-soaking is the culprit. Pat them drier with a towel or set them aside briefly to release some moisture before working.
- Loose or slipping ties. Twine tends to slip on wet husks. Try pulling the knot tighter, or wrap it an extra time before tying. Natural fiber twine grips better than plastic string.
- The doll will not stand upright. This usually means the base is too thin or uneven. Add an extra husk to the skirt bundle and re-trim the hem so it sits flat. Structural integrity for standing dolls depends on both a dense base and proper drying before you finalize the shape.
- Uneven or lopsided arms. Roll the arm husk tighter and tie both ends before inserting. If one side is shorter, a replacement roll takes only a few seconds to make.
- Visible binding strings that look messy. Wrap a torn husk strip over the neck and waist ties while the doll is still damp. It dries in place and hides the twine naturally.
The most important mindset shift is this: playfulness over perfection produces the most satisfying creative experience. Every handmade corn husk doll carries its own character in the slight curve of an arm or the fullness of a skirt, and that is exactly as it should be.
Pro Tip: Let children choose which husks to use and how to style the skirt. Ownership of creative decisions builds confidence, and the small “imperfections” they create often become the details they are most proud of.
Cultural history and significance of corn husk dolls
Corn husk dolls are not simply a craft activity. They are a living piece of history that carries the values, beliefs, and daily practices of Indigenous peoples across generations.
Native American tribes throughout the Eastern Woodlands and Great Plains region made corn husk dolls for hundreds of years, long before European contact. The craft connects directly to the Three Sisters agricultural tradition: corn, beans, and squash, which Indigenous communities considered the sustainers of life. Corn was not just a food source. It was a sacred plant, and the husks left after harvest became raw material for clothing, mats, moccasins, and dolls.
One of the most widely shared legends explains why traditional corn husk dolls have no faces. The story, told across several nations, describes a spirit given the form of a beautiful corn husk doll. The spirit became so entranced with its own reflection that it neglected its purpose. As a lesson in humility, the face was removed and was never given back. Different nations carry different versions of this legend, but the underlying teaching about inner character over outward appearance speaks across cultures and ages.
“Educators highlight that corn husk dolls uniquely integrate cultural history and agriculture concepts in hands-on learning, making them one of the most effective traditional crafts for connecting children to Indigenous heritage.” — Hart Square Foundation
Engagement with traditional toys like corn husk dolls enhances children’s historical empathy in ways that textbooks rarely achieve. When a child ties a knot and shapes a figure from a simple plant material, they are not just making a doll. They are connecting to the ingenuity and resourcefulness of people who lived centuries before them.
For educators, that connection is irreplaceable. The craft works beautifully in social studies units covering Indigenous cultures, colonial history, and American agriculture, and it pairs naturally with discussions about sustainability and respect for natural materials.
My perspective on teaching this craft
I have seen corn husk doll making light up a room in ways that worksheets and videos simply cannot match. The moment someone picks up a damp husk and realizes a figure is actually forming in their hands, something shifts. There is a quiet focus that settles over the group, and the questions that follow are the best kind: “Who made these first?” and “Why don’t they have faces?”
What I love most about teaching this craft is that it refuses to let you rush. You have to wait for the doll to dry. You have to re-soak a husk that got too stiff. That patience is not a flaw in the process. It is the process teaching you something. In my experience, children who struggle in fast-paced academic environments often thrive with crafts like this, because the feedback is immediate, tangible, and forgiving.
Crafting corn husk dolls also builds hands-on learning skills that transfer directly into STEAM thinking: observation, problem-solving, and spatial reasoning. Preserving traditional crafts in modern education is not nostalgia. It is wisdom, and it is something every child deserves access to.
— Tita
Bring hands-on creativity into every learning moment

If making corn husk dolls sparked something for your child or your classroom, that curiosity deserves to go further. Teamgeniussquad designs hands-on, screen-free STEAM discovery kits built for children ages 5 to 13 who learn best by doing. Every kit is powered by the E³ Method: Engage, Encourage, and Empower, so children move from “I’ll try it” to “I did it” to “I can do anything.” Whether you are looking for creative clothespin crafts to extend a unit or a full STEAM discovery kit, Teamgeniussquad has something made for young minds who are ready to build, explore, and create. Find your next hands-on adventure through the Teamgeniussquad shop and discover what happens when learning feels like play.
FAQ
What are corn husk dolls made from?
Corn husk dolls are made from the dried outer leaves of a corn cob, bound together with natural twine or string. No sewing or special tools are required.
How long does it take to soak corn husks?
Soak corn husks for 5 to 10 minutes in warm water. Soaking for less than 5 minutes leaves husks brittle, while soaking beyond 15 minutes makes them too soft to shape.
Why do traditional corn husk dolls have no faces?
Traditional corn husk dolls have no faces based on a Native American legend about humility. The story teaches that inner character matters more than outward appearance, and it varies in detail across different tribes.
Can kids make corn husk dolls independently?
Yes. With adult supervision for scissor use, children as young as 6 or 7 can complete most steps on their own. The craft builds fine motor skills and encourages creative decision-making.
Where can I find corn husks for doll making?
Dried corn husks are available at most grocery stores in the international foods section, often sold for tamale preparation. They are also sold at craft stores and online retailers throughout the year.

Leave a comment
This site is protected by hCaptcha and the hCaptcha Privacy Policy and Terms of Service apply.