20+ Low Prep Winter STEM Activities in 10–60 Minute Sessions
This page gives you 20+ hands-on winter STEM activities for kids ages 5 to 13, grouped by category: ice and snow science, thermal insulation, crystal growth, engineering, circuits, and STEM-meets-art projects. Each one lists materials, prep time, and age guidance, so you can pick one and start in the next 15 minutes. A ready-made kit option is included for anyone who wants the pedagogy without the shopping trip.
TL;DR:
- Conducting melting race experiments on different surfaces demonstrates how heat conduction varies, with melting times ranging from 15 to 20 minutes depending on materials.
- Testing insulation materials by measuring temperature drops over 25 to 30 minutes offers real data on their heat resistance, simulating animal adaptations like fat layers or feathers.
- Growing crystal snowflakes with Borax or salt requires overnight sit times of up to 24 hours, with careful placement to avoid disturbances that disrupt crystal formation.
- Combining measurement, prediction, and recording skills in activities like snow depth tracking or melt rate calculations reinforces core science techniques, especially when data is graphed or ranked.
- Using pre-measured kits or lesson plans simplifies preparation, especially for larger groups or short time frames, ensuring consistent materials and built-in reflection prompts.
Table of Contents
- Hands-On Winter STEM Activities Sorted By Category
- How To Run These Activities Without the Chaos
- Why Hands-On Winter Learning Actually Sticks
- Static Electricity Experiments Kids Can Run With a Balloon
- Winter Coding Projects That Don’t Need a Screen All Day
- Snow Math: Measuring, Graphing, and Calculating Insulation
- What Most Winter STEM Guides Get Backward
- Kits and Lesson Plans That Take the Prep Off Your Plate
- Where to Find More Winter Activity Ideas
- Sources
Hands-On Winter STEM Activities Sorted By Category
Winter handed teachers and parents a gift that summer never does: a season built entirely around a natural laboratory. Snow, ice, and cold air are free materials that behave in ways kids can measure, predict, and argue about. Science Buddies built an entire winter roundup around this idea, and the activities below draw on that same logic: cheap materials, real physics, minimal cleanup.
Ice and snow science
- Melting race: Give each child an ice cube on a different surface (metal tray, wood, fabric, plastic). Time which melts first. Materials: ice cubes, four surfaces, timer. Time: 15 minutes. Ages 5 to 10. Learning goal: heat conduction varies by material.
- Colorful melting ice: Freeze water with food coloring in ice cube trays, then let kids paint with the melting cubes on paper. Materials: food coloring, trays, paper. Time: 20 minutes. Ages 5 to 8. Learning goal: states of matter, plus a genuinely pretty art piece.
- Ice-lifting with salt: Place a string on an ice cube, sprinkle salt, and watch the ice refreeze around the string so it lifts. Materials: ice, string, table salt. Time: 15 minutes. Ages 8 to 13. Learning goal: how salt lowers the freezing point of water, the same reason road crews use it on icy streets.
- Foamy fake snow: Mix baking soda with shaving cream or a small amount of water and watch the fizzy reaction when vinegar is added. Materials: baking soda, vinegar, a shallow tray. Time: 10 minutes. Ages 5 to 9. Learning goal: acid-base reactions, dressed up as snow.
Thermal insulation and animal adaptation
Fill small jars with different materials, fat substitutes, cotton, foam, wool, then submerge each in ice water and track how fast the inside temperature drops with a thermometer. Materials: jars, thermometers, insulating materials, ice water. Time: 25 to 30 minutes. Ages 8 to 13. This mirrors how a polar bear’s fat layer or a bird’s feathers slow heat loss, and it gives older kids a real number to graph instead of a guess. Younger children can do a simplified version: build a “shelter” for a toy animal out of cotton balls and cardboard, then check whether an ice cube stays frozen longer inside it.
Crystal growth and chemistry
Grow crystal snowflakes by dissolving Borax or table salt into hot water, hanging a pipe-cleaner snowflake shape in the jar, and letting it sit overnight. Materials: Borax or salt, hot water, pipe cleaners, string. Time: 20 minutes active, 12 to 24 hours to grow. Ages 8 to 13, with adult supervision for the hot water step; younger kids can do the salt version safely with lukewarm water. Crystal formation is sensitive to disturbance. Set the jar somewhere quiet and away from heat vents, since temperature swings and vibration can interrupt the lattice structure as it forms.
Engineering challenges
- Snowflake STEM build: Using only 10 craft sticks and tape, build a symmetrical snowflake structure that can hold a small weight. Printable challenge cards make this a fast station setup. Ages 6 to 12. Time: 20 to 30 minutes.
- Mini pulley ski lift: String, a spool, and a small cup become a working pulley that hauls a toy skier up a ramp. Ages 9 to 13. Time: 30 minutes.
- Snowball catapult: Popsicle sticks, rubber bands, and a plastic spoon launch cotton ball “snowballs” at a target. Ages 7 to 12. Time: 20 minutes.
Circuits and winter tech
Build a simple night-light using a battery, an LED, and a switch, following the step-by-step version from Science Buddies, or build a lemon battery to introduce basic electrochemistry. Materials: coin cell or AA battery, LED, copper wire, lemons for the battery version. Time: 20 to 25 minutes. Ages 8 to 13, with younger kids handling assembly while an adult manages any cutting.
STEM plus arts
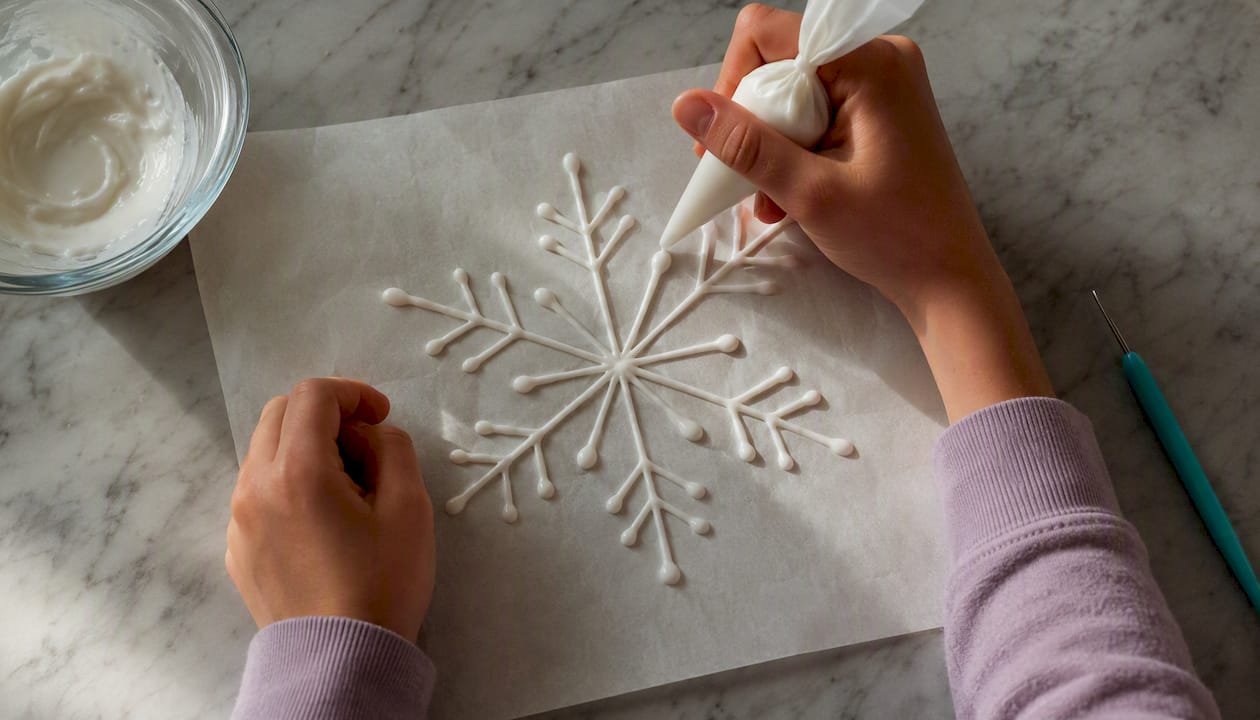
Marshmallow and toothpick structure challenges test symmetry and load-bearing design while doubling as a snack. A simplified “icing snowflake” build, piping icing into geometric snowflake patterns on wax paper, blends math symmetry with edible art for ages 5 to 9.
How To Run These Activities Without the Chaos
Running six kids through a crystal experiment and a catapult build in the same afternoon takes some planning, but not much. Here’s the fast version:
- Choose kit or DIY first. If you already have baking soda, string, and craft sticks at home, DIY costs nothing. If you want consistent measurements and pre-sorted materials, a kit like the Just Add Sugar S.T.E.M. Experiment Kit saves the shopping trip.
- Set up rotating stations. For groups of four or more, assign roles: a planner, a builder, a tester, and a recorder. Rotate roles every 15 minutes so every child gets hands-on time.
- Differentiate by age. For 5 to 7 year olds, simplify measurements to “cups” and “handfuls” instead of milliliters. For 8 to 10 year olds, add a data table for before-and-after readings. For 11 to 13 year olds, add design constraints, like a maximum of 10 craft sticks, to push deliberate planning over trial and error.
- Check safety first. No tasting baking soda, vinegar, or Borax solutions. Supervise any hot water step directly. Keep small pulley parts and pipe cleaners away from children under 5.
- Stretch a short activity into a longer one. A 15-minute snowflake build becomes a 45-minute investigation by adding a second design round: build once, test it, then rebuild with one material swap and compare results.
Pro Tip: Keep a simple photo log, snap a picture before and after each experiment, so kids can compare results side by side instead of relying on memory.
Data recording doesn’t need to be fancy. A tally chart for “melted first” races or a one-line before-and-after measurement turns any activity into something closer to real science.
Why Hands-On Winter Learning Actually Sticks
Teamgeniussquad built its entire teaching approach, the E³ Method, around a simple observation: kids don’t need more worksheets, they need to feel like scientists. Engage gets a child curious with a real material in hand. Encourage walks them through the experiment without giving away the answer. Empower lets them explain what happened, out loud or on paper, so the learning becomes theirs.
That third step matters more than most activity guides admit. Screen-free, tactile projects paired with a reflection prompt help kids who struggle with traditional worksheets, including many with dyslexia or dysgraphia, prove to themselves that they understand something.
A child who can explain why the salt lifted the ice, in their own words, has learned more than one who filled in a worksheet blank correctly.
For sequenced activities with built-in reflection prompts, the lesson plans collection offers a structured next step.
Static Electricity Experiments Kids Can Run With a Balloon
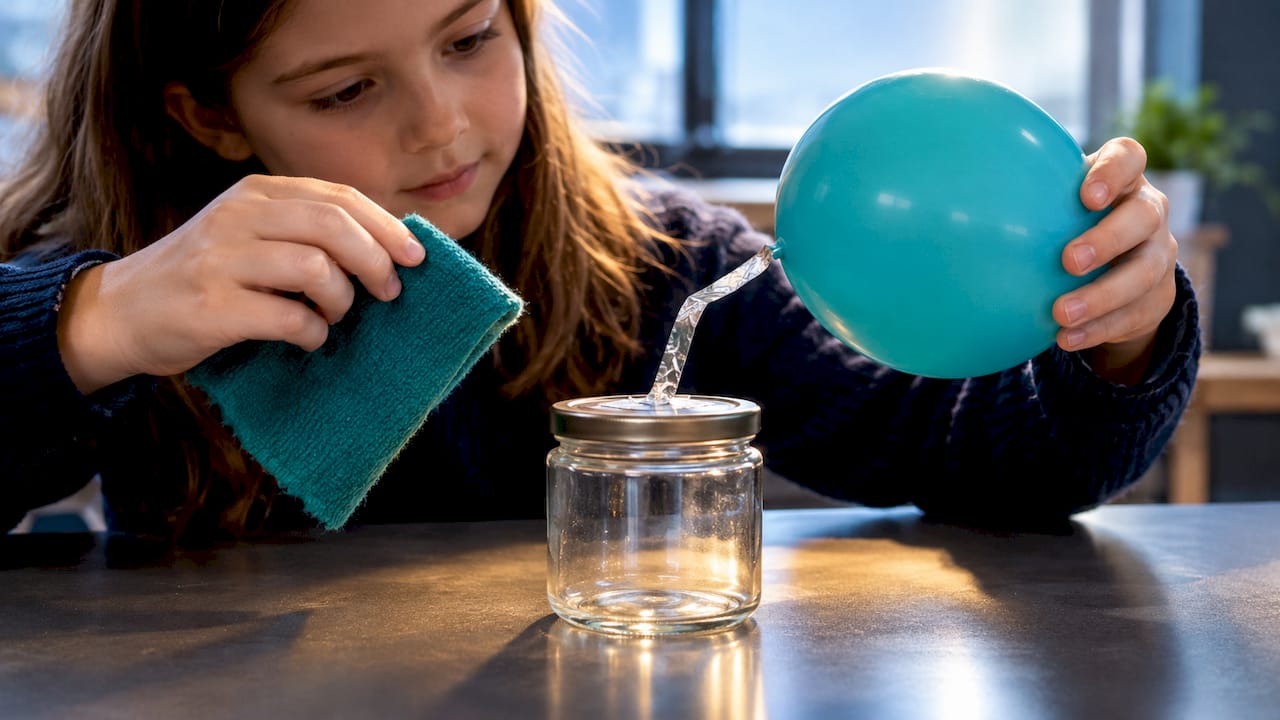
Winter’s dry indoor air makes it the easiest season of the year to demonstrate static electricity, and the classic electroscope is still the fastest way to show it. Build one by taping a strip of aluminum foil to a jar lid, then rub a balloon on wool or hair and hold it near the foil. The foil strip bends toward the charged balloon, proof of an electric field kids can’t otherwise see.
A second version uses a plastic comb and small bits of paper or puffed rice cereal. Run the comb through dry hair a dozen times, then hold it an inch above the paper bits. They jump. Science Buddies includes this exact demonstration in its winter lineup because dry, heated indoor air makes static effects stronger in December and January than any other time of year.
Materials: a balloon, wool fabric or a wool sweater, aluminum foil, a small jar, a plastic comb. Time: 15 to 20 minutes. Ages 5 to 11 work well here, since the setup takes seconds and the payoff is immediate. For 8 to 13 year olds, add a variable: does static work better with silk instead of wool? Does humidity change the result? Testing one variable at a time turns a fun demo into an actual experiment, and it’s a natural bridge into talking about how static builds up in dry winter air versus humid summer air.
Winter Coding Projects That Don’t Need a Screen All Day
Coding doesn’t require a laptop to teach the core logic. Unplugged coding activities use the same sequencing, loops, and conditionals kids would type into a program, just with paper and movement instead of a keyboard.
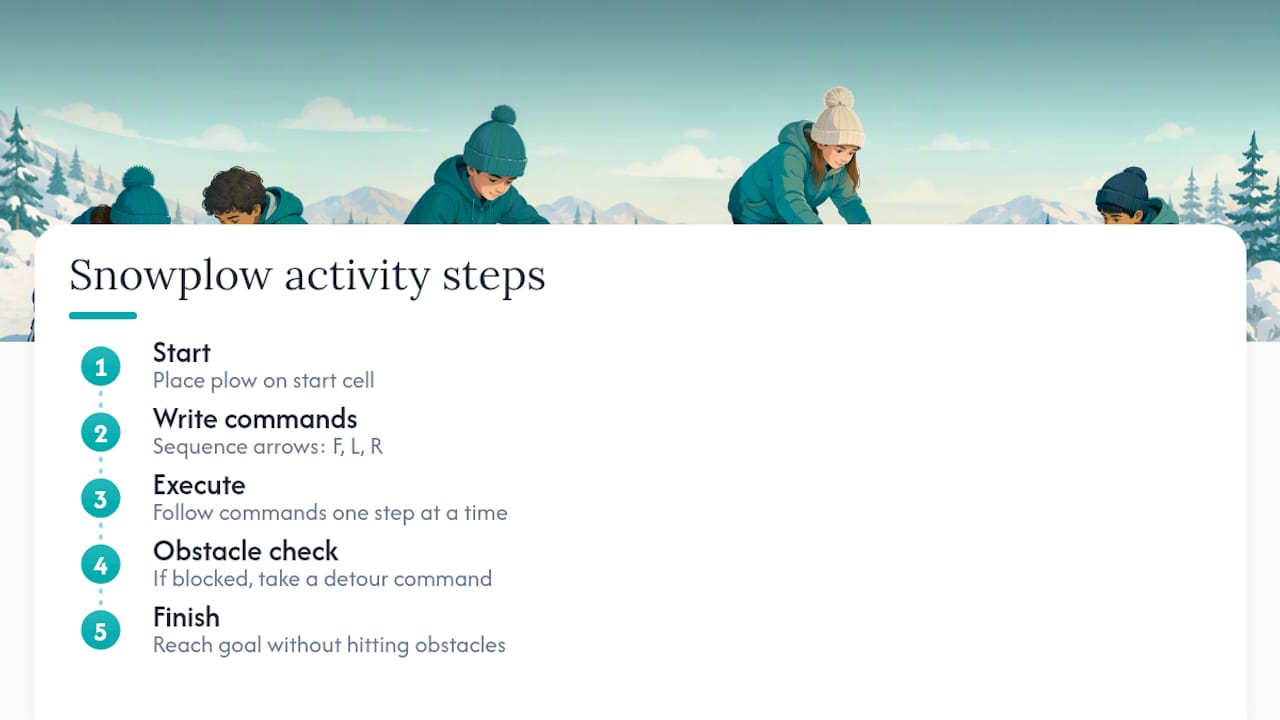
Try a “snowplow algorithm” activity: draw a grid on paper representing a snowy street, then have a child write a sequence of arrow commands (forward, turn left, turn right) to guide a partner acting as the “snowplow” through the grid without hitting obstacles. Ages 6 to 10 grasp this quickly, and it directly mirrors the if-then logic used in block-based coding platforms like Scratch.
For kids ages 9 to 13 who do have screen time available, a snowflake-generator project using Scratch’s loop blocks teaches geometric repetition, essentially coding the same symmetry principle used in the physical snowflake builds above. A shape drawn and rotated six times in a loop produces a six-sided snowflake, connecting directly to how real snow crystals form.
Materials for the unplugged version: paper, markers, a printed grid. Time: 20 minutes. No materials cost, no screen required, and it works as a rainy or snowed-in indoor activity when outdoor experiments aren’t possible.
Snow Math: Measuring, Graphing, and Calculating Insulation
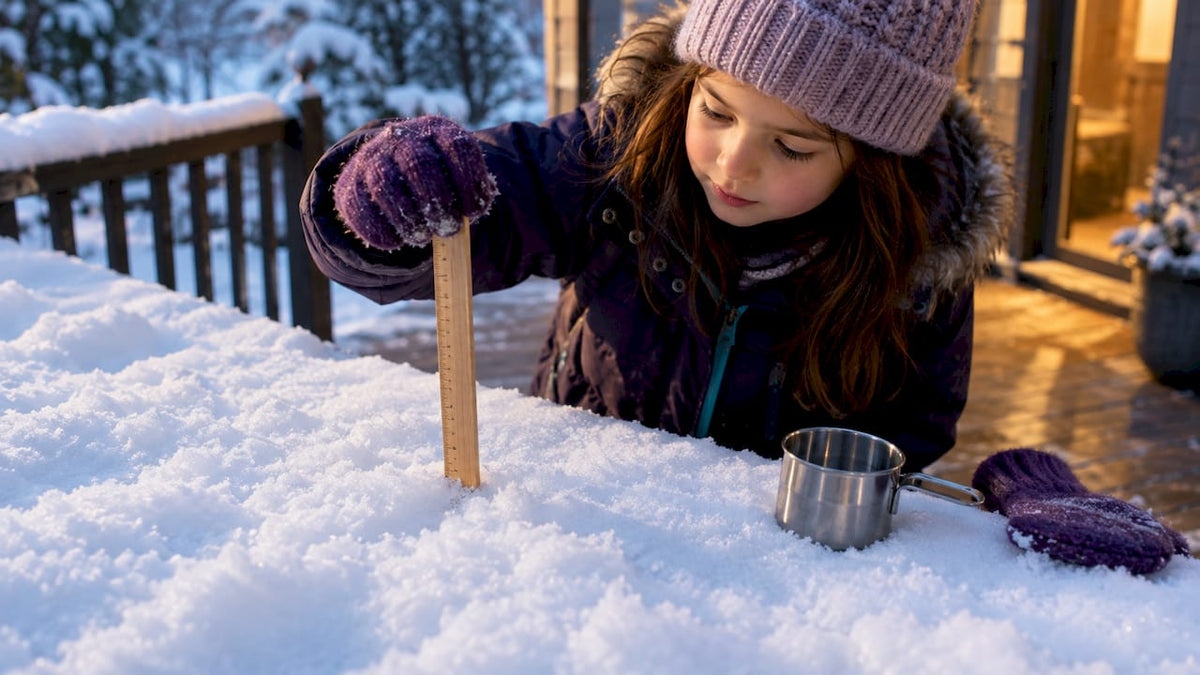
Snowfall itself is a built-in math lesson. Have kids place a ruler or yardstick outside before a storm, then measure and record snow depth every few hours. Graphing the results over a week introduces basic data visualization, and comparing daily totals against a local weather report teaches estimation and error.
Project Learning Tree recommends exactly this kind of ongoing seasonal data collection, tracking daylight hours or temperature, because it works across grade levels and scales naturally into graphing lessons once enough data points build up.
For older kids, ages 10 to 13, the insulation jar experiment from earlier becomes a math lesson too. Have them record the temperature drop in each jar every five minutes, then calculate the rate of change (degrees per minute) for each material. That’s a real-world introduction to the concept behind R-values, the rating system used to measure how well insulation resists heat flow. A material with a slower temperature drop has a higher effective R-value, and kids can rank their test materials from best to worst insulator using their own numbers instead of a textbook chart.
Younger kids can skip the math and simply rank materials as “fast melt,” “medium melt,” and “slow melt” using an ice cube instead of a thermometer.
What Most Winter STEM Guides Get Backward
Most winter activity roundups lead with the cutest project instead of the one that teaches the most. That’s backward. A messy ice-melting race with a stopwatch and a data table teaches more real science than a Pinterest-perfect snowflake craft, even though the craft photographs better.
The activities worth repeating are the ones with a built-in variable to test, salt versus no salt, wool versus silk, one insulating material versus another. Conventional wisdom treats winter STEM as a novelty unit tied to a season. It works better as a recurring habit: the same core skills (measuring, predicting, recording) applied to whatever the weather hands you that week.
If there’s one thing to prioritize first, it’s the recording step. A child who predicts an outcome, writes it down, and then compares it to what actually happened has done real science, regardless of how simple the materials were. Skip that step and even the best-designed experiment is just a craft with extra vocabulary.
— Tita
Kits and Lesson Plans That Take the Prep Off Your Plate
Parents sometimes find themselves last-minute looking for materials for an educational activity. Screen-free experiment kits that come with pre-measured and sorted materials, plus role-play pieces like a lab coat and badges, can help make kids feel like scientists rather than just completing a task.

For chemistry-leaning winter projects, the Just Add Sugar S.T.E.M. Experiment Kit fits homeschool afternoons and rainy-day backup plans equally well, ages 5 to 13. For classrooms or afterschool clubs running multiple stations at once, the lesson plans bundle sequences activities with reflection prompts built in, so an educator isn’t writing curriculum from scratch between periods.
Use this quick check to decide: if you have the materials on hand and 20 minutes to gather them, DIY works fine. If you’re short on time, running a group larger than four kids, or want the literacy and reflection piece built in rather than improvised, a kit or lesson plan bundle removes that friction. Either way, the STEM-STEAM books and puzzles collection pairs well with any of these activities for the reading and writing follow-up. Browse the current kit lineup and lesson plans to pick the one that matches your week.
Where to Find More Winter Activity Ideas
- Science Buddies for full experiment instructions and printable pages.
- Project Learning Tree for growing-zone adaptations and seasonal observation projects.
- Little Bins for Little Hands for printable snowflake STEM challenge cards.
Sources
- Winter Science Projects, Lessons, and STEM Activities (Science Buddies)
- Snowflake STEM challenge cards (Little Bins for Little Hands)
- Winter-Themed STEM Activities - Project Learning Tree
- Growing crystals experimental notes (Bellevue College lab guide)

Leave a comment
This site is protected by hCaptcha and the hCaptcha Privacy Policy and Terms of Service apply.