Toilet Paper Roll Crafts: 15 Fun Projects for Kids
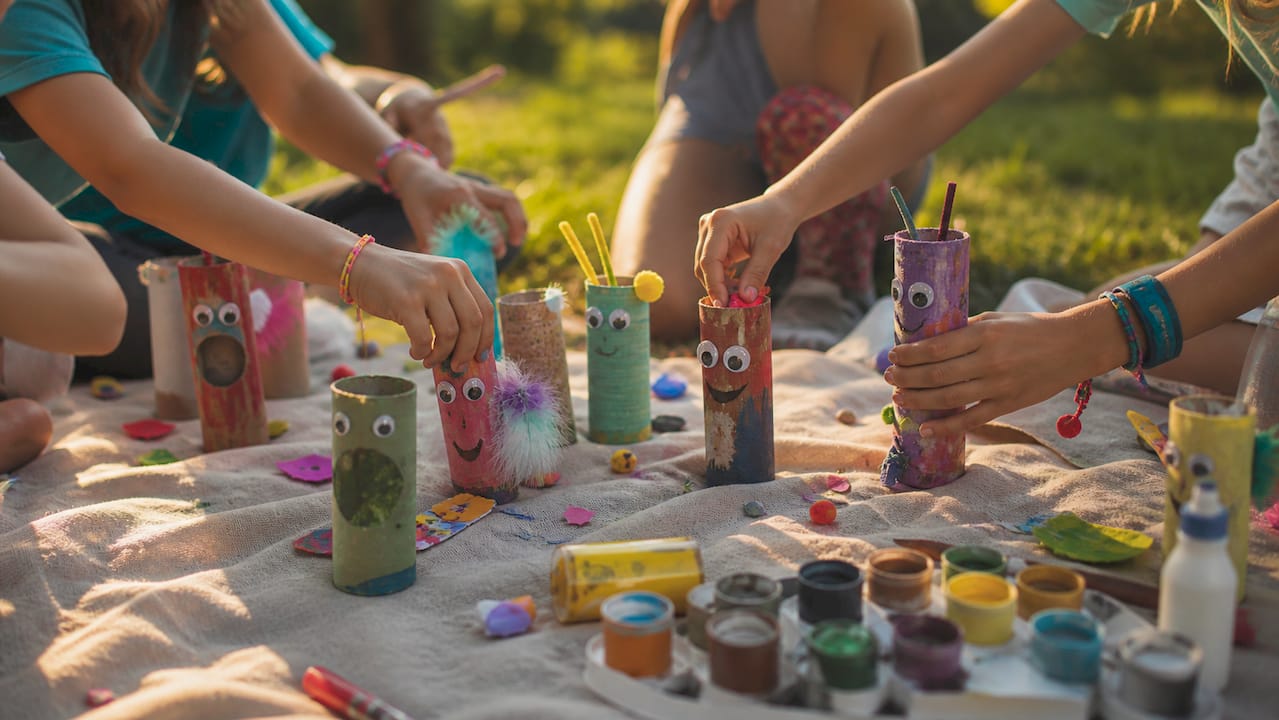
With a few markers, glue, and empty cardboard tubes, you can make animals, puppets, binoculars, seed starters, and party games in as little as 5 minutes — no special supplies, no budget required. These projects work for children ages 3–13, and the range is wider than most caregivers expect: think rocket ships, kazoos, kaleidoscopes, holiday ornaments, and cord organizers alongside the classic bunny or butterfly.
Here is the quick-start shorthand by age:
- Ages 3–5: Finger puppets, binoculars, simple animals (adult cuts the tube; child decorates)
- Ages 6–8: Maracas, seed starter pots, flower wreaths, puppet theaters
- Ages 9–13: Kaleidoscopes, cord organizers, kazoos, multi-roll party games
Most projects need only tubes, scissors, glue sticks, markers, and paint. A printable 2" circle template speeds up pencil holders and seed starters. For caregivers who want to go deeper than a single craft session, Teamgeniussquad’s hands-on STEAM kits pair naturally with these activities and extend the learning well beyond the table.
Pro Tip: Set a five-minute timer with younger children before starting. Knowing the project can be “done” that fast removes the anxiety of a long commitment and keeps energy high from the first snip.
Key Takeaways
Toilet paper roll crafts deliver genuine STEAM learning value when paired with a single good question before the making starts — and most projects need nothing more than tubes, glue, and markers to get there.
| Point | Details |
|---|---|
| Fastest starter project | Binoculars take 5–10 minutes and work for children as young as 3 with minimal adult help. |
| Best multi-child project | Finger puppet sets and bowling pins scale easily for groups and encourage collaborative storytelling. |
| Simplest STEAM extension | Ask “which filling makes the loudest sound?” before making maracas to turn a craft into a controlled experiment. |
| Top safety reminder | Keep small parts away from children under 3 and supervise all cutting regardless of age. |
| Deeper learning option | Teamgeniussquad STEAM kits extend tube-craft concepts into structured, neurodivergent-friendly experiments for ages 5–13. |
Table of Contents
- What you need to gather before the first project
- A quick guide to picking the right toilet paper roll craft
- Step-by-step walkthroughs for 8 standout projects
- How to adapt these projects for holidays and seasons
- How tube crafts connect to real STEAM learning
- Are used toilet paper rolls safe for crafts?
- How to make simple templates and printable patterns
- Why the simplest crafts often teach the most
- Teamgeniussquad STEAM kits: a natural next step for deeper learning
- Sources
What you need to gather before the first project
Good prep takes about three minutes and prevents mid-craft scrambling. Keep these basics on hand and you can say yes to almost any tube project on short notice.
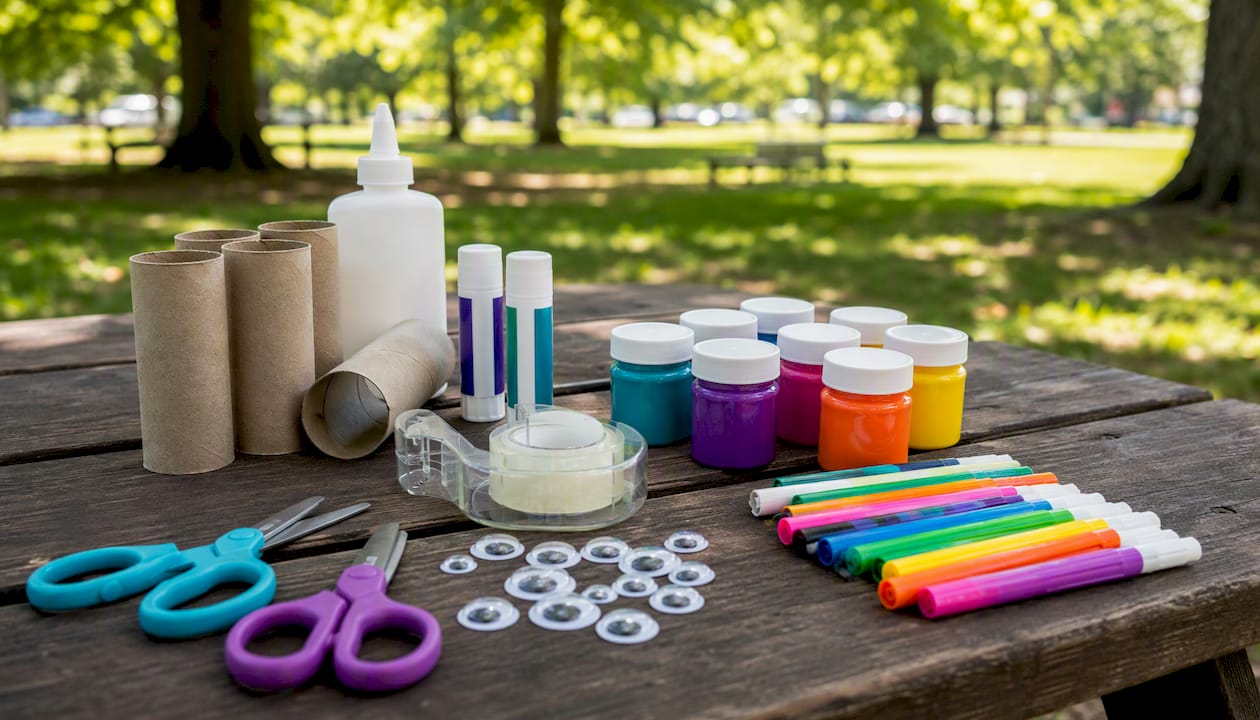
The core supply list covers cardboard tubes (both toilet paper and paper towel lengths), a glue stick and a bottle of white craft glue, washable tempera or acrylic paint in primary colors, markers in multiple thicknesses, child-safe scissors, clear tape, and googly eyes. Extras that unlock more complex builds include pipe cleaners, popsicle sticks, tissue paper, yarn, rubber bands, and small dried beans or rice for maracas.
Tool safety by age matters more than most guides admit. Children ages 3–5 should use blunt-tip safety scissors and glue sticks only; a caregiver handles any tube cutting. Ages 6–8 can manage pointed safety scissors for straight cuts, with an adult nearby. Ages 9–13 can use standard craft scissors independently, but a hot glue gun still needs adult supervision because the tip stays hot long after the trigger is released.
Selecting and prepping tubes is a step many caregivers skip, and it shows in the finished project. Choose tubes that are dry and structurally intact; a damp or crushed tube will not hold paint evenly or keep its shape when glued. Flatten a tube before slicing it into rings for cleaner, more consistent cuts, and avoid tubes with a glossy or heavily dyed inner surface if the project involves planting seeds, since coatings can leach into soil.
A short safety note: keep small parts (googly eyes, dried beans, buttons) away from children under 3. Work in a ventilated space when using spray paint or strong craft glue, and build in a handwashing step at the end of every session.
Pro Tip: Start a dedicated “paper roll pantry” — a dry bin or basket where you collect tubes over several weeks. Mix toilet paper lengths with cut paper towel sections so you always have the right size for any project without a last-minute hunt.
A quick guide to picking the right toilet paper roll craft
Before diving into step-by-step instructions, a fast category overview helps you match the right project to the right child on the right day. PBS Kids notes that tube crafts range from simple decorative animals to storytelling props that support social-emotional learning — meaning the same humble roll can serve a toddler’s first craft or a fifth-grader’s science experiment.
| Category | Example projects | Age band | Time | Supervision level |
|---|---|---|---|---|
| Animals & characters | Bunny, owl, caterpillar, lion | 3–8 | 5–15 min | Light to moderate |
| Puppets & storytelling | Finger puppets, stick puppets, puppet theater | 4–10 | 10–30 min | Moderate |
| STEM mini-builds | Kazoo, kaleidoscope, marble run segment | 7–13 | 20 min | Moderate to close |
| Practical upcycles | Cord organizer, pencil holder, seed starter | 6–13 | 10–25 min | Light |
| Holiday & seasonal decor | Bat, turkey, ornament, napkin ring | 4–13 | 10–30 min | Light to moderate |
| Party games | Bowling pins, scavenger-hunt props | 5–13 | 15–30 min | Light |
Quick substitutions when supplies run short:
- No googly eyes? Draw them with a black marker or use small sticker dots.
- No tempera paint? Watercolor works on dry tubes; colored paper strips glued on are even faster.
- No glue gun? White craft glue with a 10-minute dry time handles most joins; binder clips hold pieces while they set.
- No toilet paper tubes? Paper towel rolls cut to 4" sections, gift-wrap tubes, or rolled poster board all use the same templates and steps.
The practical upcycle category is worth highlighting for older children: cord organizers, drawer dividers, and seed starter pots give kids a finished product they actually use, which tends to raise their investment in the making.
Step-by-step walkthroughs for 8 standout projects
These eight projects cover the widest range of ages, skills, and learning goals. Each one includes a time estimate, age recommendation, and a note on where a printed template saves time.
1. Animal puppet
Materials: 1 tube, markers, googly eyes, construction paper scraps, glue stick, popsicle stick Time: 10–15 minutes | Age: 4–8
- Choose an animal and sketch the face lightly in pencil on the tube.
- Paint or color the tube in the animal’s base color; let dry 5 minutes.
- Cut ears, wings, or fins from construction paper and glue them on.
- Add googly eyes and draw a nose and mouth with marker.
- Glue a popsicle stick to the inside bottom of the tube to create a handle, making it easier for small hands to hold.
Template note: A simple ear/fin shape cut from folded paper works as a repeatable stencil for group projects.
Pro Tip: For toddlers, pre-cut all paper pieces before the session so the child focuses entirely on gluing and coloring — the sense of completion comes faster and confidence builds.
2. Binoculars
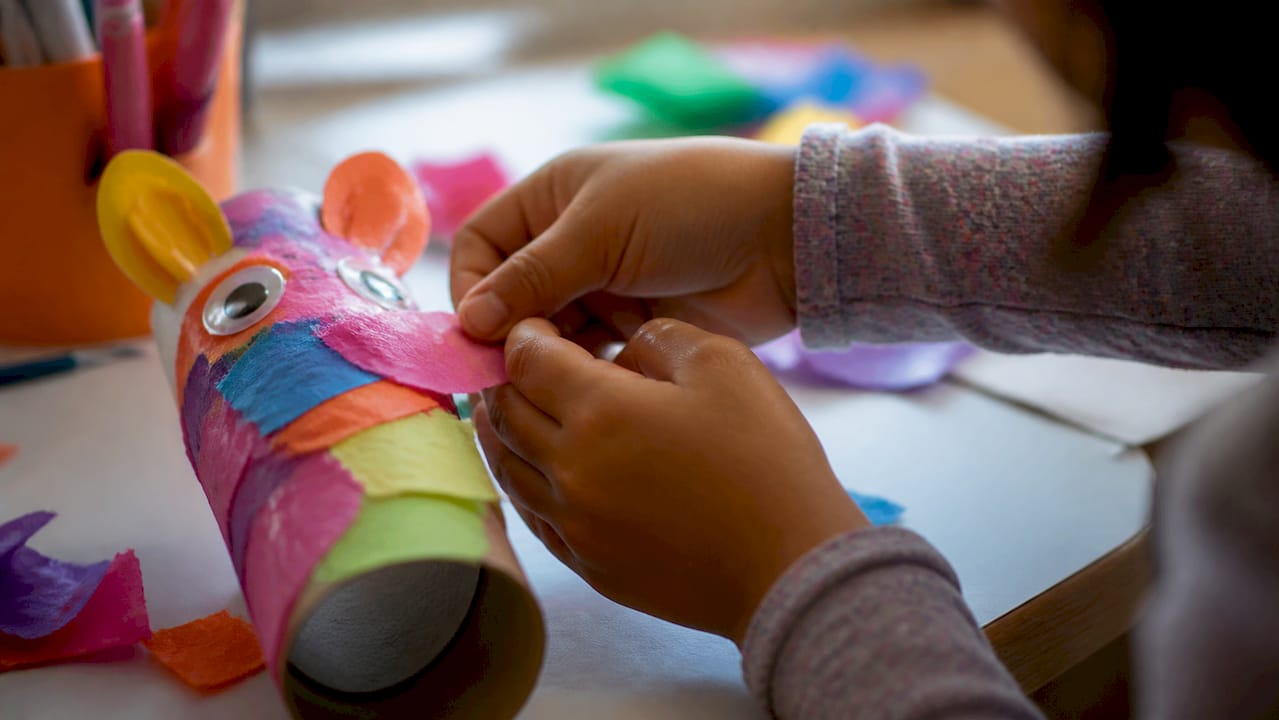
Materials: 2 tubes, tape or glue, paint, yarn or ribbon (optional) Time: 5–10 minutes | Age: 3–7
- Paint both tubes the same color; dry completely.
- Hold the two tubes side by side and secure them with two strips of tape or a bead of glue along the seam.
- Reinforce the join with a second wrap of tape for durability.
- Punch a small hole on the outer edge of each tube and thread yarn through for a neck strap.
- Decorate with stickers or marker designs.
This is the fastest confidence-builder in the list — a child who has never done a craft before can finish it in five minutes and immediately use it in imaginative play.
3. Rocket ship
Materials: 1 tube, construction paper, tape, markers or paint, a small paper cup (optional nose cone) Time: 15–20 minutes | Age: 5–10
- Paint the tube silver, red, or any rocket color; dry fully.
- Cut a semicircle from construction paper, roll it into a cone, and tape it to the top of the tube.
- Cut three fin triangles (about 2" tall) from cardstock and fold a 1/2" tab at the base of each.
- Glue or tape the fins evenly around the bottom of the tube.
- Add porthole windows with a marker or glue on small circular paper cutouts.
- Draw flames at the base with orange and yellow marker, or glue on tissue paper strips.
Template note: A printable semicircle (radius = tube circumference ÷ 2π) makes the cone step repeatable for classroom sets.
4. Maracas
Materials: 2 tubes, dried beans or rice, tape, paint, markers Time: 15–20 minutes | Age: 5–10
- Fold and tape one end of each tube closed tightly.
- Pour roughly 2 tablespoons of dried beans or rice into each tube.
- Fold and tape the open end closed.
- Paint and decorate the outside.
- Shake to test the sound; add more filling for a louder rattle.
This project doubles as a sound science experiment: ask children to predict whether beans or rice will be louder, then test both and compare. Science Buddies frames exactly this kind of predict-test-compare loop as the foundation of inquiry-based STEM learning.
5. Seed starter pot
Materials: 1 tube (cut to 3" sections), potting soil, seeds, a tray Time: 10 minutes | Age: 5–13
- Cut the tube into 3" sections.
- Make four evenly spaced cuts, each about 1" deep, at one end of the section.
- Fold the cut flaps inward to form a base, overlapping them like a box bottom.
- Set the pot upright on a tray and fill with potting soil to within 1/2" of the top.
- Press 1–2 seeds into the soil, water lightly, and place in a sunny spot.
The whole pot goes into the ground at planting time, eliminating transplant shock. Cardboard tubes are effective seed-starter pots when cut into 2–4 inch sections, and they break down naturally in soil.
6. Flower wreath ornament
Materials: Multiple tubes, scissors, paint, string or ribbon, glue Time: 20–30 minutes | Age: 6–11
- Flatten each tube completely and slice into 1/2" rings.
- Paint the rings in two or three colors; dry fully.
- Arrange rings in a circular wreath shape on a flat surface.
- Glue rings together where they overlap; let dry 10 minutes.
- Tie a loop of ribbon through the top ring for hanging.
7. Cord organizer
Materials: Tubes cut to 4–5" lengths, a small box or drawer divider, glue Time: 10–15 minutes | Age: 8–13
- Cut paper towel rolls into 4–5" sections.
- Stand them upright inside a shallow box or drawer.
- Glue the base of each section to the box bottom.
- Coil one cable or cord per tube and drop it in.
This is one of the most satisfying practical upcycles because the result is immediately useful. Older children often take ownership of organizing their own desk space when they built the organizer themselves.
8. Finger puppets for a puppet theater
Materials: Tubes cut to 2" rings, markers, construction paper, glue Time: 15–25 minutes for a set of 4 | Age: 4–9
- Cut tubes into 2" rings (one per puppet character).
- Draw a face on each ring with markers.
- Cut tiny ears, crowns, or hats from construction paper and glue them on.
- Slip each ring over a finger to perform.
A set of four finger puppets becomes a full storytelling kit. Paper-roll puppets support social-emotional learning by giving children a low-stakes way to act out emotions and practice narrative thinking.
When paint peels or a tube goes soggy mid-project: Let the tube dry completely before repainting — a single thin coat adheres better than a thick one applied to a damp surface. If a tube loses its shape from moisture, slide it over a pencil or dowel while it dries to restore the cylinder. For seed starters, a soggy tube is actually fine; it just means planting time is close.
How to adapt these projects for holidays and seasons
The same base projects shift into seasonal territory with a few paint colors and material swaps, which means you can reuse templates all year without buying new supplies.
Seasonal adaptations by holiday:
- Halloween: Paint binoculars black and add orange bat wings cut from foam sheets for a bat viewer; turn animal puppets into black cats or ghosts with white tissue paper.
- Thanksgiving: Cut a turkey body from a tube, fan out construction paper feathers in fall colors, and add a small red wattle from felt.
- Christmas/winter holidays: Slice tubes into 1/2" rings, paint them red and green, and link them into a paper chain; or stand a painted tube upright as a mini Christmas tree decorated with dot stickers.
- Valentine’s Day: Flatten and slice tubes into rings, shape each ring into a heart by pinching one end to a point, and glue several together for a napkin ring or garland.
- Spring: Flatten a tube, cut petal shapes along the length, fan them outward, and paint in bright colors for a butterfly or flower wall decoration.
Party game ideas using multiple rolls:
- Set up 10 painted tubes as bowling pins and roll a small ball down a hallway.
- Label tubes with clue numbers and hide them around a room for a scavenger hunt.
- Use tubes as relay-race batons in an outdoor obstacle course.
Pro Tip: Turn binoculars into a pirate spyglass by painting one tube black, wrapping the other in brown paper to mimic leather, and adding a thin ribbon “strap.” The same two-tube template, a completely different story.
When holiday-specific supplies are unavailable, fabric scraps, ribbon offcuts, and recycled wrapping paper cover almost every seasonal color need without a trip to the craft store.
How tube crafts connect to real STEAM learning
A cardboard tube is not just a craft material — it is a low-cost science instrument when paired with the right question. Science Buddies frames inquiry-based activities around the predict-test-compare loop, and tube crafts slot into that framework naturally.
Specific STEAM connections by project:
- Maracas and kazoos: Sound science. Ask children to change the amount of filling or the tube length and record whether the pitch or volume changes. This is acoustics at a level a five-year-old can grasp.
- Kaleidoscopes: Symmetry and light reflection. Line the inside of a tube with foil strips at angles and look through one end at a bright window. The pattern demonstrates mirror symmetry and the physics of reflection.
- Seed starter pots: Plant biology and the water cycle. Track germination days, measure seedling height weekly, and compare results between a sunny and a shaded pot.
- Puppet theater: Social-emotional learning and STEM storytelling. Children who script a puppet show practice sequencing, cause-and-effect reasoning, and perspective-taking simultaneously.
- Rocket builds: Basic aerodynamics. Ask: does a longer fin make the rocket stand more steadily? Test it, measure the base width, and record results.
Three activity extensions that add a measurable learning objective:
- Measure and predict: Before making maracas, ask children to estimate which filling (beans vs. rice vs. sand) will produce the highest sound. Fill three identical tubes with each material, shake them, and rank by volume. Write or draw the results.
- Count symmetry lines: After making a kaleidoscope, sketch the pattern seen through the tube and count how many lines of symmetry appear. Compare sketches made at different angles.
- Track plant growth: Use a ruler to measure seedling height every three days and plot the data on a simple hand-drawn graph.
Differentiation by age and learning style:
- Ages 3–5: Reduce steps to three or fewer, use tactile cues (a textured sticker marks where to glue), and keep the predict-test loop verbal rather than written.
- Ages 6–8: Add a simple recording sheet where children circle their prediction and draw their result.
- Ages 9–13: Introduce variables deliberately — change one thing at a time and discuss why controlling variables matters.
- Neurodiverse learners: Predictable routines help most. Post the steps as pictures before starting, keep the workspace visually uncluttered, and offer a “done” signal (a finished tray) so the endpoint is always clear.
Hands-on STEAM kits that pair structured experiments with open-ended building extend this kind of learning well beyond a single afternoon session.
Are used toilet paper rolls safe for crafts?
The direct answer: dry, intact toilet paper rolls carry no formal sanitation requirement for craft use. The tube itself has been in contact with clean paper, not waste. That said, caregivers who prefer an alternative have several good options: paper towel rolls, gift-wrap tubes, or rolled poster board all use the same templates and steps without any hygiene concern.
Practical selection rules:
- Choose tubes that are dry and structurally intact.
- Discard any tube that is damp, discolored, or shows signs of mold.
- Avoid tubes with a glossy inner coating for garden projects.
- If a tube smells musty, compost it rather than craft with it.
Both toilet paper and paper towel rolls are typically accepted in curbside recycling when clean and dry; if local programs do not accept them, cardboard tubes compost readily and make excellent seed-starter material.
Craft-time safety checklist:
- Supervise all cutting, regardless of age.
- Keep small parts (googly eyes, beans, buttons) away from children under 3.
- Work in a ventilated space when using acrylic paint or strong adhesives.
- Use water-based, non-toxic paint and glue for all ages.
- Build in a handwashing step at the end of every session.
DLTK recommends using paper towel or gift-wrap tubes when hygiene is a concern, and notes that adding a popsicle-stick handle to puppets reduces small-part risk for younger children by keeping the tube away from the mouth.
Pro Tip: If you are running a classroom session, ask families to send in tubes in a sealed zip-lock bag labeled with the child’s name. This keeps tubes dry during transport and gives cautious caregivers peace of mind without requiring any chemical sterilization.
How to make simple templates and printable patterns
Pre-made templates cut setup time in half for group projects and let children focus on the creative work rather than measuring. Two templates cover the majority of tube craft needs.
Template 1: The 2" circle base
- Trace a circle with a 1" radius (2" diameter) onto cardstock using a compass or a coin slightly smaller than a quarter.
- Cut out the circle.
- Use it as a stencil to trace and cut multiple bases quickly.
- Glue one circle to the bottom of a tube to make a pencil holder or a seed-starter base.
Template 2: The 1/2" ring slice guide
- Mark a tube at 1/2" intervals with a pencil.
- Wrap a strip of paper around the tube at each mark to get a straight cutting line.
- Cut along each line with scissors.
- Use the resulting rings for flower wreaths, heart garlands, or finger puppet bodies.
Scaling for paper towel rolls: Paper towel rolls have a slightly larger diameter (roughly 1 5/8" vs. 1 1/8" for toilet paper rolls — they are nearly identical in diameter but paper towel rolls are longer). Scale the circle base to 1 3/4" for a snugger fit on a paper towel roll.
Classroom tips for pre-cutting:
- Pre-cut rings and circles the evening before a group session so children can start decorating immediately.
- Store pre-cut pieces in labeled zip-lock bags by project type.
- Print templates on cardstock rather than copy paper so they survive repeated tracing.
Pro Tip: *Photograph your finished template pieces next to a ruler and save the image.
For deeper STEAM lesson plans that pair with these projects, DIY STEAM experiment kits offer structured extensions that go well beyond what a single template can provide.
Why the simplest crafts often teach the most
There is a tendency in educational circles to equate complexity with learning value. A craft that takes two hours and requires a laser cutter must be more educational than one that takes ten minutes and a cardboard tube, right? Not necessarily.
The most powerful learning moments in early childhood often happen in the predict-test-compare loop that a maraca or a seed starter pot makes almost unavoidable. A child who fills three tubes with different materials, shakes them, and ranks the sounds by volume has just run a controlled experiment. The fact that the lab equipment cost nothing does not diminish the cognitive work.
What matters is the question asked before the making starts. “What do you think will happen if we add more beans?” is the sentence that turns a craft into a STEAM lesson. Without it, the same activity is still worthwhile — fine motor skills, creative expression, and a sense of completion all have real developmental value — but the STEAM connection lives in the prompt, not the tube.
Caregivers who feel uncertain about facilitating science conversations do not need a science background. They need one good question per project and the patience to wait for the child’s answer before offering their own.
Teamgeniussquad STEAM kits: a natural next step for deeper learning
When a single craft session sparks genuine curiosity and a child starts asking questions that go beyond what a tube and some paint can answer, that is the moment a structured STEAM kit earns its place.

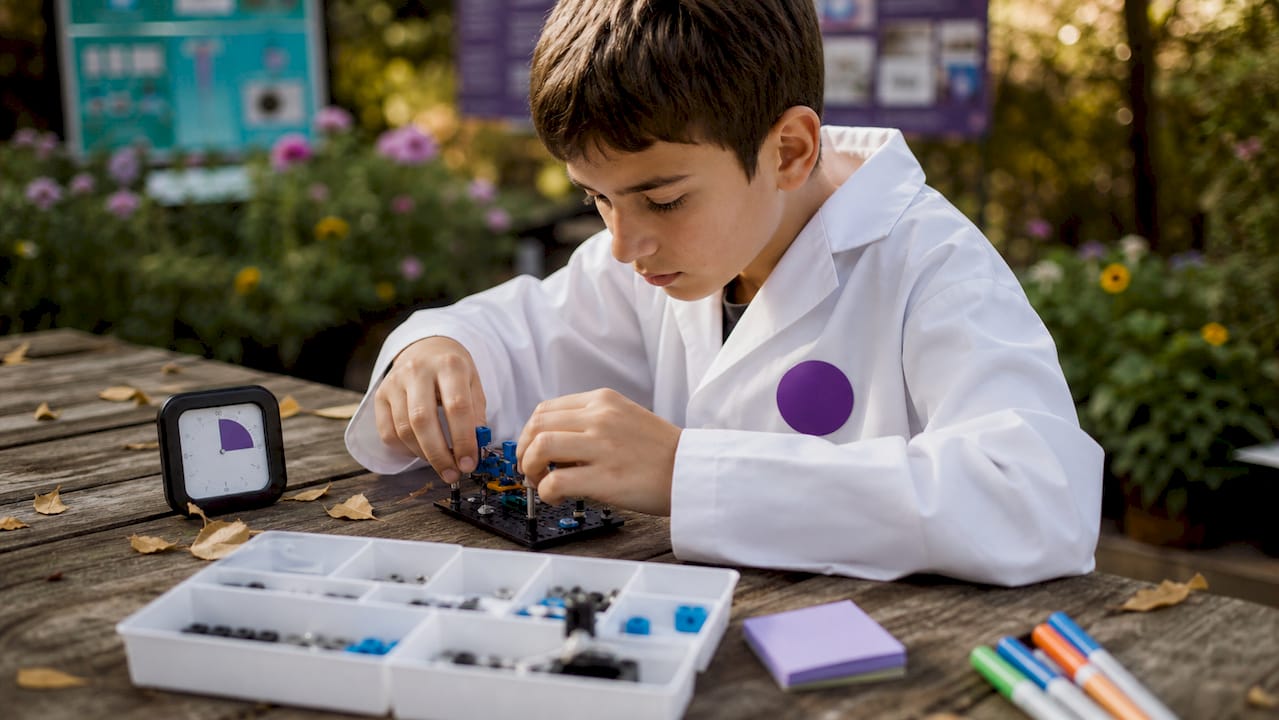
Teamgeniussquad’s hands-on, screen-free STEAM discovery kits are built for exactly that moment. Each kit is designed for children ages 5–13 and follows the trademarked E³ Method (Engage, Encourage, Empower), guiding children from a first experiment through to a real sense of scientific identity. The kits are neurodivergent-friendly by design, created from a real family journey with dyslexia and dysgraphia, and every element — from the lab coat to the completion certificate — helps a child see themselves as a scientist, not just a crafter.
For caregivers running a classroom unit or a sustained home learning block, a kit like the Science Solar Energy Kit extends the light-and-reflection concepts a kaleidoscope introduces into a full guided experiment with real materials and measurable results. The Mini Fab Science Lab offers a compact, structured option for caregivers who want a ready-made activity sequence without the planning overhead. Visit the Teamgeniussquad store to explore the full range and find the kit that fits your child’s current curiosity.
Sources
- 42 Easy Toilet Paper Roll Crafts For Kids Free Templates
- 13 DIY Crafts With Paper Towel and Toilet Paper Rolls | Parenting Tips & Advice | PBS KIDS for Parents
- Science Buddies (activities and project ideas)
- toilet paper roll crafts
- How to Recycle Paper towel Rolls | 8 Easy Steps (2026)

Leave a comment
This site is protected by hCaptcha and the hCaptcha Privacy Policy and Terms of Service apply.