
Bubble Bottles for Kids: Activities, Recipes, and Tips
Bubble bottles are containers filled with bubble solution and a blowing wand, designed to create safe, repeatable bubble play for children. They are one of the most accessible tools for combining sensory fun with real science concepts like surface tension and polymer chemistry. Whether you are a parent setting up a backyard activity or an educator planning a STEAM lesson, the right bottle and solution make all the difference. This guide covers bottle types, a proven DIY recipe, creative activities for ages 5–13, and fixes for the most common bubble problems.
What types of bubble bottles work best for kids?
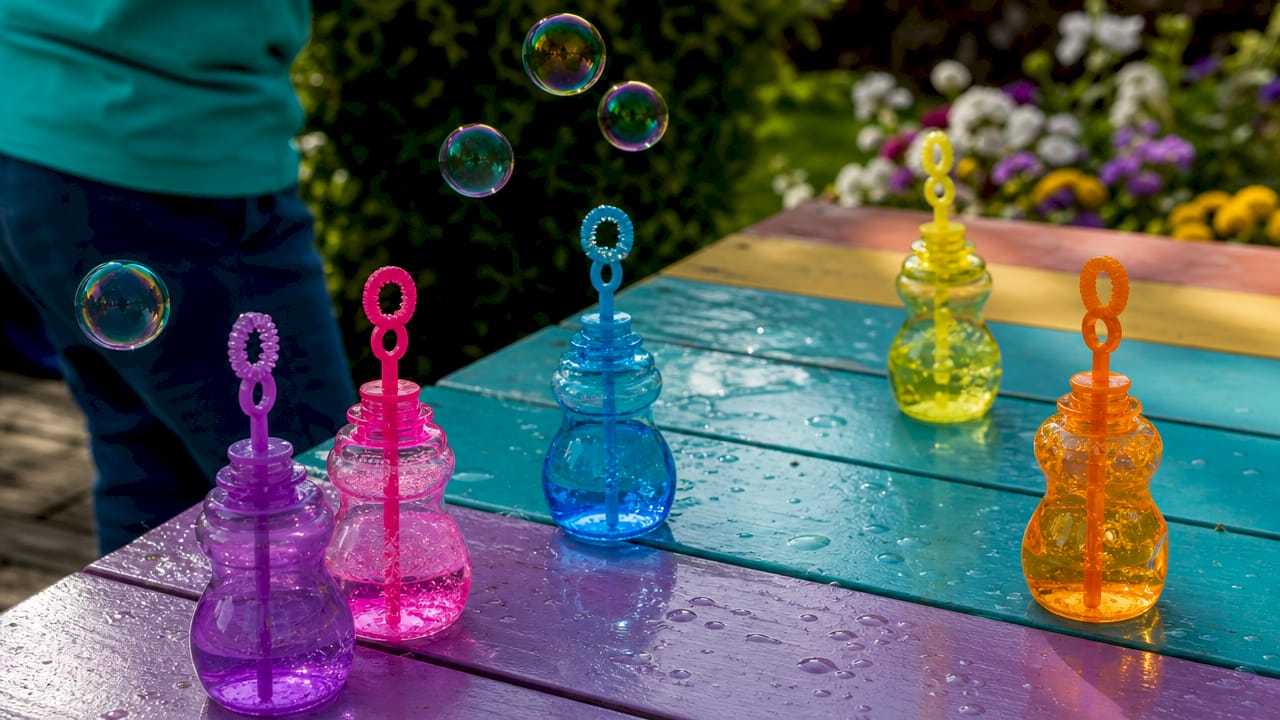
Bubble bottles come in a wider range of sizes and designs than most parents realize. Sizes range from 0.6oz mini bottles all the way up to 64oz jumbo bottles, with the most common standard size sitting around 4oz. Mini bottles work well as party favors or single-use activity starters. Jumbo bottles suit extended outdoor play sessions, classroom stations, or group events where kids cycle through repeatedly.
Design features matter as much as size. Bottles with built-in wands and resealable caps preserve leftover solution between sessions and reduce spills during play. For children under 7, no-spill bubble tumblers use an internal mechanism that prevents spills even when tipped, cutting cleanup significantly. That design feature alone makes a real difference during classroom use or play on carpet.
Here is a quick comparison of the most common bottle categories:
| Bottle type | Best for | Size range | Key feature |
|---|---|---|---|
| Mini favor bottles | Party activities, single use | 0.6oz | Low cost, portable |
| Standard bottles | Everyday backyard play | 4oz | Balanced size and value |
| Large refillable bottles | Extended play, classrooms | 16oz–32oz | Refillable, cost-effective |
| Jumbo bottles | Group events, outdoor stations | 64oz | High volume, long sessions |
| No-spill tumblers | Ages 3–7, indoor use | 4oz–8oz | Spill-proof mechanism |
Pricing reflects size and design. Basic bottles run under $1 each in bulk, while specialty no-spill or themed toy bubble bottles can reach $10.99 or more per unit. For educators buying for a classroom, bulk packs of standard bottles offer the best value per ounce of solution.
How to make your own bubble solution at home
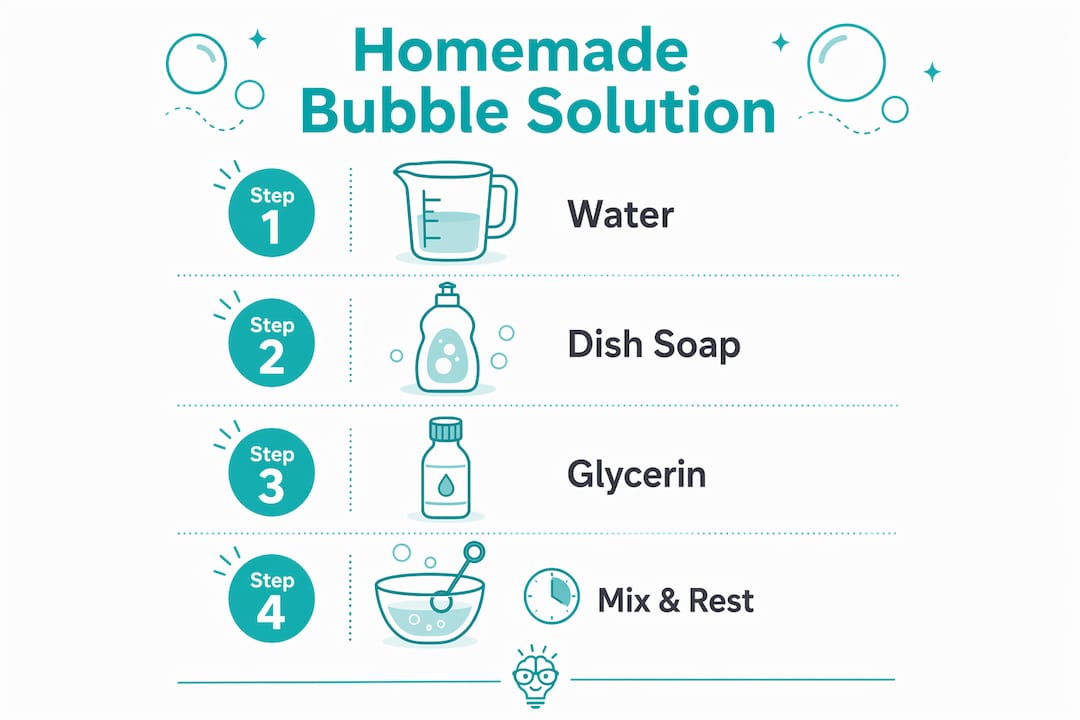
Homemade bubble solution outperforms most store-bought options when you follow the right formula. A reliable recipe uses 1 cup distilled water, 1/4 cup mild dish soap, and 2 tablespoons glycerin or corn syrup. Distilled water matters because tap water contains minerals that weaken the bubble film. Glycerin and corn syrup act as humectants, slowing evaporation and making each bubble stronger and more flexible.
Choosing the right soap is equally critical. Dish soaps without lotions, moisturizers, or perfumes produce the best results. Added ingredients in scented or moisturizing soaps interfere with the soap film and cause bubbles to pop faster. Plain, clear dish soap is the correct choice every time.
Follow these steps for a high-performing solution:
- Measure your water first. Pour 1 cup of distilled water into a clean bowl or pitcher.
- Add the soap slowly. Gently pour in 1/4 cup of mild, clear dish soap along the side of the bowl to minimize foam.
- Stir in the glycerin or corn syrup. Add 2 tablespoons and fold gently with a spoon. Do not whisk or shake.
- Mix with a slow folding motion. Vigorous mixing creates foam that interferes with bubble film formation. Slow, deliberate folding keeps the solution clear.
- Skim off any foam. If foam forms on the surface, remove it with a spoon before using the solution.
- Let the solution rest. Cover the bowl and let it sit for at least 1 hour. Resting overnight allows the polymers to fully hydrate, producing significantly stronger bubbles.
- Add food coloring (optional). A few drops of food coloring create colorful bubbles for art activities without affecting bubble quality.
Pro Tip: Pre-mix your glycerin with a small pinch of guar gum before adding it to the water. This prevents lumps and improves solution consistency, which is especially helpful when making large batches for classroom use.
| Ingredient | Amount | Purpose |
|---|---|---|
| Distilled water | 1 cup | Clean base, no minerals |
| Mild clear dish soap | 1/4 cup | Creates bubble film |
| Glycerin or corn syrup | 2 tablespoons | Strengthens and extends bubble life |
| Food coloring | 2–3 drops | Optional color for art activities |
Understanding why glycerin works helps children connect the activity to real science. Glycerin acts like invisible reinforcement in the bubble wall, improving the film’s elasticity so bubbles grow larger and resist popping longer. That is a polymer science concept children ages 8 and up can genuinely grasp and discuss.
What are the best bubble bottle activities for ages 5 to 13?
Bubble play is one of the most effective low-cost STEAM activities available to parents and educators. The activities below scale by age and setting, from simple motor skill games to guided science experiments.
For ages 5–7: Motor skills and sensory play
- Bubble chasing: Children run and pop bubbles blown by an adult, building coordination and spatial awareness.
- Wand variety: Try different wand shapes (star, circle, heart) and observe how bubble shape changes. This introduces the concept of surface tension without any formal instruction.
- Sensory bottles: Pair bubble play with STEM jumbo sensory bottles to extend tactile exploration beyond blowing.
For ages 8–10: Science experiments
- Bubble strength test: Make three batches of solution with different amounts of glycerin (0, 1 tablespoon, 2 tablespoons) and compare how long bubbles last. Children record results and draw conclusions.
- Surface tension exploration: Dip a finger into plain water and then into bubble solution. Observe how the soap changes the water’s surface. This connects directly to the surface tension concepts explored in guided STEAM kits.
- Color mixing: Add different food coloring to separate solution batches and blow bubbles onto white paper. The result is bubble art that doubles as a lesson in color theory.
For ages 11–13: Advanced STEAM challenges
- Giant bubble engineering: Use large bubble wands or loop two sticks with string to create giant bubbles from a jumbo solution batch. Challenge students to measure the largest bubble they can produce.
- Variable testing: Change one ingredient at a time (water type, soap brand, thickener amount) and document results in a simple lab notebook. This mirrors real scientific method practice.
- Bubble geometry: Dip wire frames shaped as cubes or triangles into solution and observe the flat bubble films that form inside. This introduces minimal surface geometry, a concept used in architecture and engineering.
Pro Tip: Play on humid days for the best results. Dry air accelerates evaporation, causing bubbles to pop almost immediately. A humid, wind-free morning gives children more time to observe and experiment before bubbles disappear.
Sensory play supports cognitive and motor development at every age in this range. Bubble activities deliver that benefit while also building scientific thinking, which makes them one of the most efficient tools in any educator’s toolkit.
How do you fix common bubble bottle problems?
Most bubble failures trace back to three causes: poor solution quality, bad mixing technique, or unfavorable weather conditions. Each has a direct fix.
- Bubbles pop immediately. The most likely cause is dry air or wind. Environmental conditions like dry air and wind are the top reason bubbles fail outdoors. Move play to a sheltered area or choose a humid day.
- Bubbles are small and weak. The solution needs more thickener. Add an extra teaspoon of glycerin or corn syrup, stir gently, and let the solution rest another 30 minutes before trying again.
- Solution is full of foam. Foam blocks bubble formation. Skim the surface with a spoon and avoid shaking the bottle. Always mix with a slow folding motion.
- Solution leaves a sticky residue. Too much glycerin causes this. Reduce the glycerin by half and test again.
- Spills are a constant problem. Switch to a no-spill tumbler design for younger children. For older kids, use wide-mouth bottles that are easier to dip wands into without tipping.
- Stored solution loses quality. Keep leftover solution in a sealed container away from direct sunlight. Properly stored solution stays effective for up to a week.
Matching the bottle design to the child’s age solves most spill and frustration problems before they start. A 5-year-old with a no-spill tumbler will have a far more successful experience than one wrestling with a standard open bottle.
Key Takeaways
The most effective bubble bottle experience combines the right bottle size, a properly rested homemade solution with glycerin, and age-matched activities that connect play to real STEAM concepts.
| Point | Details |
|---|---|
| Match bottle size to the activity | Mini bottles suit parties; jumbo bottles work best for classrooms and group outdoor play. |
| Use glycerin in every solution | Glycerin slows evaporation and strengthens bubble walls, producing larger and longer-lasting bubbles. |
| Always rest your solution | Letting solution sit overnight fully hydrates the polymers and significantly improves bubble quality. |
| Play on humid, wind-free days | Humidity slows evaporation; wind and dry air are the top causes of bubbles popping too fast. |
| Scale activities to age | Ages 5–7 benefit from sensory play; ages 11–13 are ready for variable testing and bubble geometry. |
Why bubbles are one of the best science tools hiding in plain sight
I have watched children spend 45 minutes debating why one bubble solution outlasted another, completely unaware they were practicing the scientific method. That is the quiet power of bubble play. It does not announce itself as science. It just pulls kids in.
The biggest mistake I see parents and educators make is treating bubble bottles as pure entertainment. They are that, yes. But the moment you hand a child three different solutions and ask “which one makes the strongest bubble?”, you have created a real experiment. The child forms a hypothesis, tests it, and sees results. That loop builds scientific confidence faster than most formal lessons.
My personal favorite setup for a classroom is three stations: one with a standard store-bought solution, one with a basic DIY mix, and one with the full glycerin recipe rested overnight. Children rotate through, record their observations, and almost always arrive at the same conclusion on their own. The overnight solution wins every time. Watching a child figure that out independently is genuinely exciting.
For parents at home, I recommend starting with the simple recipe in this article and letting your child adjust one variable at a time. Add more glycerin. Try a different soap. Test it on a dry day versus a humid one. Those small experiments build the habit of curious, evidence-based thinking that carries far beyond bubble play.
Bubble bottles are also one of the few STEAM tools that work equally well for neurodivergent learners. The tactile, visual, and kinesthetic elements engage children who struggle with text-heavy instruction. The feedback is immediate and satisfying. There is no wrong answer when you are blowing bubbles.
— Tita
Teamgeniussquad has hands-on STEAM kits that go beyond bubbles
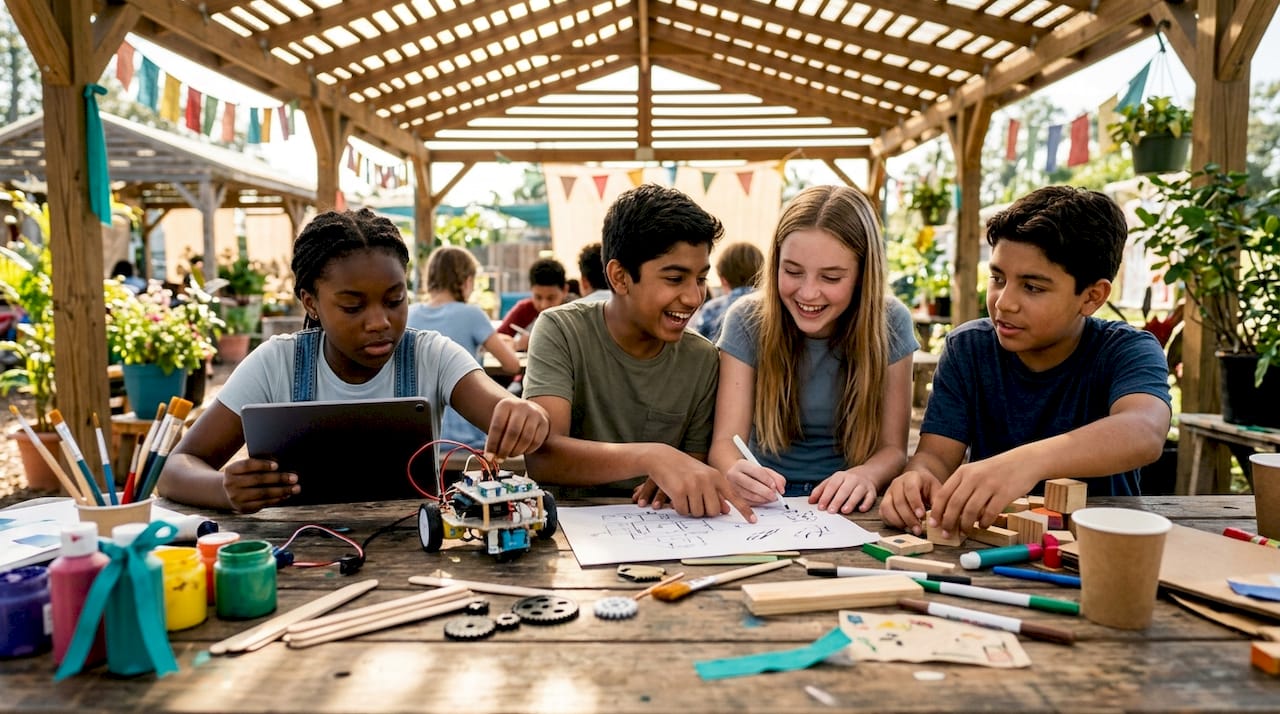
Bubble play opens the door to real scientific thinking, and Teamgeniussquad builds on that exact curiosity with screen-free, hands-on STEAM kits designed for children ages 5–13.
Each kit in the experiment kits collection follows the trademarked E³ Method (Engage, Encourage, Empower), guiding children from first spark of curiosity to genuine confidence. Whether your child loved testing bubble solutions or is ready for electricity, solar energy, or slime chemistry, there is a kit that meets them where they are. Teamgeniussquad kits are built for children who learn best by doing, including those who find traditional classroom formats difficult. Visit the shop and find the kit that turns your child’s next question into their next discovery.
FAQ
What is a bubble bottle?
A bubble bottle is a container filled with bubble solution and a blowing wand, designed for safe and repeatable bubble play. Most standard bottles hold around 4oz of solution and include a built-in wand.
What is the best homemade bubble solution recipe?
Mix 1 cup distilled water, 1/4 cup mild clear dish soap, and 2 tablespoons glycerin or corn syrup. Let the solution rest at least 1 hour, or overnight, for the strongest bubbles.
Why do my bubbles keep popping right away?
Dry air, wind, and foam in the solution are the most common causes. Play on a humid, wind-free day and skim any foam off the solution before use.
What bubble bottle size is best for a classroom?
Large refillable bottles in the 16oz–32oz range work well for classroom stations. Jumbo 64oz bottles suit group outdoor events where multiple children take turns.
Are bubble activities good for STEAM learning?
Bubble play directly teaches surface tension, polymer science, and the scientific method through hands-on experimentation. It is one of the most accessible and low-cost STEAM activities for children ages 5–13.
Leave a comment
This site is protected by hCaptcha and the hCaptcha Privacy Policy and Terms of Service apply.