How Families Drive Hands-On STEAM Learning at Home
Families are the single most effective daily engine for hands-on STEAM learning: when you act as a co-learner, keep activities low-pressure, and help children iterate through setbacks, you build creativity, problem-solving confidence, and lasting motivation. The role of families in STEAM learning is not about being an expert. It is about showing up curious, side by side. Three things you can try this week:
- Tonight: Ask “What would happen if we changed one thing?” about something your child already built or noticed.
- This weekend: Pull out a handful of household materials (tape, straws, index cards) and challenge your child to build the tallest tower that holds a coin.
- Next session: Before you start, tell a short story together about a scientist who faced the same problem your child is about to tackle.
Teamgeniussquad’s E³ Method (Engage, Encourage, Empower) is built around exactly these family behaviors, and its screen-free discovery kits give caregivers a ready-made structure to make them repeatable.
Key Takeaways
Family involvement in STEAM learning works best when caregivers act as co-learners, use story-based prompts before tinkering, and follow a simple iterative process like the 6E model to turn everyday materials into confidence-building experiences.
| Point | Details |
|---|---|
| Act as a co-learner | Letting children propose ideas before you answer builds scientific identity and risk-taking. |
| Use story before tinkering | A short narrative prompt before an activity increases STEM talk and improves later recall. |
| Follow the 6E sequence | Engage, Explore, Explain, Engineer, Enrich, Evaluate gives any home project a research-backed structure. |
| Normalize failure as data | Framing a failed prototype as information for the next attempt builds persistence and resilience. |
| Teamgeniussquad E³ kits | Screen-free kits with role-play elements and reflection prompts put the co-learner model into practice immediately. |
Table of Contents
- Why family support in STEAM learning changes outcomes
- Building daily and weekly STEAM routines that actually stick
- How to run a simple 6E STEAM project at home this week
- How storytelling and reflection deepen what children learn
- What to say (and what to stop saying) during STEAM activities
- Adapting STEAM projects for neurodiverse learners and different styles
- When projects “fail”: reading the signals and encouraging another attempt
- Should you build a kit from scratch or buy one?
- What actually works in real families
- Teamgeniussquad kits give families a ready-made structure to start this week
- Sources
Why family support in STEAM learning changes outcomes
A systematic review on STEAM and project-based learning found that inquiry-driven STEAM projects can significantly raise creativity, learning motivation, and flexibility in problem-solving compared to traditional instruction. That is not a marginal gain. When a parent or grandparent participates actively, those benefits compound because children feel safe enough to take risks.
Federal Head Start guidance frames STEAM as everyday inquiry, recommending that caregivers build responsive environments and use intentional interactions rather than formal lessons. You do not need a lab. You need a kitchen table and genuine curiosity.
Research on story-based tinkering adds a striking detail: families who told a short story before a tinkering session produced more STEM-related talk during the activity and better recall weeks later. Storytelling is not decoration. It is a cognitive scaffold that primes children to think like scientists.
Research signal: The 6E Learning by DeSIGN™ model (Engage, Explore, Explain, Engineer, Enrich, Evaluate) gives families a simple, research-backed sequence that turns any hands-on project into structured learning without requiring a teaching degree.
For a deeper look at why this age window matters, why STEAM for elementary students explains the developmental case clearly.
Building daily and weekly STEAM routines that actually stick
Consistency matters more than duration. Short, repeated sessions outperform occasional marathon projects.
Daily micro-routines (5–15 minutes):
- Morning observation: ask your child to notice one thing in the house that uses energy or moves.
- Dinner question: pose one open-ended “what if” or “why does” question and let the conversation go wherever it goes.
- Bedtime sketch: spend five minutes drawing or writing about something they want to build or test tomorrow.
Weekly family session (30–60 minutes):
- Choose one material challenge (build, test, redesign).
- Run the activity together, with you as a participant, not a director.
- Spend the last five minutes reflecting: what worked, what did not, what you would change.
A starter loose-parts box (under $15 to assemble):
- Bottle caps, cardboard tubes, popsicle sticks
- Rubber bands, binder clips, tape (masking and painter’s)
- String, aluminum foil, index cards
- Buttons, dried pasta, small rocks
Protect the time by blocking one “STEM evening” on the family calendar each week. Rotate who picks the challenge. And when a project stalls, leave it on the table rather than packing it away. Returning to an unfinished prototype the next day is how real engineers work.
Pro Tip: Permission to leave it unfinished is one of the most powerful things you can give a child. An incomplete project sitting on the counter invites a second look, a new idea, and a deeper attempt.
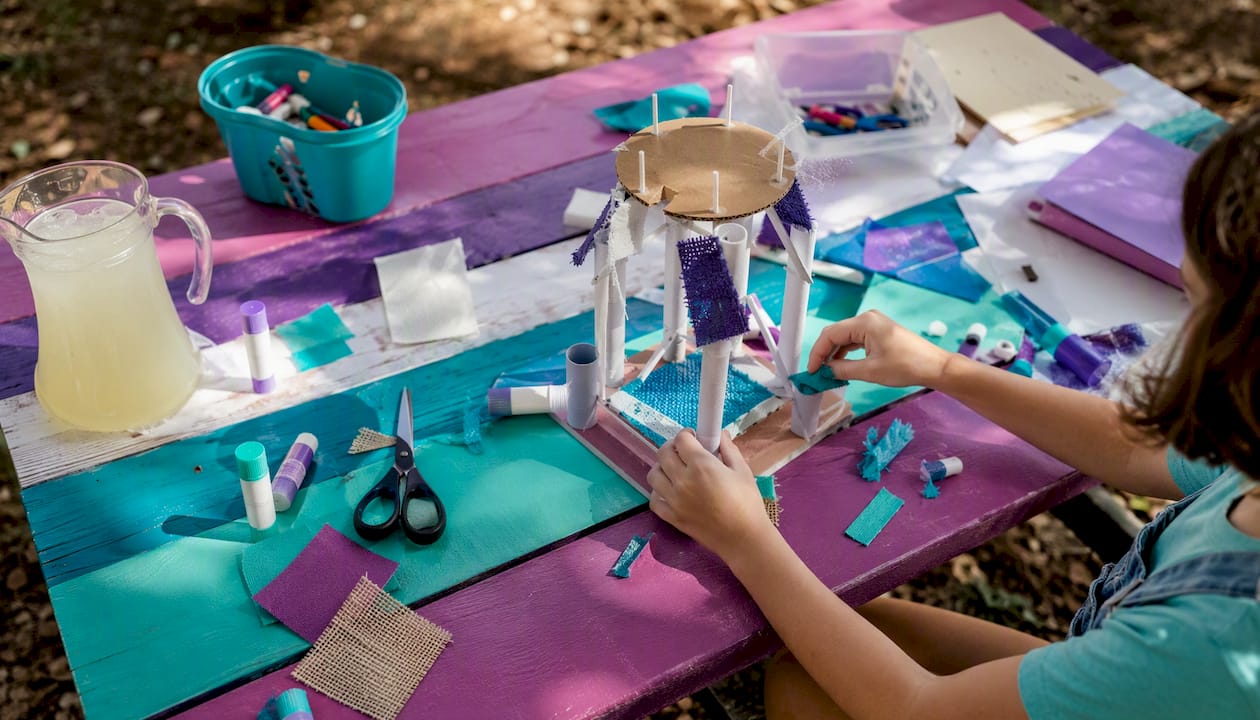
The STEAM checklist for parents is a printable resource that maps these routines into a one-page guide you can keep on the fridge.
How to run a simple 6E STEAM project at home this week
Project: Paper Bridge Challenge Materials: 10 index cards, 30 cm of tape, two stacks of books as supports, pennies for load testing. Time: 20–45 minutes. Cost: under $2 (most families already own everything).
- Engage: Tell a two-minute story about a bridge builder who needed to cross a river with only paper. Ask: “How strong do you think paper can be?”
- Explore: Let your child handle the materials freely for five minutes. Fold, roll, layer. No instructions yet.
- Explain: Ask “What did you notice?” and “Why do you think folding made it stiffer?” Listen more than you talk.
- Engineer: Build the bridge to span the two book stacks. Add pennies one at a time and count how many it holds.
- Enrich: Challenge an extension: “Can you make it hold twice as many pennies with the same materials?” For ages 10–13, add a constraint (maximum two folds per card).
- Evaluate: Ask “What would you change if you had five more minutes?” Write or draw the answer in a notebook.
Extensions by age:
- Ages 5–7: use wider cards and pre-fold one card together as a model.
- Ages 8–13: introduce a budget (each card “costs” $1, tape costs $0.50 per strip) and ask them to maximize load per dollar.
Documenting learning is as simple as a phone photo of each prototype and a one-sentence note about what changed. That record becomes a portfolio of thinking, not just building. For more hands-on STEAM practices, the Teamgeniussquad blog covers age-specific project ideas in detail.
How storytelling and reflection deepen what children learn
The story-based tinkering study observed families via Zoom and found that a simple story prompt before tinkering measurably increased children’s STEM talk during the activity and improved recall in follow-up conversations. The mechanism is straightforward: narrative gives children a character to inhabit and a problem to care about, which makes the engineering feel purposeful rather than arbitrary.
Pair this with making and creative writing, and children begin to articulate why they made each design choice, turning a building task into an identity-building experience. Science-themed comic books, like those from Brainie Comics, offer a natural on-ramp for children who connect more easily with story than with instruction.
Prompts to use before, during, and after tinkering:
- Before: “If you were a scientist trying to solve this, what would your first guess be?”
- Before: “What’s the biggest problem your invention needs to fix?”
- During: “What are you noticing right now?”
- During: “What would happen if you flipped that part around?”
- During: “Does this remind you of anything you’ve seen before?”
- After: “What surprised you most?”
- After: “If you could start over, what would you do differently?”
- After: “What would you tell a friend who wanted to try this?”
For STEAM literacy integration ideas that pair storytelling with hands-on projects, Teamgeniussquad’s resource library goes deeper on this connection.
What to say (and what to stop saying) during STEAM activities
The language you use shapes whether a child feels safe to experiment or afraid to be wrong. Research on co-learning recommends letting children propose ideas before adults offer answers, using “playful uncertainty” as a tool rather than a gap to fill.
Say more of this:
- “I don’t know. What do you think we should try?”
- “That’s interesting. What made you choose that?”
- “I noticed you changed the design. What were you thinking?”
- “You kept going even when it fell. That’s exactly what engineers do.”
Say less of this:
- “No, that’s not how it works.” (Shuts down hypothesis-testing.)
- “Just do it this way.” (Removes ownership.)
- “Why didn’t it work?” (Interrogation framing creates shame, not curiosity.)
- “We’re running out of time, let’s just finish it.” (Signals that completion beats thinking.)
Keep STEAM conversations in neutral, low-stakes spaces: the kitchen, the car, a walk. Children open up more when they are not sitting across from you at a table that feels like a test.
Adapting STEAM projects for neurodiverse learners and different styles
Children who struggle in traditional learning environments often thrive in hands-on STEAM, especially when the activity is chunked, visual, and tied to a role they can inhabit. Teamgeniussquad’s kits were designed from a real family journey with dyslexia and dysgraphia, so these accommodations are built into the approach rather than bolted on.
Practical adjustments:
- Break any project into steps of two to three minutes each, with a visual checklist the child can check off.
- Offer sensory-friendly materials (smooth cardboard over rough burlap, rounded scissors, low-odor glue).
- Use role-play as a scaffold: “You’re the lead engineer. What does the engineer decide first?”
- Replace written reflection with a voice memo, a drawing, or a verbal explanation to a stuffed animal.
- Pair a reluctant reader with a science comic or illustrated guide before starting.
Pro Tip: A visual “What I Did” card (three boxes: I tried, it happened, next I’ll try) gives children with writing challenges a structured way to reflect without a blank page.
When projects “fail”: reading the signals and encouraging another attempt
Failure in a prototype is data, not defeat. Framing it that way out loud, every time, is one of the most durable things you can do for a child’s scientific identity.
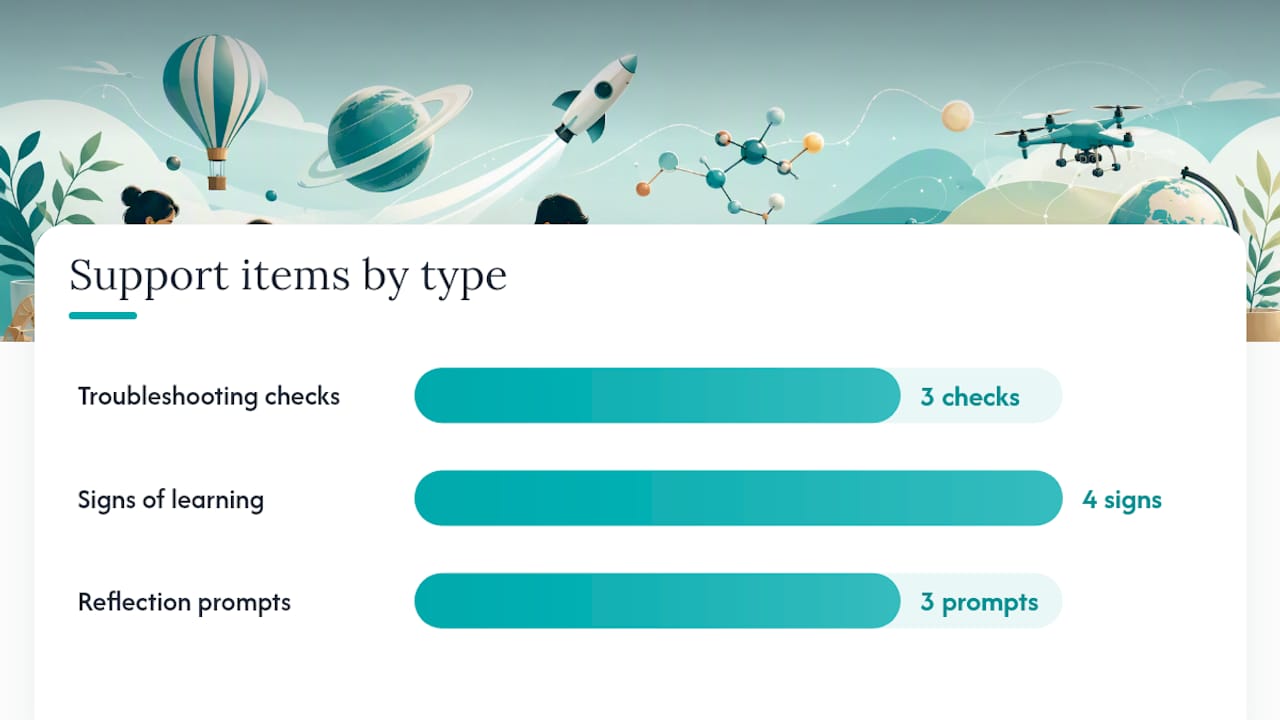
Quick troubleshooting checklist:
- Structure collapses: check the base width and whether weight is centered.
- Circuit won’t light: check polarity, connection tightness, and battery charge.
- Design doesn’t hold load: ask “where is the weakest point?” and test one change at a time.
Signs that learning is happening (even when the project “fails”):
- Child asks “what if we tried…” without prompting.
- Child explains why they made a specific design choice.
- Child wants to try again with a modification.
- Child compares this attempt to a previous one.
After any session, spend two minutes on this reflection: “Name one thing that worked, one thing that didn’t, and one thing you want to test next time.” That three-part prompt consolidates learning faster than any worksheet. Feedback framing in tutoring contexts shows the same principle: specific, process-focused feedback builds persistence far more reliably than outcome praise.
Should you build a kit from scratch or buy one?
Both approaches work. The right choice depends on your family’s goals, time, and how much scaffolding your child needs.
Build your own if:
- You want maximum flexibility and low upfront cost.
- Your child is older (10–13) and benefits from sourcing their own materials.
- You already have a loose-parts box and a reliable project source.
Buy a kit if:
- You want clear steps, reflection prompts, and role-play elements built in.
- Your child benefits from identity cues (a lab coat, a badge, a certificate).
- You want literacy integration (reading, writing, and making in one session).
- You prefer a structured sequence that models the engineering design process.
What to look for in any kit:
- Open-ended materials that allow redesign, not just one correct outcome.
- Reflection prompts included (not just build instructions).
- Age-range guidance with extension ideas.
- Role-play or identity elements that help children see themselves as scientists.
Price ranges broadly from under $10 (DIY loose-parts box) to $25–$60 for structured kits with multiple experiments, role-play accessories, and literacy components. The role of hands-on kits in STEAM learning covers what features genuinely support iterative, family-led learning.
What actually works in real families
The families I have seen make the biggest leaps in STEAM engagement share one habit: they stopped waiting for the “right” moment and started treating curiosity as a daily practice. A grandparent who asks “Why do you think the ice melted faster in that cup?” at breakfast is doing more than a parent who buys an expensive kit and leaves it on the shelf. The research backs this up, and so does the Teamgeniussquad experience: small, consistent interactions, grounded in story and genuine wonder, are what build a child’s scientific identity over time. One family shifted from a single monthly project to a five-minute daily question ritual. Within six weeks, their seven-year-old was initiating the questions herself.
Teamgeniussquad kits give families a ready-made structure to start this week
Knowing what to do and actually doing it consistently are two different challenges. Teamgeniussquad’s screen-free STEAM discovery kits close that gap by packaging the E³ Method (Engage, Encourage, Empower) into every box: children step into a scientist role with a lab coat and badge, run real experiments with guided reflection prompts, and build confidence through purposeful discovery rather than passive instruction.

A three-step quick-start plan for families:
- Open the kit together and read the story prompt aloud before touching any materials.
- Follow the E³ sequence: let your child lead the Engage and Explore phases while you ask questions, not give answers.
- Celebrate the process: use the included reflection card to capture what your child noticed, tried, and wants to test next.
Kits like the Science Solar Energy Kit bring physical-science concepts to life with materials designed for ages 5–13. Ready-to-run lesson plans are available for families who want a structured session they can start today.
Sources
- Story-based tinkering study (PMC)
- Integration of 6E model and STEAM hands-on activities (Springer)
- Deepening children’s STEM learning through making and creative writing (ScienceDirect)
- STEAM is all around (Head Start)

Leave a comment
This site is protected by hCaptcha and the hCaptcha Privacy Policy and Terms of Service apply.