
Coil Baskets: Creative Home Decor and Organization Ideas
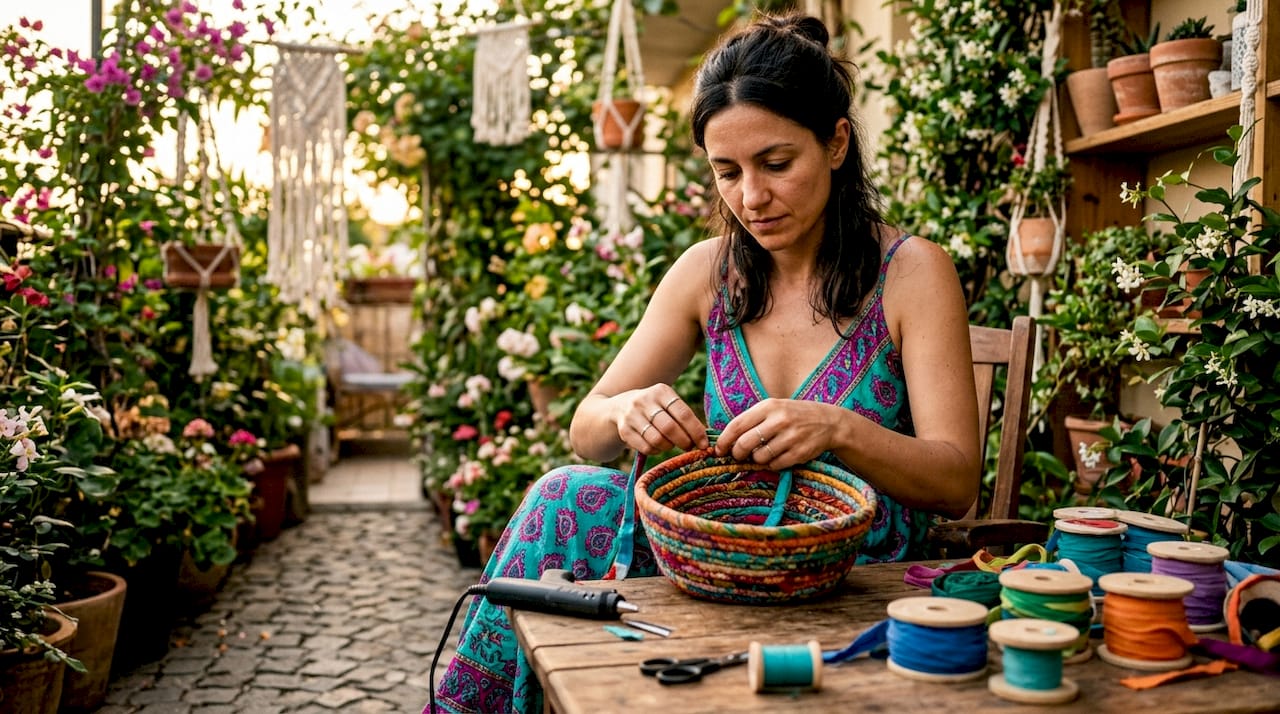
Coil baskets are handmade containers crafted by winding rope or natural fibers into tight spirals, then stitching or gluing each coil to the next. The technique is one of the oldest basket weaving techniques in human history, appearing across cultures from Nicaragua to the Maningrida region of Australia. What makes coiled rope baskets so appealing today is their rare combination of function and beauty. You can store blankets, organize produce, or hang them as wall art, all from a single afternoon of crafting with minimal supplies.
What supplies do you need to make coil baskets?
The core materials for a coiled rope basket are simple and affordable. You need 50–100 feet of rope, ideally 3/8-inch cotton or sisal, plus yarn or fabric strips for color and texture. Assembly requires either a sewing machine with a zig-zag stitch or a hot glue gun. That short list is the entire foundation of the craft.
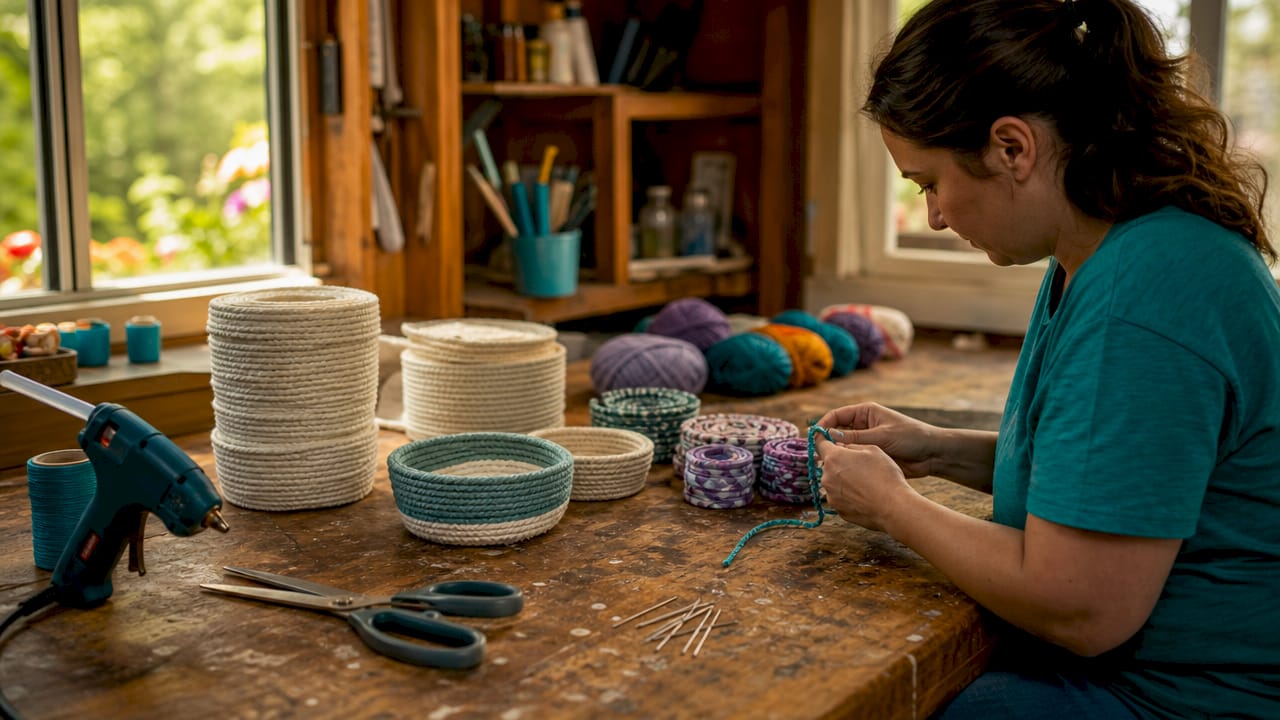
Rope thickness determines basket size and structure. Thicker rope, such as 1/2-inch cotton, produces a sturdier basket with fewer coils needed to reach a given height. Thinner rope, around 1/4 inch, gives you finer detail and tighter curves, which works well for small decorative pieces. Sisal is more textured and rustic; cotton is softer and easier to dye.
For stitching, specialized needles and feet matter more than most beginners expect. A heavy-duty no. 14 needle and an open-toed zig-zag foot prevent skipped stitches when sewing through thick rope layers. Hot gluing is faster but produces a less durable result over time.
Pro Tip: Repurposing scrap yarn, old fabric strips, or even clothesline rope keeps your material cost near zero and gives each basket a one-of-a-kind look.
| Material | Best For | Notes |
|---|---|---|
| 3/8-inch cotton rope | General baskets, beginners | Soft, easy to dye, widely available |
| Sisal rope | Rustic or natural-look baskets | More textured, slightly harder to stitch |
| Yarn or fabric strips | Embellishments, color wrapping | Adds visual interest between coils |
| Hot glue gun | Quick assembly, no-sew projects | Faster but less durable than stitching |
| Sewing machine (zig-zag) | Durable, long-lasting baskets | Requires no. 14 needle and open-toed foot |
How do you make a coil basket step by step?
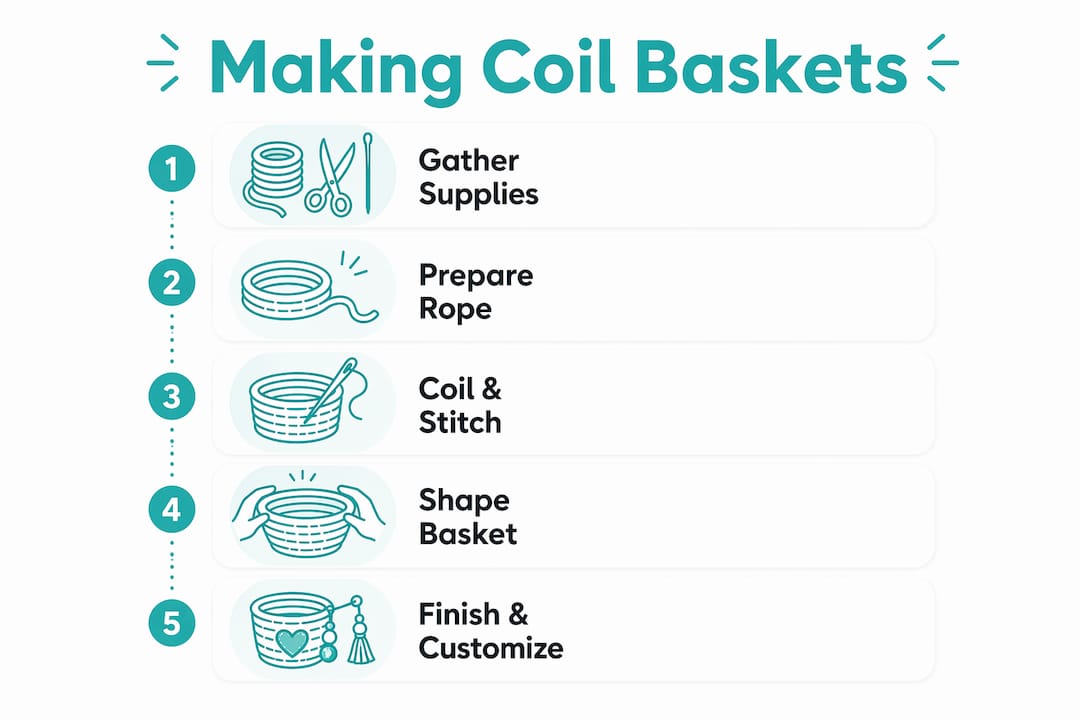
The process moves faster than most beginners expect. Craft instructor Sallieann Harrison notes that the rapid progress from flat base to rising walls is exactly what makes the craft so addictive. Starting small, with a simple circular base, teaches you tension control before you tackle larger shapes.
Follow these steps for a basic coiled basket:
- Treat the rope end. Apply a stiffening agent like Mod Podge to the first inch of rope. This prevents fraying and gives you a clean, tight starting point for the base.
- Form the base coil. Bend the treated rope end into a tight circle about 1 inch in diameter. Secure it with a few drops of hot glue or a few zig-zag stitches.
- Spiral outward. Continue coiling the rope around the center, pressing each new coil firmly against the last. Stitch or glue as you go, keeping even tension throughout.
- Check flatness. Press the base flat against a table every few inches. An uneven base causes the walls to lean later.
- Begin the sides. Once the base reaches your target diameter, angle the rope slightly upward instead of outward. This single adjustment starts the walls.
- Use a shaping form. Place an upside-down plastic bowl or wastebasket inside the growing basket to hold the shape while you work. Common household objects work perfectly as molds.
- Build the walls evenly. Keep consistent tension on the rope as you coil upward. Loose tension creates wavy, uneven walls.
- Finish the top edge. When the basket reaches your desired height, cut the rope at an angle and taper it down over the last two inches. Glue or stitch the end firmly against the last coil.
- Remove the form. Slide out the shaping object once the glue or stitching has fully set.
- Add embellishments. Wrap sections of the basket with yarn, fabric strips, or natural dye before the final coil if you want color accents.
Pro Tip: A 100-foot coil of rope produces a basket roughly 11 inches tall with a 35-inch circumference. Plan your rope length before you start so you don’t run short mid-wall.
What are the most common coil basket challenges?
Every beginner hits the same set of problems. Knowing them in advance saves you from scrapping your first few attempts.
- Skipped stitches. This is the most frequent machine-sewing issue. The fix is straightforward: switch to a heavy-duty no. 14 needle and confirm your machine foot is an open-toed zig-zag style. Thick rope layers overwhelm standard needles.
- Rope fraying. Fraying happens most at the start and end of the rope. Treating both ends with Mod Podge or a similar stiffening agent seals the fibers before you begin coiling.
- Uneven walls. Walls lean or bulge when tension varies between coils. Slow down and press each coil firmly before securing it.
- Glue mishaps. Hot glue strings and drips are inevitable. Let the glue cool completely before touching it, then peel away strings gently. Rushing pulls the coils apart.
- Losing the shape. Without a form, walls collapse inward or flare outward. A household bowl or container inside the basket solves this immediately.
“The most important skill in coil basket making is patience with tension. Every uneven wall traces back to a moment of rushing. Slow, consistent pressure on each coil is what separates a basket that holds its shape from one that leans.”
Practice genuinely does accelerate results here. The rapid visible progress of coil basketry keeps beginners motivated through the early learning curve. Your second basket will look noticeably better than your first.
Creative and decorative uses for coil baskets at home
Handmade fiber art baskets earn their place in every room of the house. Their texture, warmth, and handcrafted character add something that mass-produced storage bins simply cannot. Coil basketry traditions span cultures worldwide, and artisan pieces range from under 4 inches tall as table accents to large-scale wall installations.
Here are the most effective ways to use woven baskets throughout your home:
- Living room. Use a large coiled rope basket as a blanket holder beside the sofa. A medium basket corrals remote controls, magazines, or charging cables on a side table.
- Kitchen. Shallow, wide baskets hold fruit, onions, or garlic on the counter. Their breathable structure keeps produce fresher than enclosed containers.
- Bathroom. Small baskets organize rolled towels, cotton balls, or hair accessories on open shelving. Natural sisal adds a spa-like texture to the space.
- Entryway. A tall basket near the door holds umbrellas, scarves, or dog leashes. It keeps clutter contained without looking like a utility bin.
- Wall art. Hang three baskets of varying sizes in a cluster for a fiber art installation. Natural dyes or yarn wrapping let you match any color palette.
- Planters. Line a basket with a plastic pot and use it as a planter cover for indoor plants. The texture complements trailing plants like pothos or string of pearls.
| Room | Use | Style Tip |
|---|---|---|
| Living room | Blanket or magazine storage | Pair with neutral throws for a cohesive look |
| Kitchen | Fruit or produce holder | Use natural sisal for a farmhouse feel |
| Bathroom | Towel or toiletry organizer | Add yarn wrapping in a spa color like sage |
| Entryway | Umbrella or accessory holder | Choose a tall, narrow shape for tight spaces |
| Wall | Decorative art installation | Cluster odd numbers for visual balance |
Customization is where handmade coil baskets truly separate themselves from store-bought options. Natural dyes from turmeric, indigo, or beet juice create color without synthetic chemicals. Fabric strip accents woven between coils add pattern and personality. For inspiration on combining fiber crafts with other eco-friendly home projects, pairing baskets with other handmade decor creates a cohesive, intentional aesthetic throughout your space.
Educators and parents who want to extend the craft into learning experiences can find ideas through resources like outdoor learning programs that incorporate fiber arts and traditional crafts into hands-on curricula.
Key Takeaways
Coil baskets are one of the most accessible handmade crafts available, requiring only rope, a glue gun or sewing machine, and patience to produce functional, beautiful results for any room.
| Point | Details |
|---|---|
| Minimal supplies needed | 50–100 feet of rope and a glue gun or sewing machine are enough to start. |
| Needle choice prevents skipped stitches | Use a heavy-duty no. 14 needle with an open-toed zig-zag foot for machine sewing. |
| Household objects shape the basket | An upside-down bowl or container holds walls uniform while glue or stitching sets. |
| Mod Podge stops fraying | Treating rope ends before coiling keeps the base clean and the fibers tight. |
| Every room has a use | Coiled baskets work as storage, planters, and wall art across the entire home. |
Why handmade baskets are worth every imperfect coil
I have made enough coil baskets to know that the first one is never the prettiest. The base tilts slightly, a wall leans, and the finishing end refuses to taper cleanly. None of that matters as much as you think it will.
What I find genuinely surprising about this craft is how quickly the skill compounds. By the third basket, tension becomes instinctive. By the fifth, you start thinking about color, shape, and texture rather than just holding the rope steady. That shift from technique to design is where the real satisfaction lives.
The sustainability angle is also real, not just a marketing phrase. Artisans in the Maningrida region of Australia have built entire cultural identities around slow-made fiber art using local materials and natural pigments. When you repurpose scrap materials for your own baskets, you are participating in a tradition that values resourcefulness and craft over speed and convenience.
My honest advice: resist the urge to hide your first basket. Put it on a shelf, use it for something, and let it remind you how far your next one will come.
— Tita
Teamgeniussquad and hands-on creative kits for makers
Coil basket making is exactly the kind of hands-on, screen-free project that builds real creative confidence, especially for younger makers discovering what their hands can do. Teamgeniussquad designs discovery kits that carry that same spirit: tactile, purposeful, and built around the joy of making something real.

Whether you are looking for your next creative project or searching for a kit that turns curiosity into confidence, Teamgeniussquad has options worth exploring. The craft kits and supplies are designed for beginners and young creators who want to build, experiment, and see results fast. For kids who love making things with their hands, the same instinct that drives coil basket crafting powers every Teamgeniussquad kit. You can also browse fashion craft ideas for kids for more creative projects that use simple materials to build big skills.
FAQ
What is a coil basket?
A coil basket is a handmade container built by winding rope or natural fiber into tight spirals and securing each coil with stitching or adhesive. The technique is one of the oldest forms of basket weaving, practiced across cultures worldwide.
How much rope do I need for a basic coil basket?
A 100-foot coil of 3/8-inch rope produces a basket approximately 11 inches tall with a 35-inch circumference. Smaller decorative pieces require significantly less, often 30–50 feet.
Can I make coil baskets without a sewing machine?
A hot glue gun works well for no-sew coil baskets and produces results faster than machine stitching. The trade-off is durability: glued baskets hold up well for light use but are less sturdy than stitched ones under heavy loads.
How do I stop my coil basket from fraying?
Apply Mod Podge or a similar stiffening agent to both the starting and finishing ends of the rope before coiling. This seals the fibers and gives you a clean, tight edge at both points.
What is the best rope for beginner coil baskets?
Cotton rope in 3/8-inch thickness is the best starting point for beginners. It is soft, easy to stitch or glue, widely available, and accepts natural dyes well for decorative basket ideas.

Leave a comment
This site is protected by hCaptcha and the hCaptcha Privacy Policy and Terms of Service apply.