
How to Start a Window Garden: Your Beginner's Guide
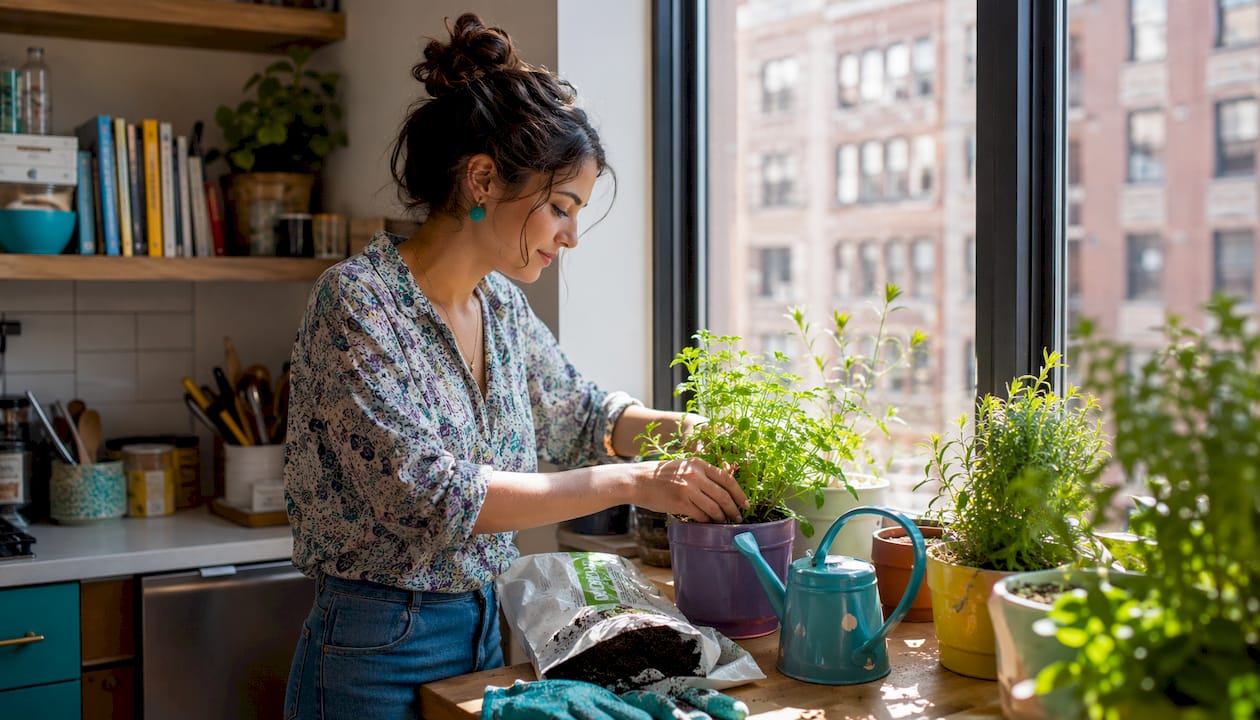
A window garden is exactly what it sounds like: a compact, living garden placed on a windowsill or ledge that uses natural sunlight to grow edible or ornamental plants indoors. No backyard required, no complicated setup, and no prior gardening experience needed. The best part? You can grow fresh herbs, crisp salad greens, and even edible flowers in the same space where you’d normally set a coffee mug.
Getting started comes down to four essentials:
- Choose the right window. South- or west-facing windows deliver six or more hours of direct sun, which is ideal for most edible plants. North-facing windows work only for shade-tolerant varieties.
- Select containers with drainage holes. Water pooling at the bottom is the fastest way to kill roots.
- Use a quality potting mix. Garden soil compacts in containers and blocks drainage. Bagged potting mix is formulated to stay loose and aerated.
- Start with beginner-friendly plants. Herbs like basil and chives, or fast-growing greens like lettuce, give you visible results quickly and build confidence quickly.
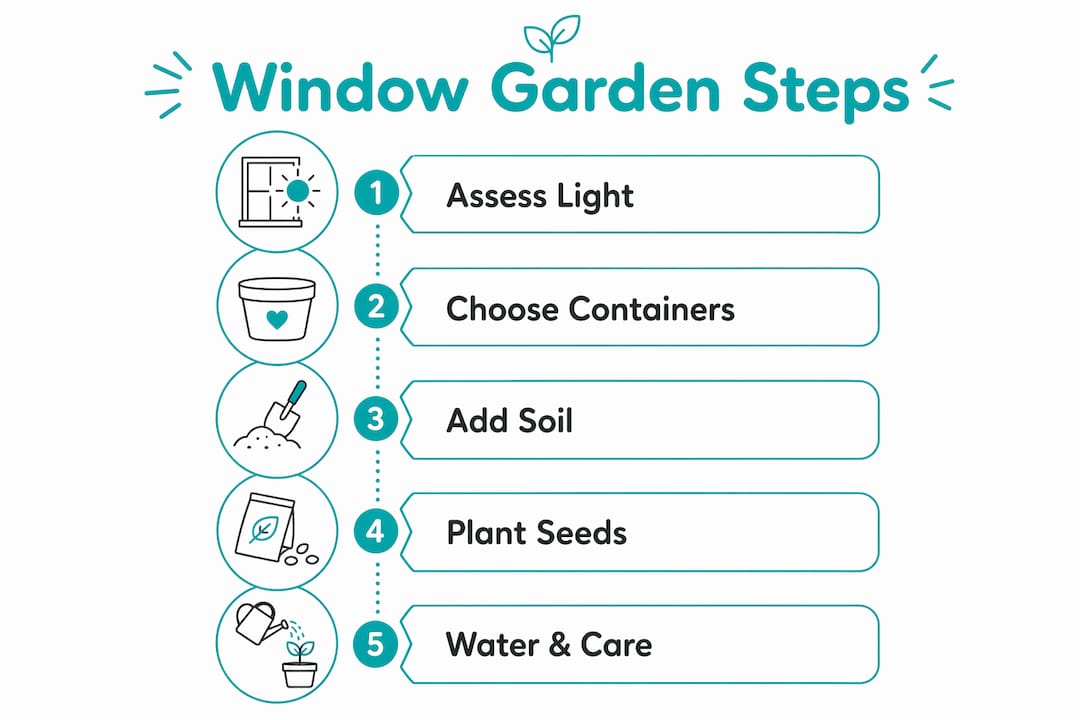
The steps are simple: assess your window’s light, pick your containers, fill them with potting mix, plant your seeds or seedlings, and water consistently. Everything else is refinement.
What are the best plants for a window garden?
Choosing the right plants is where most beginners either succeed or struggle. The good news is that the best options for a windowsill are also the most forgiving.
Herbs for sunny windows (south or west facing):
- Basil: Loves direct sun, grows fast, and rewards frequent pinching with bushier growth.
- Parsley and chives: Both thrive in six or more hours of sunlight and stay compact enough for small pots.
- Mint: Vigorous and low-maintenance, though it spreads aggressively, so keep it in its own container.
- Thyme and oregano: Drought-tolerant and perfect for south-facing sills that get intense afternoon heat.
Fast-growing greens for quick harvests:
- Lettuce and arugula: Both thrive in east-facing windows with gentler morning light and can be harvested repeatedly.
- Microgreens: Ready to harvest in as little as four to seven days, they need minimal soil depth and produce nutrient-dense results fast.
Shade-tolerant picks for low-light windows:
- Parsley, chives, and mint also adapt well to indirect light, making them solid choices for north or east-facing windows.
- Succulents and small cacti handle narrow sills with little light and require almost no watering.
One rule applies across all categories: choose varieties labeled “compact” or “container-suitable.” A tomato plant bred for a garden bed will outgrow a windowsill in weeks. Compact or patio-labeled varieties stay manageable and productive in small containers.
How do you set up a window garden step by step?
Setting up your first indoor garden takes less than an afternoon. Follow these steps in order and you’ll avoid the most common beginner mistakes.
- Assess your window’s light. Watch where sunlight falls throughout the day. South-facing windows get the most direct sun; east-facing windows offer gentler morning light. This single observation shapes every plant choice you make.
- Choose your containers. Window boxes work beautifully for a row of herbs. Individual pots give each plant the water it needs without competition. Whatever you choose, drainage holes are non-negotiable.
- Fill with potting mix. Use a bagged potting mix designed for containers. It stays loose, drains well, and holds just enough moisture. Containers require loose, well-drained soil to prevent root rot, which garden soil cannot reliably provide.
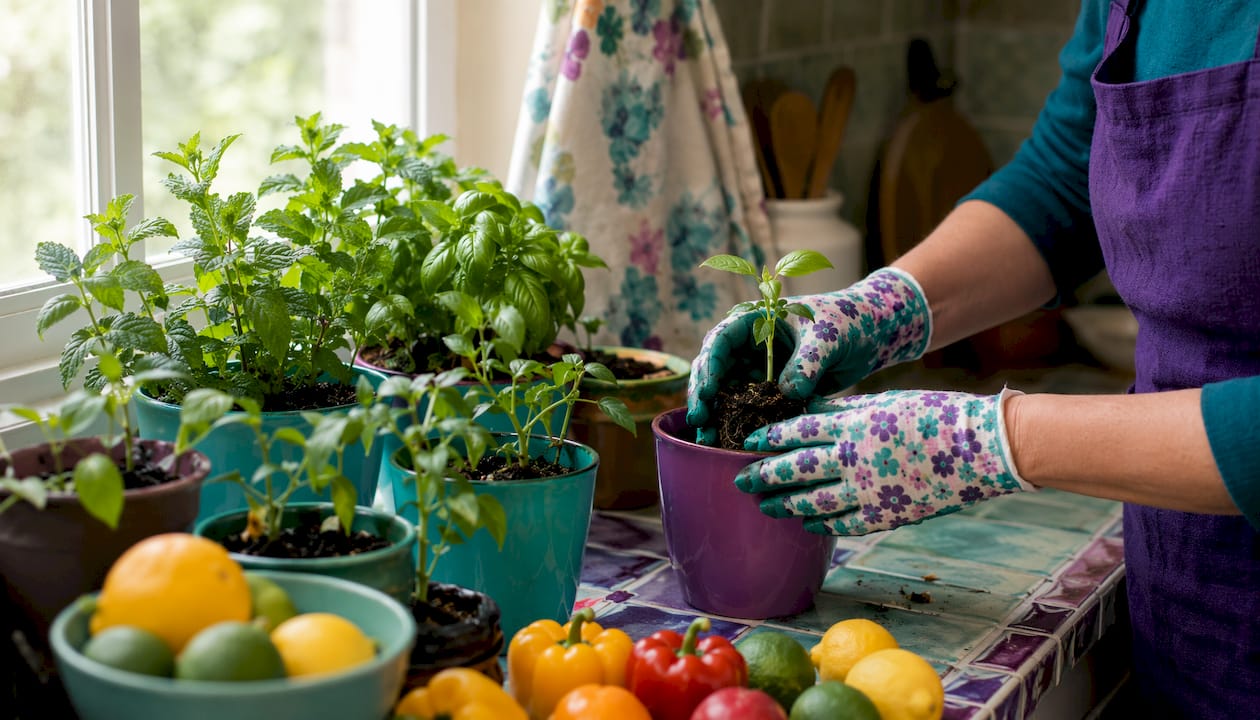
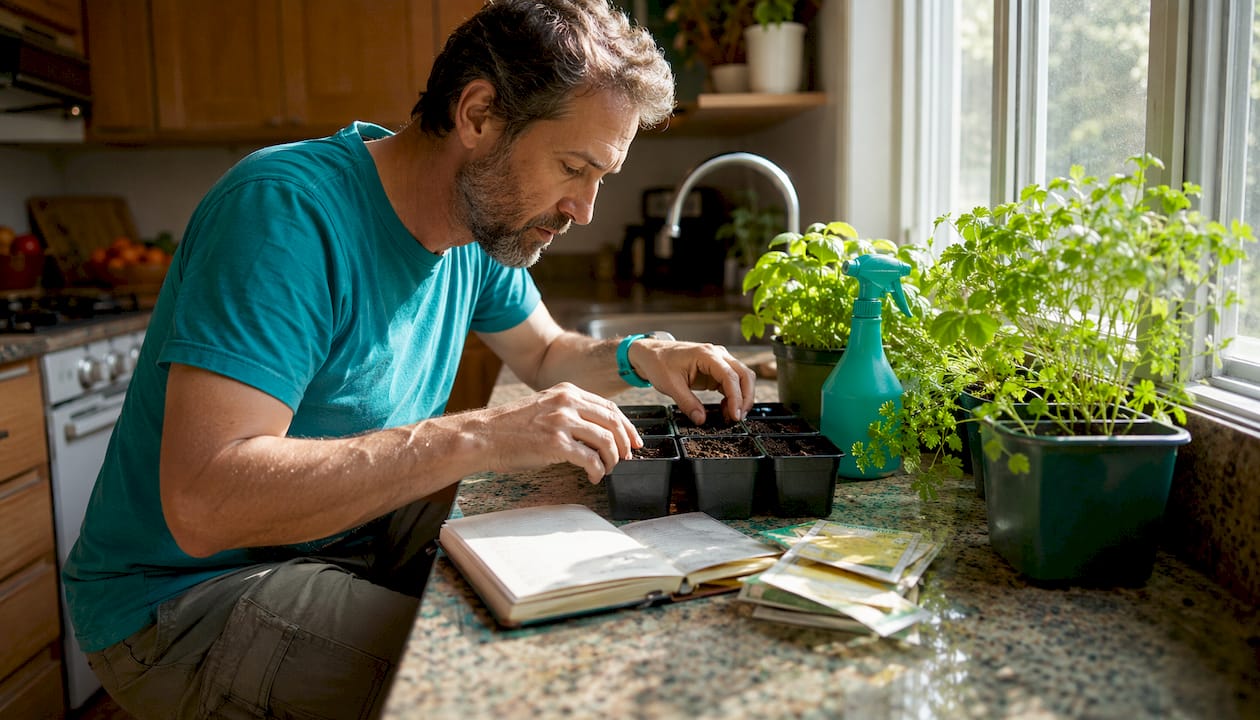
- Plant seeds or seedlings. For seeds, follow the packet depth instructions and keep the soil lightly moist until germination. For seedlings, gently loosen the root ball before placing it in the container, then firm the soil around it.
- Arrange by size and water needs. Place taller plants toward the back or sides so they don’t shade smaller ones. Group plants with similar watering needs together to simplify your routine.
Container tips worth knowing:
- Terracotta pots dry out faster than plastic or glazed ceramic, which can be an advantage for drought-tolerant herbs.
- Window boxes mounted on the sill work well for trailing plants like thyme or string of pearls.
- Turn pots every few days so plants grow evenly rather than leaning toward the glass.
Pro Tip: If your windowsill is narrow, use small individual pots rather than one large planter. Each herb gets the exact moisture it needs, and you can rotate or replace one plant without disturbing the rest.
How do you keep a window garden healthy over time?
Maintenance is where most window gardens either flourish or quietly decline. The habits below keep plants productive and looking their best.
Watering:
- Check soil moisture by pressing a finger about an inch deep. Water when it feels dry at that depth, not on a fixed schedule.
- Water thoroughly until it drains from the bottom, then let the soil dry slightly before watering again. Overwatering is the leading cause of indoor plant death.
- In sunny windows, water in the evening so roots can absorb moisture overnight without the heat of direct sun evaporating it immediately.
Pruning and harvesting:
- Pinch basil tips regularly to prevent flowering, which turns leaves bitter. The same pinching technique applies to mint.
- Cut lettuce and arugula from the outer leaves inward to encourage continuous regrowth rather than harvesting the whole plant at once.
Fertilizing:
- Container soil depletes nutrients faster than garden beds. Apply a balanced liquid fertilizer every two to four weeks during the growing season.
- Slow-release granular fertilizers mixed into the potting mix at planting reduce the need for frequent feeding.
Pest and disease management:
- Inspect leaves weekly, especially the undersides, for aphids, fungus gnats, or spider mites. Catching infestations early keeps them manageable.
- Fungus gnats thrive in consistently wet soil. Letting the top inch of soil dry between waterings discourages them.
- A diluted neem oil spray handles most soft-bodied pests without harming edible plants.
Supplementing light:
- When days shorten in fall and winter, a south-facing window that grew lush basil in july may drop to three or four hours of usable light by december. Adding a clip-on LED grow light for four to six hours in the evening extends the effective day length and keeps herbs productive year-round. For a deeper look at choosing the right setup, windowsill grow lights are worth exploring before you buy.
Expert tips that most beginners overlook
Even a well-planted windowsill garden can underperform if a few less-obvious factors are ignored. These insights come from horticultural practice, not guesswork.
Group plants strategically. Clustering three to five plants of varying heights raises the local humidity around the group and creates a microclimate that benefits all of them. This is especially helpful in dry indoor environments during winter heating season.
Use succession planting to maximize your harvest. Pairing fast-maturing crops with slower-growing ones in the same container means you’re always harvesting something. Radishes mature in weeks; plant them alongside slower carrots or lettuce and the space never sits idle.
Window gardening is genuinely accessible. Container gardening brings plants to a reachable height, eliminating the need to bend or kneel, which makes it one of the most practical options for people with limited mobility. A windowsill garden requires no heavy lifting or ground-level work.
Watch the weight if you go hydroponic. Water is heavier than most people expect. A hydroponic setup must account for roughly 8.3 pounds per gallon of water weight, so brackets and shelving need to be rated for that load before you fill a reservoir.
Common mistakes to avoid:
- Buying plants based on appearance without checking their light requirements first.
- Using non-compact varieties that outgrow the space within a season.
- Skipping drainage holes and then wondering why roots rot.
- Watering on a fixed schedule instead of checking the soil.
Pro Tip: Always read the full plant label before buying. “Full sun” means six or more hours of direct light daily. If your window can’t provide that, choose a plant labeled “partial shade” or “low light” instead. Matching plant to window is the single decision that determines whether your garden thrives or struggles.
For beginner gardening tips that go deeper on soil prep and container selection, starting small and building from there is always the right move.
At Teamgeniussquad, we believe that hands-on discovery, whether it’s a child conducting a science experiment or a family growing herbs on a windowsill, builds the kind of curiosity and confidence that lasts. Growing something real from seed is one of the most rewarding experiences a young learner can have. If you’re looking for ways to extend that spirit of discovery, explore our STEAM experiment kits designed to turn everyday curiosity into genuine learning moments.

Key Takeaways
A successful window garden depends on matching your plants to your window’s actual light, using containers with drainage, and maintaining consistent but not excessive watering.
| Point | Details |
|---|---|
| Light assessment comes first | South- or west-facing windows deliver six or more hours of direct sun, ideal for most herbs and greens. |
| Drainage is non-negotiable | All containers must have drainage holes and be filled with bagged potting mix, not garden soil. |
| Choose compact varieties | Select plants labeled “compact” or “container-suitable” to prevent overcrowding in small spaces. |
| Succession planting maximizes yield | Pair fast-maturing crops with slower ones in the same container so harvests are continuous. |
| Supplement light in winter | Add an LED grow light for four to six evening hours when natural daylight drops below usable levels. |



Leave a comment
This site is protected by hCaptcha and the hCaptcha Privacy Policy and Terms of Service apply.