Manganese Dioxide and Hydrogen Peroxide: Classroom Demo Guide
When manganese dioxide meets hydrogen peroxide, the result is immediate, dramatic, and deeply teachable. The balanced equation is straightforward: 2 H₂O₂ → 2 H₂O + O₂. Manganese dioxide (MnO₂) acts as a catalyst, meaning it speeds the decomposition of hydrogen peroxide into water and oxygen gas without being consumed in the process. The reaction is exothermic, releasing heat and often producing a visible cloud of steam or a rush of foam, depending on how you set it up.
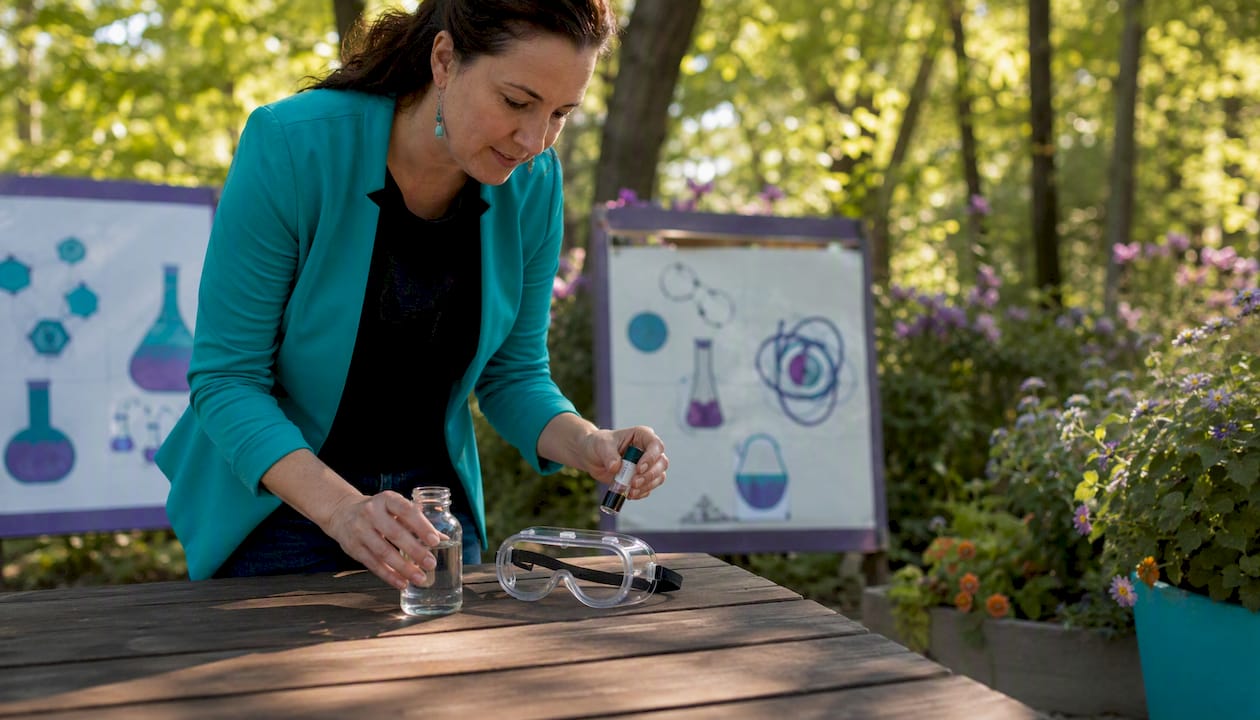
Safety note: University-level “Steaming Gun” demos commonly use concentrated hydrogen peroxide, a strong oxidizer that requires chemical splash goggles, nitrile gloves, and a lab coat at minimum. For middle and high school classrooms, lower concentrations of hydrogen peroxide are far safer starting points.
This guide walks you through the chemistry, a vetted classroom protocol, the mechanism behind what you observe, and practical ways to extend the demo into a real experiment.
Table of Contents
- What materials do you need for the manganese dioxide and hydrogen peroxide demo?
- How do you run the classroom demo step by step?
- What will you observe, and why does it happen?
- How does manganese dioxide actually catalyze this reaction?
- What safety precautions and waste-disposal steps should you follow?
- Why do some demos work better than others?
- How can you turn the demo into a measurable experiment?
- How do you turn this demo into a great STEAM lesson?
- Key Takeaways
- Why the “magic” matters more when students understand it
- Useful sources for teachers and hobbyists
What materials do you need for the manganese dioxide and hydrogen peroxide demo?
Getting the materials right before demo day prevents the two most common failures: a reaction that fizzles and one that goes further than expected. The table below covers the essentials, recommended concentrations, and notes on sourcing.
Materials list
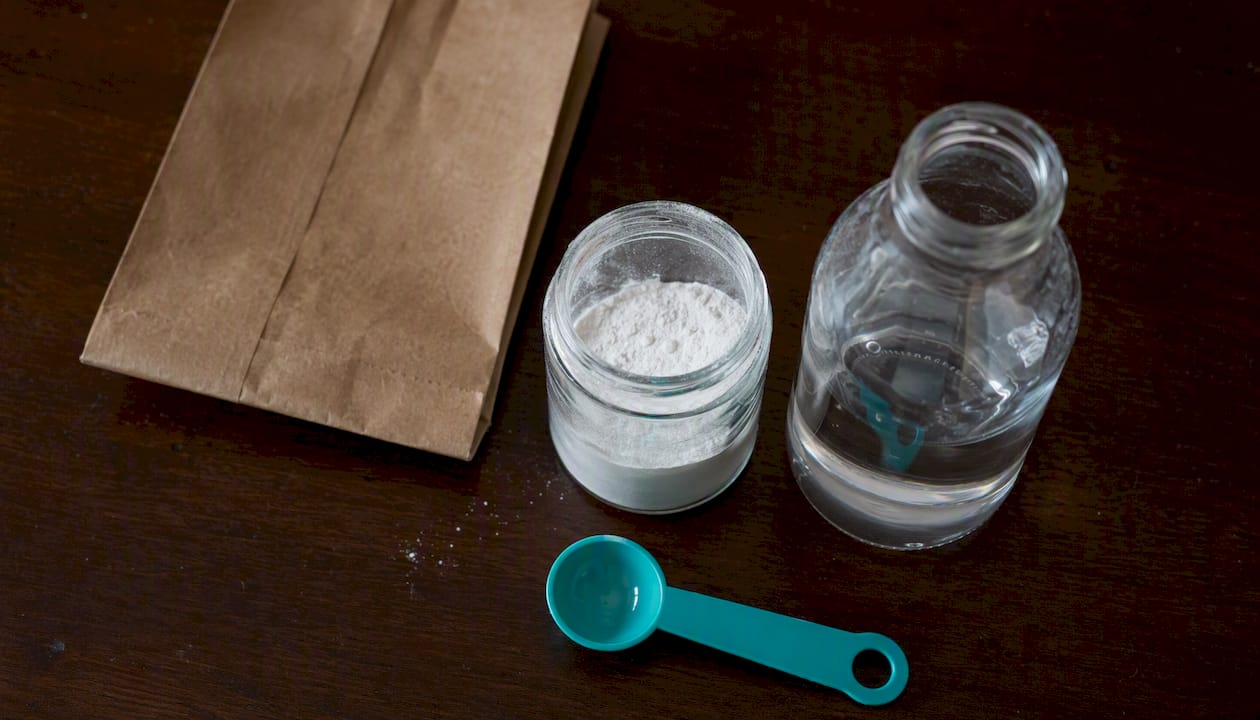
- Hydrogen peroxide (H₂O₂): 3% (drugstore), 6%–12% (beauty supply or lab supplier), or 30% (lab-grade, instructor use only)
- Manganese dioxide (MnO₂): Fine powder form; reagent-grade from a science supplier (e.g., Flinn Scientific or similar educational supplier)
- Container: A 2-liter plastic bottle (steaming gun effect) or a wide-mouth Erlenmeyer flask; a rigid glass container is safer with concentrated peroxide
- Tea bag or gauze pouch: Used to suspend MnO₂ above the liquid so the reaction starts on cue
- Dish soap (optional): A few drops added to the peroxide creates the foaming “elephant toothpaste” variant
- PPE: Chemical splash goggles, nitrile gloves, lab coat or apron; face shield for 30% H₂O₂
- Measuring tools: Graduated cylinder, balance for MnO₂
Concentrations and volumes reference
| Setting | H₂O₂ Concentration | Typical Volume | MnO₂ Amount | Notes |
|---|---|---|---|---|
| Middle school (teacher-led) | 3%–6% | 50 mL | 1–2 g | Gentle bubbling; safe for most classrooms |
| High school lab | 6%–12% | 30–50 mL | 1–3 g | Moderate foam/heat; PPE required |
| University demo (instructor only) | 30% | 30 mL | 2–5 g | Steam ejection; strict institutional controls needed |
Procurement and handling notes
Reagent-grade MnO₂ powder produces far more consistent results than battery-grade or technical-grade material, because purity and particle size directly affect catalytic surface area. Always pull the Safety Data Sheet (SDS) from your supplier before ordering. MnO₂ is a documented oxidizer with incompatibilities including combustible organics and reducing agents, so store it in a cool, dry location away from flammables. Concentrated hydrogen peroxide degrades with light and heat; keep it refrigerated in its original opaque container and check the expiration date before every demo.
How do you run the classroom demo step by step?
The protocol below follows the tea-bag carrier approach documented by the University of Washington Department of Chemistry, which lets you control the exact moment the reaction starts. That control is what separates a polished classroom demo from an unpredictable one.
Pre-demo safety checklist
Before students enter the room or gather around the demo table:
- Confirm PPE is on (goggles, gloves, lab coat).
- Clear a 3-foot audience buffer zone around the demo container.
- Have paper towels and a dilute sodium bicarbonate solution nearby for spills.
- Verify the peroxide concentration matches your institutional policy.
- Pre-grind and sieve MnO₂ to a fine powder the day before; crushing it during class is impractical and inconsistent.
Step-by-step procedure
- Measure the hydrogen peroxide. Pour an appropriate volume for your demo level into the bottom of a 2-liter bottle or Erlenmeyer flask using a graduated cylinder.
- Optional foam variant: Add 3–5 drops of dish soap to the peroxide and swirl gently. This produces a voluminous foam column rather than a high-velocity steam plume, making it safer for most classroom settings.
- Load the catalyst carrier. Weigh 1–3 g of powdered MnO₂ and place it inside an open tea bag or small gauze pouch. Fold the top loosely so the powder can fall out when inverted.
- Suspend the carrier. Hold the tea bag above the mouth of the bottle without letting MnO₂ contact the peroxide yet. A rubber stopper with a hole, or a helper holding the bag string, works well.
- Announce the reaction. Ask students to record their predictions: What will they see? What gases might form? This 30-second pause builds anticipation and activates prior knowledge.
- Release the catalyst. Drop or lower the tea bag into the peroxide. Step back immediately to the safe distance.
- Observe and narrate. Call out each observable change as it happens: bubbling onset, temperature rise, foam column or steam plume, and any color changes in the solution.
- Allow the reaction to complete. Most demos run 30–120 seconds depending on concentration and catalyst amount. Do not cap or seal the container during the reaction.
- Post-demo comparison. Place the reacted bottle next to an identical empty bottle to show any deformation from heat, and to prompt discussion about energy release.
Pro Tip: Pre-load several tea bags the night before and store them in a sealed, labeled container. Consistent catalyst mass from bag to bag is the single biggest factor in reproducible results across multiple class periods.
What will you observe, and why does it happen?
The reaction unfolds in a predictable sequence, and each stage tells a story about the chemistry underneath.
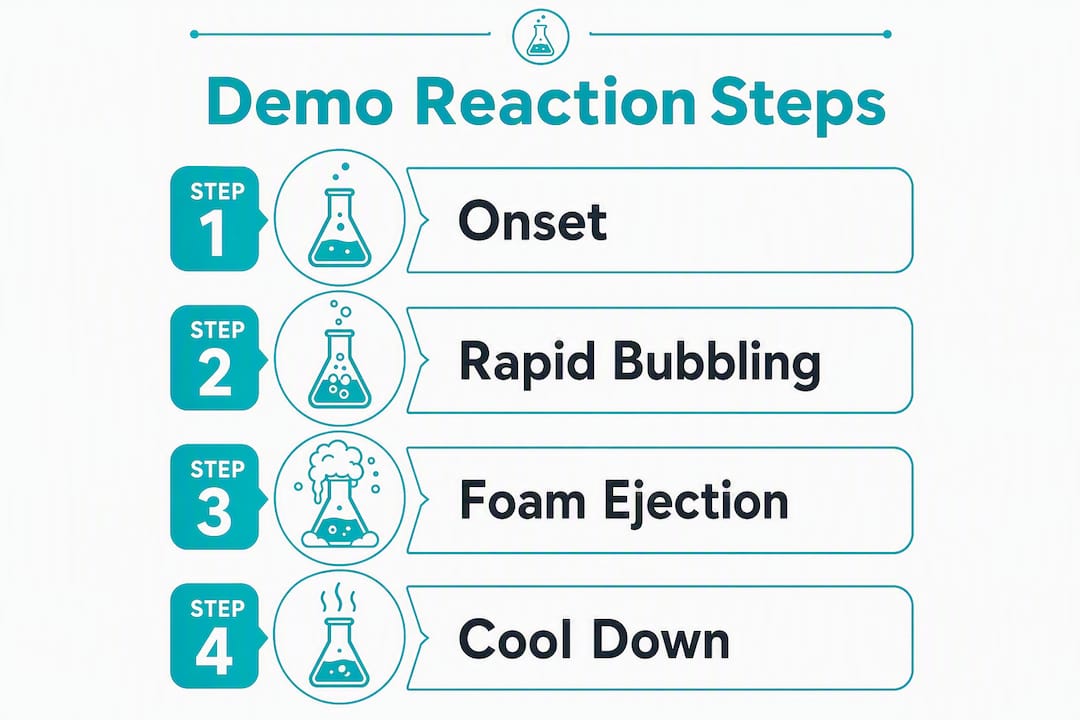
Onset (0–5 seconds): The moment MnO₂ contacts the peroxide, fine bubbles appear at the catalyst surface. These are oxygen molecules forming as MnO₂ provides a lower-energy pathway for H₂O₂ molecules to break apart. The solution may briefly turn slightly darker near the catalyst before clearing.
Rapid bubbling and heat (5–30 seconds): Effervescence accelerates quickly. The liquid warms noticeably, and if you placed a thermometer in the solution beforehand, you would see the temperature climb within seconds. The reaction is exothermic, meaning it releases energy as heat. With higher concentrations, this heat is substantial enough to produce a cloud of condensed water vapor that shoots upward through the bottle neck.
Foam or steam ejection (30–90 seconds): In the soap variant, the oxygen gas gets trapped in soap film, creating a dense foam column that rises out of the container. In the steam-only version, the rapid heating vaporizes water, and that vapor condenses into a visible white plume as it exits the bottle. Both effects are driven by the same chemistry: oxygen production plus heat.
Why the heat matters for plastic bottles: The exothermic reaction can soften or deform thin plastic. A 2-liter bottle used with concentrated peroxide may visibly shrink or warp after the reaction, which is actually a useful teaching point about energy transfer. That is why rigid glass or thick-walled containers are preferred with higher concentrations.
Winding down: Once most of the peroxide is consumed, bubbling slows and stops. The MnO₂ remains in the solution or on the tea bag, unchanged in mass, ready to catalyze more peroxide if you added a fresh batch.
How does manganese dioxide actually catalyze this reaction?
The technical term for what MnO₂ does here is heterogeneous catalysis: a solid catalyst accelerating a reaction in a liquid phase. Understanding this mechanism transforms the demo from a spectacular trick into a genuine lesson about reaction kinetics.
Without a catalyst, hydrogen peroxide decomposes slowly at room temperature because the molecules need enough energy to break their O–O bonds and rearrange into water and oxygen. That energy threshold is called the activation energy. MnO₂ provides an alternative reaction pathway with a lower activation energy, so far more H₂O₂ molecules can react at any given temperature.
“The addition of MnO₂ can lower the activation energy substantially and produces rate increases that make the uncatalyzed decomposition look essentially static by comparison. MIT OCW demo notes cite an example rate increase of approximately 1,073× under certain experimental conditions — a figure that captures just how dramatic the catalytic effect can be.”
Crucially, MnO₂ is not consumed. After the reaction, you can filter it out, rinse it, and use it again. This is the defining characteristic of a catalyst, and it is also the most common misconception students bring to the demo. Many assume the black powder “reacts away.” Showing that the recovered MnO₂ still works on fresh peroxide is one of the most effective ways to cement the concept.
For a visual teaching aid, sketch an energy diagram on the board: draw a hill representing the uncatalyzed pathway, then a lower hill for the catalyzed pathway, with the same starting materials and products at either end. The products (water and oxygen) are lower in energy than the reactants, confirming the reaction is thermodynamically favorable. MnO₂ simply makes it happen fast enough to see.
The EPA’s HERO database includes observations on MnO₂ as a catalyst in decomposition reactions, providing additional primary-literature context for instructors who want to assign further reading.
What safety precautions and waste-disposal steps should you follow?
Running this demo safely is straightforward when you follow a clear protocol. The risks are real but manageable, and understanding them helps you explain to students why chemistry labs have rules.
PPE and engineering controls
- Wear chemical splash goggles (not safety glasses) any time H₂O₂ is open.
- Use nitrile gloves; latex offers less chemical resistance to oxidizers.
- Wear a lab coat or chemical-resistant apron.
- Add a face shield when working with concentrations above 12%.
- Run the demo in a well-ventilated room or under a fume hood for concentrations of 30%.
- Keep students at least 3 feet from the demo container during the reaction.
Incompatibilities to avoid
MnO₂ is a strong oxidizer with documented incompatibilities, including reducing agents, combustible organic materials, strong acids, and metallic powders. Never mix MnO₂ or concentrated H₂O₂ with unknown household chemicals. Contamination of either reagent can change reaction kinetics unpredictably and produce violent outcomes.
Emergency response
- Skin contact with H₂O₂: Flush immediately with large amounts of water for at least 15 minutes; remove contaminated clothing.
- Eye contact: Flush with water for at least 15 minutes and seek medical attention.
- Spill on bench: Dilute with large amounts of water; neutralize with dilute sodium bicarbonate solution; wipe up with paper towels and dispose of as chemical waste per your institution’s SDS guidelines.
- Inhalation of MnO₂ dust: Move to fresh air; seek medical attention if symptoms persist. MnO₂ is toxic via inhalation and should never be handled without respiratory protection in dusty conditions.
Waste disposal
After the reaction is complete, the spent solution is primarily water with trace MnO₂ particles and residual peroxide. For 3%–6% peroxide demos, dilute the waste solution further with tap water and dispose of it down the drain per your school or institution’s chemical waste policy. For 30% peroxide demos, consult your institution’s Environmental Health and Safety (EHS) office before disposal. Filter out solid MnO₂, allow it to dry, and dispose of it as solid chemical waste unless you plan to reuse it. Always check the SDS for your specific reagent grade before making disposal decisions.
Why do some demos work better than others?
Inconsistent results are the most frustrating part of running this demo repeatedly. The good news is that the variables are well understood and easy to control once you know what to look for.
Key variables and their effects
Hydrogen peroxide concentration is the single biggest driver of reaction intensity. Doubling the concentration produces a dramatically more vigorous reaction because more substrate molecules are available per unit volume. Old or improperly stored peroxide degrades to water, which is why a bottle that sat in a warm supply closet for two years will produce almost no reaction.
Catalyst surface area matters enormously. Powdered MnO₂ reacts far faster than granular or lump forms because more catalyst surface is exposed to the peroxide. Pre-grinding and sieving the powder to a fine, consistent particle size is the most reliable way to get reproducible results across multiple class periods.
Temperature accelerates the reaction. A warm peroxide solution reacts faster than a cold one, so if you want a more controlled, slower demo for observation purposes, start with refrigerated peroxide.
Contaminants cut both ways. Some contaminants (like certain metal ions) can accelerate decomposition, while others can inhibit the catalyst. Using reagent-grade materials and clean glassware eliminates this variable.
Troubleshooting table
| Problem | Likely Cause | Corrective Action |
|---|---|---|
| Weak or no bubbling | Old/degraded peroxide | Use fresh peroxide; test a small sample with a glowing splint first |
| Reaction too slow | Coarse MnO₂ granules | Pre-grind to fine powder; increase catalyst mass slightly |
| Reaction too violent | Concentration too high or excess catalyst | Reduce peroxide concentration or use less MnO₂ |
| Foam collapses quickly | Too little soap or wrong soap type | Use a few drops of Dawn or similar dish soap; avoid antibacterial formulas |
| Inconsistent results across periods | Variable catalyst mass | Pre-weigh and pre-load tea bags; store in sealed containers |
| Bottle deforms badly | Thin plastic + high concentration | Switch to a rigid glass container or reduce concentration |
Pro Tip: For the foam variant, adding dish soap before the catalyst and using a tall, narrow container (like a graduated cylinder) produces a dramatic column effect with far less ejection risk than a wide-mouth bottle. This is the preferred setup when institutional controls are limited.
How can you turn the demo into a measurable experiment?
The demo becomes a real experiment the moment students start collecting data. These extensions work with basic lab equipment and produce results students can graph, analyze, and write up.
Collecting evolved oxygen
The simplest method is water displacement: invert a water-filled graduated cylinder over a trough of water, insert a delivery tube from the reaction flask into the cylinder, and measure how much water is displaced as oxygen fills the space. This gives a direct volume reading of O₂ produced over time. A gas syringe connected to the flask works equally well and is easier to read precisely. For either method, seal the reaction flask with a one-hole stopper and delivery tube before adding the catalyst.
Measuring reaction rate
Time how long it takes to collect a fixed volume of oxygen (say, 50 mL) under different conditions. Change one variable at a time: peroxide concentration, MnO₂ mass, temperature, or catalyst particle size. Plot volume of O₂ collected versus time for each condition. The slope of the early linear portion of the curve is the initial reaction rate. Students can then compare rates across conditions and draw conclusions about which variable has the largest effect.
Simple calorimetry
Place a thermometer or temperature probe in the reaction solution before adding the catalyst. Log temperature every 10–15 seconds throughout the reaction. The temperature rise (ΔT) combined with the mass of the solution and the specific heat of water gives a rough estimate of heat released. This is not a precise calorimetry setup, but it introduces students to the concept of enthalpy and connects the observable heat to the exothermic nature of the reaction. Log starting temperature, peak temperature, time to peak, and time to return to baseline as your minimum data set.
These extensions pair naturally with the fun STEAM experiments Teamgeniussquad has developed for classroom and home settings, where hands-on data collection is built into every activity.
How do you turn this demo into a great STEAM lesson?
A dramatic reaction earns attention for about 90 seconds. A well-designed lesson holds it for the whole period and sends students away thinking differently about chemistry. Here is how to build that lesson around this demo.
Learning objectives
By the end of the lesson, students should be able to:
- Write and balance the decomposition equation for hydrogen peroxide.
- Explain the role of a catalyst using the terms activation energy and reaction pathway.
- Identify at least two variables that change the rate of the reaction and predict the direction of each effect.
- Design a simple controlled experiment to test one variable.
These objectives align with NGSS practices, particularly Planning and Carrying Out Investigations and Constructing Explanations.
Age-level guidance
For middle school (grades 6–8), use 3%–6% peroxide with the foam variant, focus on observable changes and the concept of catalysts as “helpers that are not used up,” and keep the math to ratios and simple graphs. For high school (grades 9–12), introduce activation energy diagrams, rate calculations from gas volume data, and the concept of heterogeneous catalysis. The quantitative extensions in the previous section are appropriate here.
Engagement and formative assessment
- Mini lab reports: — For the quantitative extension, require a one-page report with hypothesis, data table, graph, and one-sentence conclusion.
Accessibility and classroom roles
Not every student can stand at the front of the room, and not every learner processes the same way. Assign specific roles: one student as the “data recorder” logging temperature and time, one as the “observer” describing what they see aloud, one as the “illustrator” sketching the setup. This structure supports students with different learning profiles and ensures everyone contributes meaningfully. For students with sensory sensitivities, preview the sounds and smells before the demo and offer an observation station slightly further from the reaction.
The STEAM activities for special needs guide from Teamgeniussquad offers additional strategies for adapting hands-on science to diverse learners. The benefits of STEAM for kids are well documented, and inquiry-based demos like this one are among the most effective entry points.
Key Takeaways
Manganese dioxide catalyzes hydrogen peroxide decomposition via a lower-energy reaction pathway, producing water and oxygen gas without being consumed, and the demo’s intensity is directly controlled by peroxide concentration and catalyst surface area.
| Point | Details |
|---|---|
| Balanced equation and catalyst role | 2 H₂O₂ → 2 H₂O + O₂; MnO₂ speeds the reaction but is not consumed. |
| Top three safety rules | Wear goggles and gloves, match concentration to your setting (3%–30%), and keep students 3 feet back. |
| Control levers for intensity | Higher peroxide concentration and finer MnO₂ powder both increase reaction rate and drama. |
| Foam vs. steam variant | Adding dish soap before the catalyst produces a safer foam column; omitting it produces a steam plume. |
| Extension for data collection | Collect O₂ by water displacement and plot volume versus time to measure and compare reaction rates. |
Why the “magic” matters more when students understand it
There is a version of this demo where the teacher drops the powder, the foam erupts, and the class applauds. That version is fun. But the version where a student says, “Wait, so the MnO₂ is still there after? It didn’t get used up?” and then designs an experiment to prove it — that version changes how a young person sees themselves in relation to science.
What makes the MnO₂ and H₂O₂ system so powerful pedagogically is not the spectacle. It is the conceptual gap it closes. Students walk in thinking reactions consume everything involved. They walk out understanding that some substances lower the energy barrier without crossing it themselves. That is a genuinely sophisticated idea, and they arrived at it through observation, not memorization.
Teamgeniussquad’s E³ Method — Engage, Encourage, Empower — is built on exactly this sequence. The demo engages curiosity. The mechanistic explanation encourages deeper thinking. The moment a student designs their own variable test is the moment they are empowered as a scientist. Responsible demonstration means not stopping at the applause. It means asking the follow-up question, handing students the data sheet, and letting them figure out why the foam was taller the second time.
If you are looking for classroom-ready materials that carry this philosophy into structured lessons, Teamgeniussquad’s lesson plans are built around the same inquiry-first approach that makes this demo so effective.
Useful sources for teachers and hobbyists
These are the primary references behind the protocols and safety guidance in this article. Each one is worth bookmarking before you run the demo.
- Genie in a Bottle — Chemistry LibreTexts: A clear overview of the demo with expected observations and a concise explanation of the catalytic mechanism. Good starting point for students writing pre-lab reports.
- Decomposition of H₂O₂ with MnO₂ — University of Washington Department of Chemistry: The source for the tea-bag carrier protocol used in this article. Includes specific volumes, prep notes, and the comparison-bottle tip. Highly reproducible.
- Steaming Gun Demo — MIT OpenCourseWare: Documents the rate-increase data and activation-energy discussion. Best resource for instructors who want to teach the mechanism quantitatively.
- 10A10.20 Oxygen Liberation — University of Iowa Physics & Astronomy: Covers both the steam and foam variants, with notes on soap addition and catalyst preparation. Useful for adapting the demo to different classroom settings.
- Observations on Manganese Dioxide as a Catalyst — EPA HERO Database: Primary-literature reference on MnO₂ catalytic behavior in decomposition reactions. Appropriate for advanced students or instructors seeking peer-reviewed context.

%20ac...)
Leave a comment
This site is protected by hCaptcha and the hCaptcha Privacy Policy and Terms of Service apply.